New Project Start
#8
Seems there was a bit more Leftovers....decided to cut and rip all the bad stuff out...will try for the fire pit after a bit...

Was left with this pile..
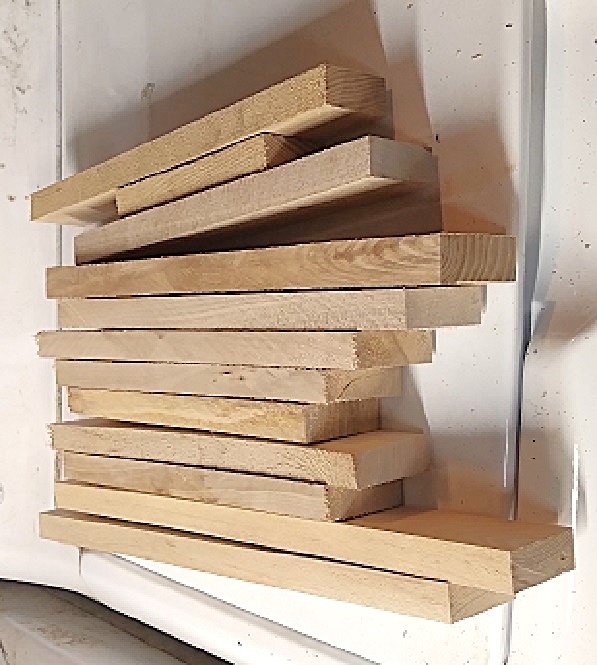
   
Most are a wee bit thick?   so...
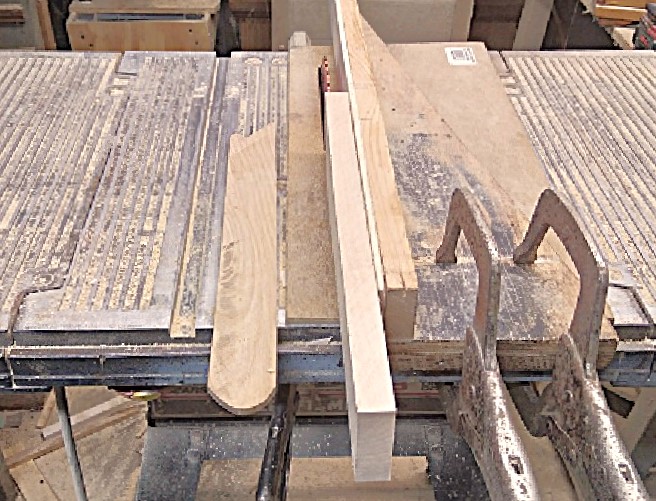
   
Reset the tablesaw...fence should give me 1/2" thick resaw parts....and a few of these..
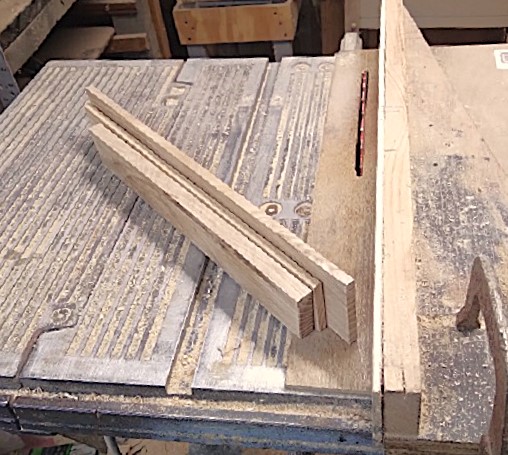
   
"Drawer Parts"?


As for the rest?
   
Next trip to the shop...mix & Match?  

needed to clean up the shop, today..
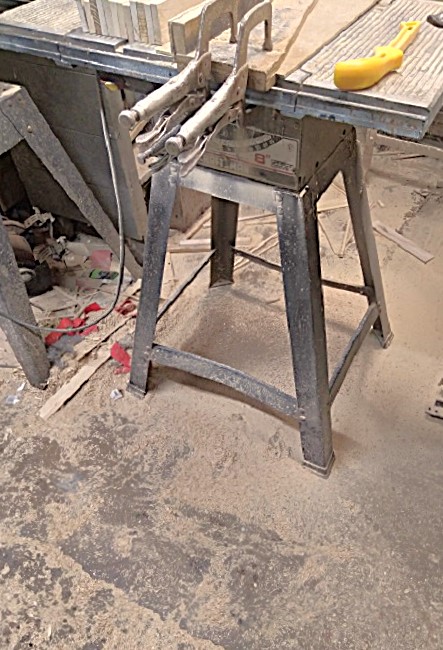
   
Was a busy 1 hour in the shop...
Stay tuned...
Show me a picture, I'll build a project from that
Reply
#9
Working on a Monday..in the shop?   Meh, sometimes one just has to take that chance...kept it simple, today, just in case...about an hour's worth, is all...

Went through the stash, trying to find pairs that almost matched each other....some needed a wee bit of work, though..
   
Some had high spots, and needed face planed flat and smooth...almost all needed..
   
Edges jointed to better match up for a glue joint...Made a nice mess on the floor, too..
   
Until I could do a glue up a of 3 out of 4 panels....had to use the bench vise as a 3rd hand/caul....
   
This is the 2nd out of 3 panels that got glued up, today...Cauls were added where needed...

As for #4 Panel?
   
It has "issues".....might save this for building a drawer or 2......either one in front...or...one on each end?   Or, maybe just a single drawer on one end...we'll see..

Stay tuned....
Show me a picture, I'll build a project from that
Reply
#10
Bit of an up-date....6 panels have been "processed"..
   
But, BEFORE I could work on these...I needed to check a square, BEFORE I used it..
   
Stanley No. 20...8" Try square...Scribe a line ( Factory edge on the plywood, of course) flip over, and scribe a second line beside the 1st one...seems close enough for now...Needed to check a few edges, too..
   
And the rest of today's tools....
   
Stanley No. 6c in the tool tray for jointing the edges...other 2 to flatten and smooth.    The iron in the No. 80 was badly chewed up, so, turn the iron 180, hone the 45 degree bevel..install back in the plane, set until it just starts to cut...then smooth out the faces of the panels..

Am trying to wrap the grain around the corners..
   
But there wasn't enough to go all the way around to the "front" Panel...
     
Have not decided yet as to whether to make this a "Front" or the "Back" of the box....

Base Panel?
   
Or...
   
A Lid...

Was a busy 1 hour IN the shop, this morning?
   
Could be....

Stay tuned...
Show me a picture, I'll build a project from that
Reply
#11
Been a while?   Up-date Time? 
Have since joined the corners of the box...
   
Using 3/16" wide Finger Joints....How do I know the width?
   
That be a 3/16" wide chisel...
   
Second corner done...saw and chisel?    Nope..
   
Bandsaw to remove the waste, LEAVING the lines.....Chisel to pare for fit...mallet was needed to assemble 
   
And a block of Ash scrap to spread the whacks out...got all 4 corners done...test fit the clamps..


All set for the next day's glue up....
   
Needed 2 extra clamps....10 clamps too many?    let this sit a day, or 2....


Clamps came off...glue joints cleaned up...top and bottom edges leveled with a plane....reset the Stanley #45's fence..
   

There were a couple spots in the joints, that could have been filled...only to have the bead cutter blow the filler back out.  Made those the "top" of the bead..
   
A No. 80 to smooth things out.   Top of the Bead...
   
Is where this saw will be going to work...

Stay tuned...


Attached Files Image(s)
   
Show me a picture, I'll build a project from that
Reply
#12
Bead work completed...
   
Next up..
   
Hand saw to separate the Lid from the Box sections...

Base & Lid Panels...
   
Needed this detail....hand planed round overs...
   
Then they were glued to there new homes....needed cauls to glue the base to the box...
   
Per Paul Sellers....Plane start a 45 bevel, then rounds it over,  work on both faces of each edge....starting with the end grain ends.

Spend a day, waiting on glue to cure....then finish matching the 2 "halves" to each other...
   
Then set out a selection of Hardware...
   
And install the hinges first...
   
Then the latch..
   
Then a handle on each end...
   

So..this is about ready for a coat of Witch's Brew Stain....after that?
Stay tuned..
Show me a picture, I'll build a project from that
Reply
#13
Letting it air out a bit....
   
For a couple of days....

This morning...brushed on Coat #1 of Minwax Warm Gloss Poly...will give it a rub down, tomorrow, and add Coat #2...

Not sure what will get stashed inside..yet.   It was just a way to use up some of the left over lumber in the shop...
Show me a picture, I'll build a project from that
Reply
#14
2 coats of Warm Gloss Poly later..
   
Top was a 3pc glue-up, BTW...front view..
   
Will have to wait & see what makes it's way into this box

I think I can call this one...Done?
Show me a picture, I'll build a project from that
Reply


Forum Jump:


Users browsing this thread: 1 Guest(s)

Product Recommendations

Here are some supplies and tools we find essential in our everyday work around the shop. We may receive a commission from sales referred by our links; however, we have carefully selected these products for their usefulness and quality.