02-07-2019, 11:38 PM
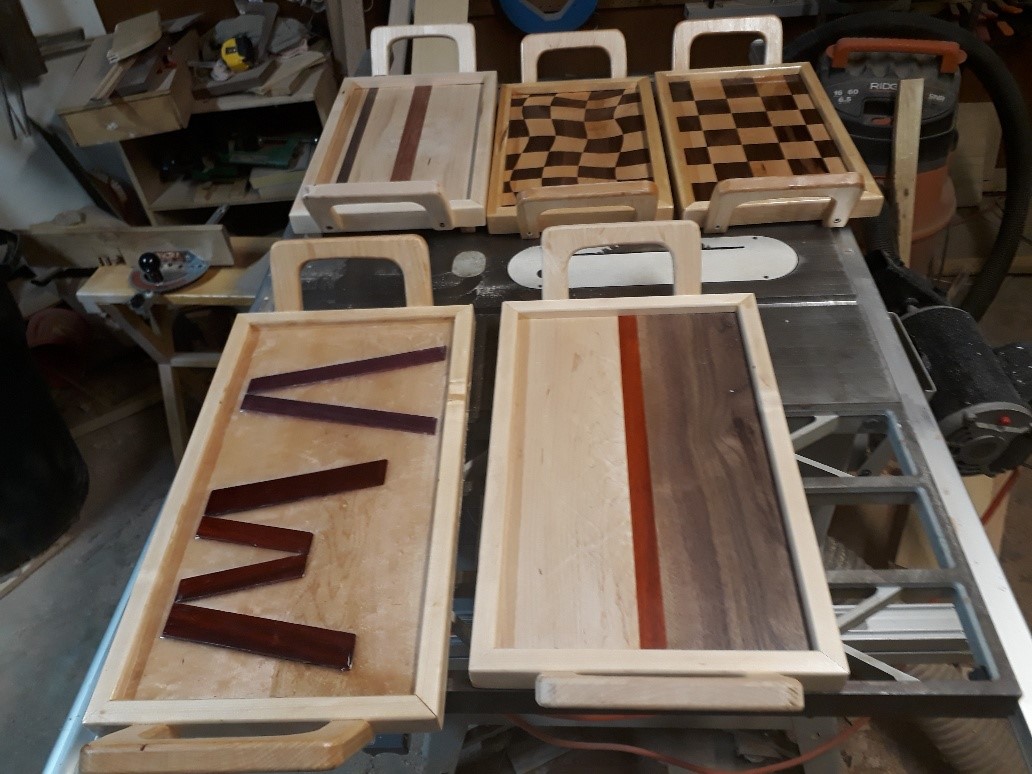
The initials are purpleheart and bloodwood, with 2 coats of clear epoxy coatings.


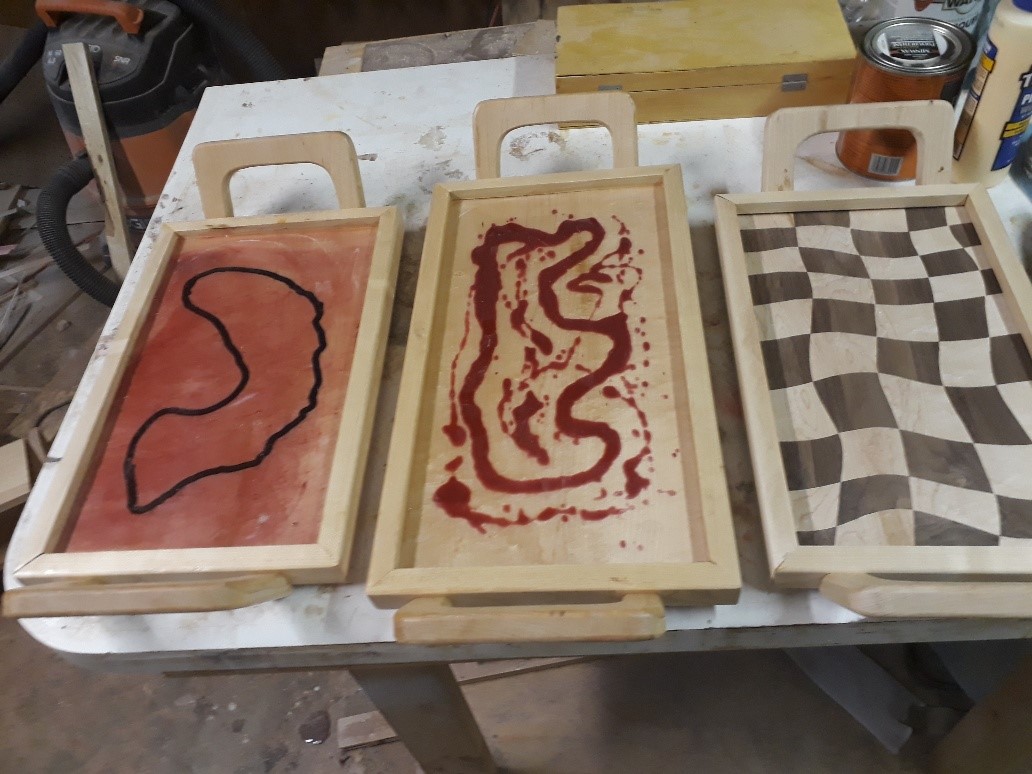
The two odd shapes were routered(left one) and colored epoxy in/as the patterns, then covered with 2 coats of clear epoxy.


I learned three things.
One, mixing that brand took 12 minutes a batch. My thumbs were numb by the time I was done(two separate sessions). The directions said to mix the two parts and stir slowly fir 6 minutes. Then transfer to a clean container and mix for another 6 minutes. Do NOT mix fast---air bubbles are NOT a good thing.
Two, the epoxy is the consistency of heavy weight gear lube. But, it will find the tiniest hole/crack and ooze out there. Those trays have separate trim edges---I filled the gaps--or so I thought. Machining excess epoxy from unwanted places is not fun. Planer and sander got a work out.
Three, water based dye powder mixes completely in the epoxy. I added the color in the second 6 minutes.
All in all, other than the mixing time(and the seepage, which I now know how to contain), I was pleased with the results. I have had my eye on some glow in the dark epoxy I might use if given sufficient projects.

The two odd shapes were routered(left one) and colored epoxy in/as the patterns, then covered with 2 coats of clear epoxy.

I learned three things.
One, mixing that brand took 12 minutes a batch. My thumbs were numb by the time I was done(two separate sessions). The directions said to mix the two parts and stir slowly fir 6 minutes. Then transfer to a clean container and mix for another 6 minutes. Do NOT mix fast---air bubbles are NOT a good thing.
Two, the epoxy is the consistency of heavy weight gear lube. But, it will find the tiniest hole/crack and ooze out there. Those trays have separate trim edges---I filled the gaps--or so I thought. Machining excess epoxy from unwanted places is not fun. Planer and sander got a work out.
Three, water based dye powder mixes completely in the epoxy. I added the color in the second 6 minutes.
All in all, other than the mixing time(and the seepage, which I now know how to contain), I was pleased with the results. I have had my eye on some glow in the dark epoxy I might use if given sufficient projects.


