Posts: 4,006
Threads: 0
Joined: Nov 2010
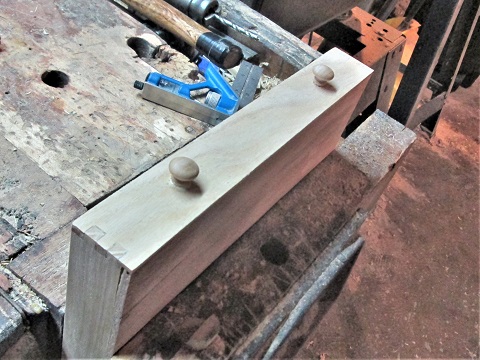
Well, the other drawer came out of the clamps, today. Needed sanded and planed to get things to fit...

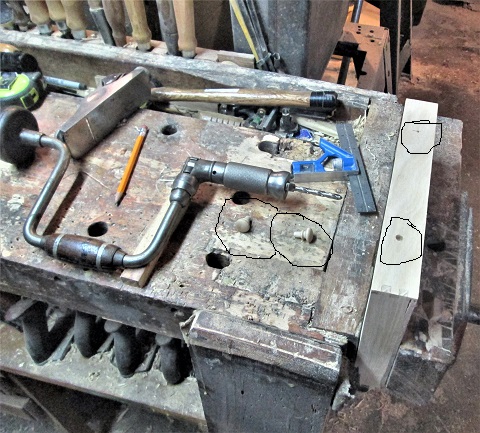
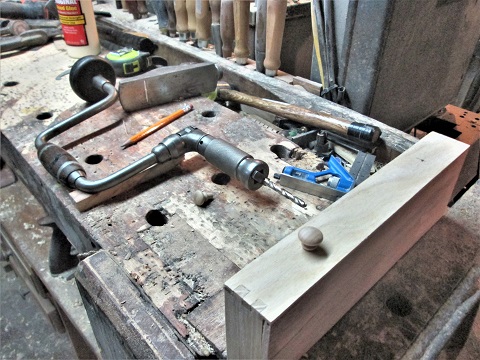
Once it fit...I could install the knobs..
Used a little different drill and bit...
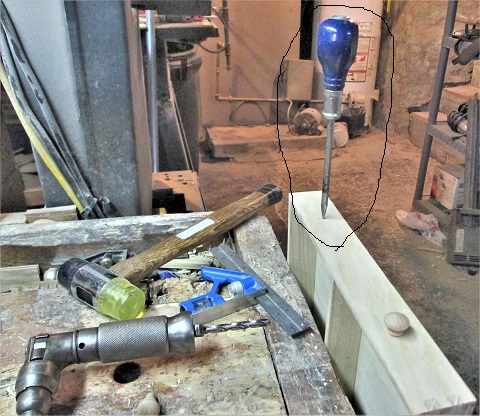
used this blue handled tool to help center the drill bit...holes even fit the tenons on the knobs better..
Which meant I didn't really need THAT much glue...

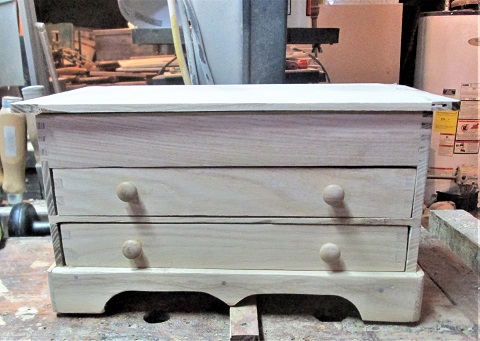
Then a test fit..

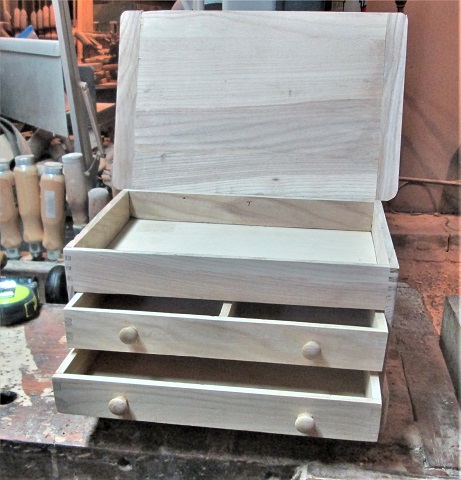
Then open everything up..

Before a coat of stain. Due to a clamp bowing in the drawer front, I add that divider, to push the bow back out...as for the stain?

Letting this dry overnight...

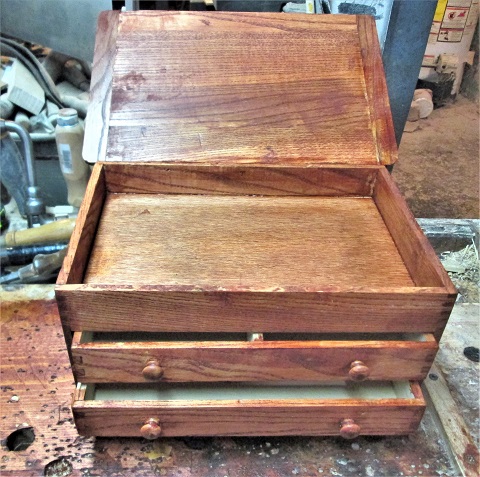
Stain has been wiped down, waiting to see where I missed..some grain features stand out a bit more...

Than before the stain was applied...
Almost done, note sure IF I'll stain the inside of the drawers...takes forever to get the smell out.

Stay tuned

Show me a picture, I'll build a project from that
Posts: 4,006
Threads: 0
Joined: Nov 2010
Couple of things...Not sure IF I should add a finish to the insides of the drawers. Takes forever for the smell to go away.
That brace used. Note the chuck. Drill bit is just a plain bit that would fit an electric drill....I used the brace instead, for better control. The handles are Walnut, rings are Pewter.
"Hole starter" was by Stanley...
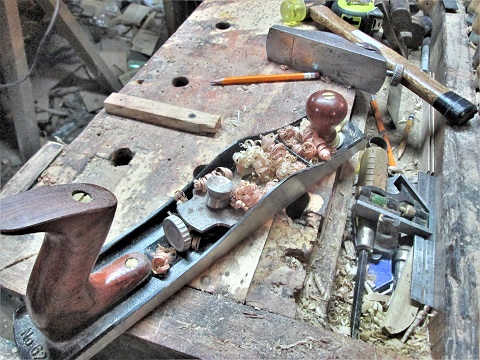
Block that has been used through out this project...Stanley No. 60-1/2 Cordovan, 1969 model year. The WR #62 had just got done planing the back edge of the drawer, plywood bottom and all.
Chisel used for the drawer finger/box joints...Narex 8mm Mortise chisel. Single 25 degree bevel.
Wall E World mallet worked just fine....both for driving chisels, and for assembly.
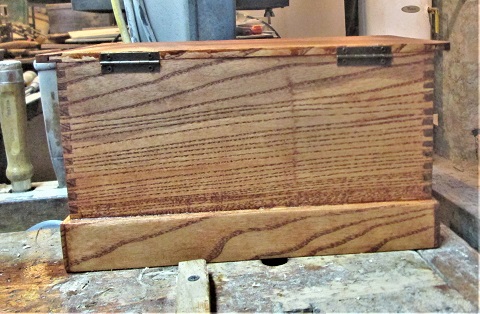
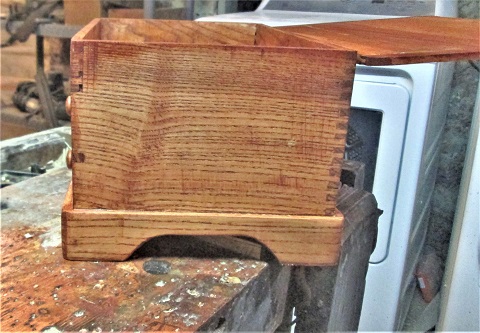
Box Measures: Height, counting lid, 6-1/2" Depth, front to back: at the base, 8-1/4", top is 8". Length: at the base, 11-1/2"...lid,12-1/2", due to the bread board ends. Wood averages about..1/4"..give or take a hair...started out at 5/16" resaws...planes thinned things down a bit. Plywood was 5mm Luann for Lowes.
Knobs came from Hobby Lobby, as did the hinges.
Anything else?
Show me a picture, I'll build a project from that
Posts: 2,772
Threads: 0
Joined: Oct 2012
Location: W. of Rainier, E. of Orcas
03-04-2020, 10:58 AM
(This post was last modified: 03-04-2020, 11:09 AM by hbmcc.)
Grain pattern of Ash is so striking when stained. The first I saw, I think someones project on WoodNet, I went out and got the biggest board that fit in my truck, a Prius. Even clear finish pops.
It looks good Steve.
Edit: Your followup came while I was typing. Regarding drawer finish, I used Deft Lacquer years ago that worked great. The general fragrance during application can knock you out, but odor burns off fast. A simple finish of shellac makes no long term odors. A couple coats of one-pound was fine.
Your size dimensions blow me away! It looks twice the size.
Posts: 21,259
Threads: 2
Joined: Mar 2009
Location: IA
I like it and the stain looks great with it to.
As of this time I am not teaching vets to turn. Also please do not send any items to me without prior notification. Thank You Everyone.
It is always the right time, to do the right thing.
Posts: 4,006
Threads: 0
Joined: Nov 2010
Brushes have been bought. Can of varnish was opened, despite the lid putting up an epic fight..
 ..had a thin film on the top of the varnish..Hmmm

2 Drawer Chest has a coat of poly clear gloss, brushed on, now.
 Even the insides are done...
 .got to looking at the case for the Stanley No. 71-1/2....guess I never added a coat of varnish to that..
 ..gave the outside a decent coat..
 ..then tossed out what was left of the varnish.

Will let both items dry overnight....hope the drawers will work then..and not be stuck.
 And that is it....

Show me a picture, I'll build a project from that
Posts: 4,006
Threads: 0
Joined: Nov 2010
Case is dry, drawers didn't stick in the case.
Here we go...light through the window wasn't the best...

Front view..

Back view..

End view...

Open the drawers..and

Raise the lid.
 I don't have any way to shoot a video, sorry...

Box is now in it's new location, sitting on the sideboard beside my computer desk....already filling up, as I cleaned up all the catch-all stuff...what I kept is in the chest.
May post a photo of THAT, later....if anyone wants to see it?

Show me a picture, I'll build a project from that
Posts: 4,006
Threads: 0
Joined: Nov 2010
This is sitting in it's new home...

And is quickly filling up...

top compartment..

Top drawer (hand held camera, sorry)
And the bottom drawer. In that first photo, there is what looks like a small beer mug. dad used to keep all of his good bits in there, mainly in the sizes he'd use all the time...I went through the mess, dug out the better ones, and stashed the rest elsewhere....the good ones were left in the drawer...until I get a drill index for them.
dad had a bad habit of breaking a drill bit.....but, then he would just sharpen the broken end back up, and keep it around for jobs where he didn't NEED a bit 3" long, but one an inch or so would do.....
The area this chest sits in, used to be over run will small bits, tools, hardware.....so, cleaned all that mess up, tools and such too big for the chest, were sent away, some items, leftovers from assembly packs....IF I didn't need them, or had a use for them...into the trash can.
Show me a picture, I'll build a project from that
Posts: 9,536
Threads: 0
Joined: Jan 2005
Location: Orlando FL
Really nice. That is a great place for some broken bits.
Posts: 4,006
Threads: 0
Joined: Nov 2010
Now, imagine if you will..one of these as a full size chest, with the 2 drawers.....

Show me a picture, I'll build a project from that
|


















 ..had a thin film on the top of the varnish..Hmmm
 And that is it....