03-25-2020, 06:54 PM
I must have missed Derek's 3 layer blue tape when it first came out. He posted a link upstairs. Tried it tonight on the first of four drawers adn it worked great.
The sides have already been cut.


Tape applied


Yes, I use a pencil to mark my pins. I find that I can cut to the side of a pencil mark easier than cutting to the side of a knife mark. The 3 layers of tape provide enough of a reference surface to make marking the half blind DTs easy peasy.


If I don't make marks on the waste, I will probably make one cut on the wrong side.


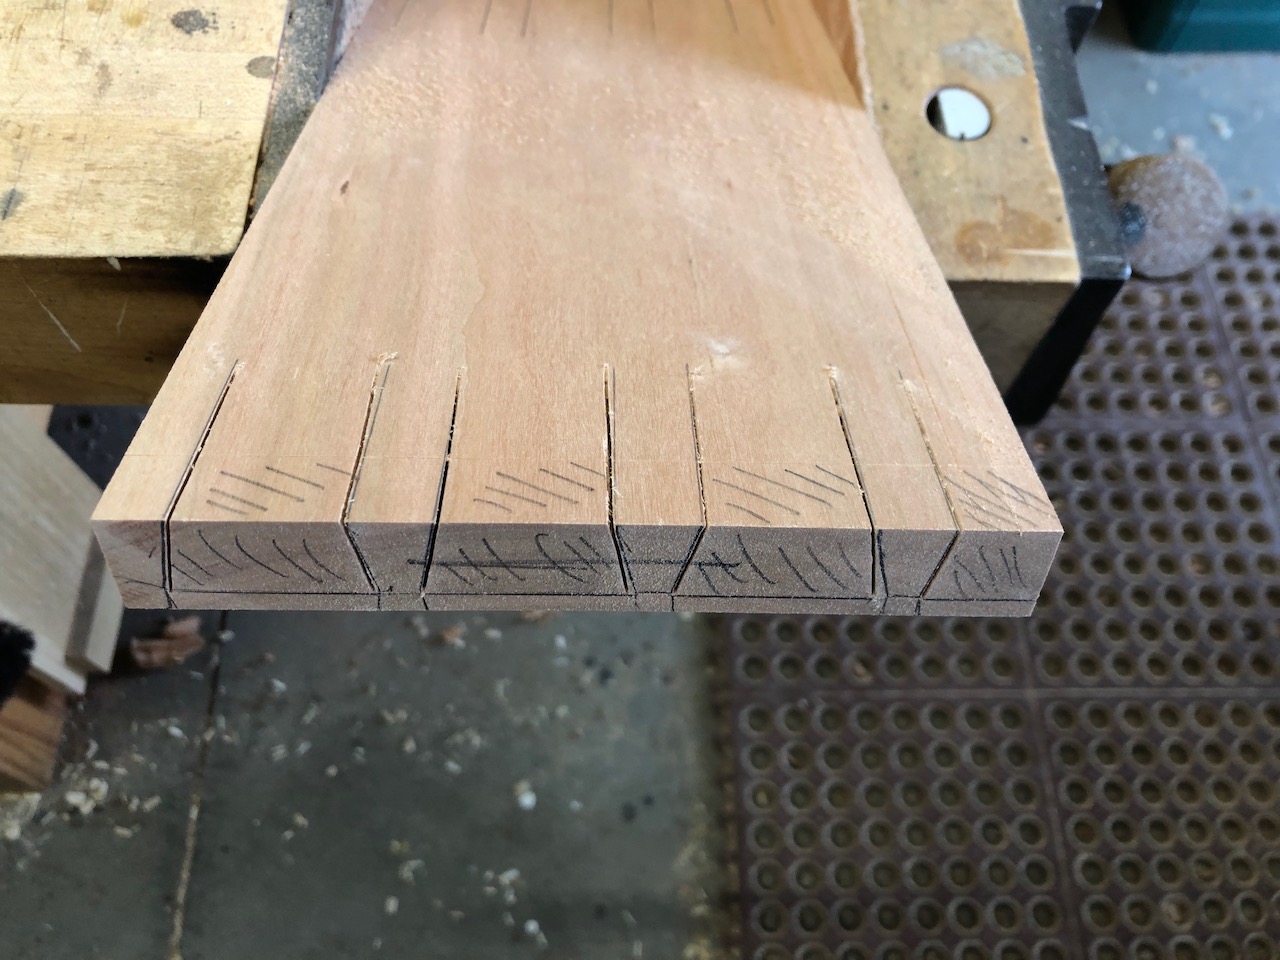
I aim to make a cut as close to the pencil line, but as long as I am on the waste side, I am good. You can see on the right where I veered off course, but that will pare out easily. This was the first corner to be sawn, and it's apparent that I am a bit rusty as I have not beed doing much in the shop until lately.


A little fuzz to clean up and a sliver to pare.


Small router plane helps level the front edge of the tail socket.


Pretty good fit.


Drawer dry assembled. I make a half dovetail at the bottom to hide the bottom groove.


The sides have already been cut.

Tape applied

Yes, I use a pencil to mark my pins. I find that I can cut to the side of a pencil mark easier than cutting to the side of a knife mark. The 3 layers of tape provide enough of a reference surface to make marking the half blind DTs easy peasy.

If I don't make marks on the waste, I will probably make one cut on the wrong side.

I aim to make a cut as close to the pencil line, but as long as I am on the waste side, I am good. You can see on the right where I veered off course, but that will pare out easily. This was the first corner to be sawn, and it's apparent that I am a bit rusty as I have not beed doing much in the shop until lately.

A little fuzz to clean up and a sliver to pare.

Small router plane helps level the front edge of the tail socket.

Pretty good fit.

Drawer dry assembled. I make a half dovetail at the bottom to hide the bottom groove.


![[Image: 11a.jpg]](https://i.postimg.cc/xTnQz1FC/11a.jpg)
![[Image: 14a.jpg]](https://i.postimg.cc/fRgQpjWt/14a.jpg)
![[Image: wrbExxs.jpg]](https://i.imgur.com/wrbExxs.jpg)
![[Image: bTdo7Hm.jpg]](https://i.imgur.com/bTdo7Hm.jpg)