Posts: 4,048
Threads: 0
Joined: Nov 2010
11-30-2020, 02:04 PM
(This post was last modified: 11-30-2020, 02:08 PM by bandit571.)
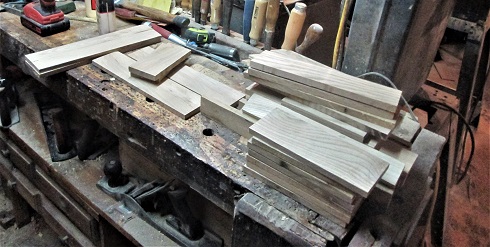
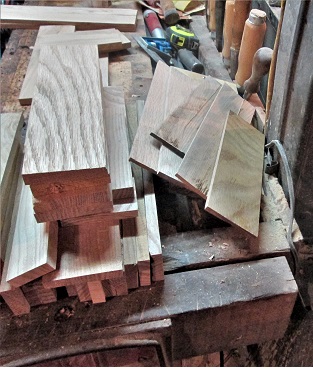
Cleaned up all the scraps and cut-offs from the Blanket Chest Project.....then went through, sorted out the bad pieces....set up the tablesaw to resaw to 1/2" thick stock....after trying to resaw the couple of 5"+ wide scraps....ripped everything down to about....~3" or so....things were stashed over on the bench..

Even kept the better looking of the thin stuff....
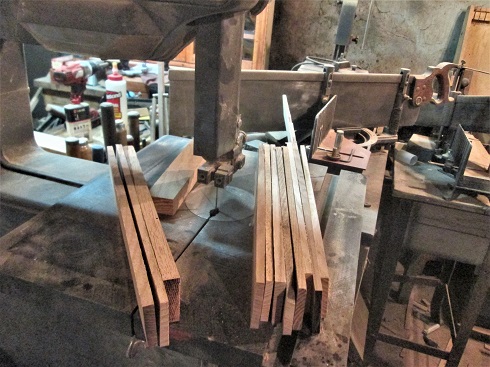
.might have a use for them....then, things even piled up on the bandsaw...

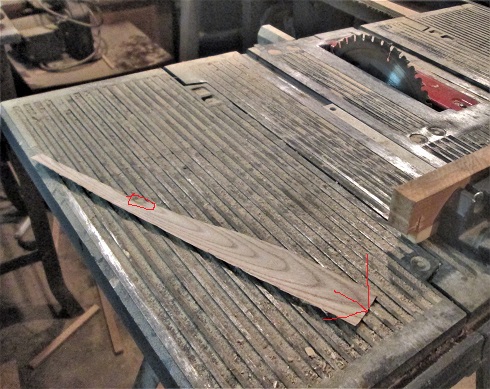
Stuff for a tray...or a lid? One board wasn't quite flat....ran it through again to remove the high spot...
It laid over, caught the spinning blade, and flew back up at me.....bounced off me stiff upper lip....no blood, though...
Did a bit of jointing, some of the edges didn't quite match up...

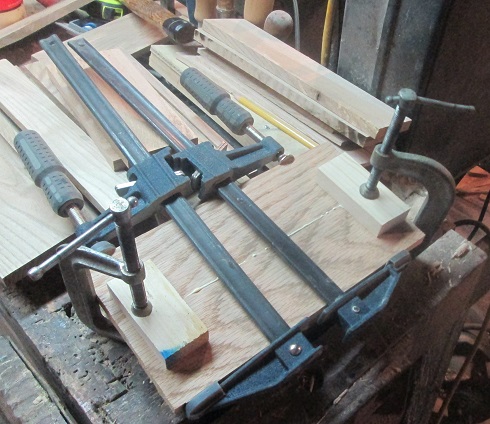
Then a glue up to get things started up...
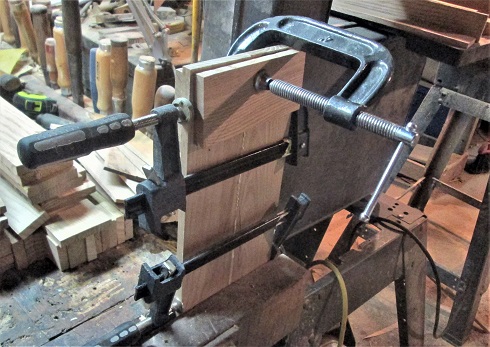
By the I got the 4th one clamped up...
I about had the hang of this sort of thing...about this time, that scrap flew up to remind....decided the close up, for the day...
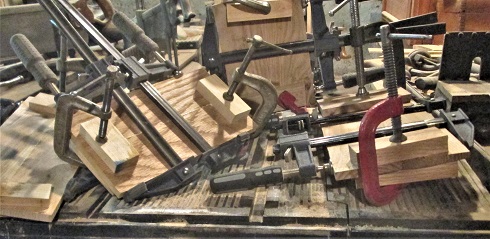
Made enough of a mess, for one day....stashed all the panel glue-ups on the saw...
Was enough fun, for one day.....
What am I building? Wait and see....might be more than one, even..

Stay tuned..

Show me a picture, I'll build a project from that
Posts: 4,048
Threads: 0
Joined: Nov 2010
Well, yesterday being a Monday...shop was closed....safer that way...errands to run...
Today being a Tuesday, shop will be open....as we are kind of snowed in, right now...


That wooden planter on the railing is about 5" tall, BTW
Level 1 Snow Emergency in the area.....might as well have a Brew-up, and a hot Cup-o-Noodles....and see about making some saw dust today.....not very good at Snow Angels, anyway..
Might go hide out in the shop, after lunch.....stay tuned...

Show me a picture, I'll build a project from that
Posts: 9,583
Threads: 0
Joined: Jan 2005
Location: Orlando FL
Pretty snow shot. I haven't seen snow in person for a long time. Don't miss it much though.
Looking forward to your finished product.
Posts: 4,048
Threads: 0
Joined: Nov 2010
12-01-2020, 07:56 PM
(This post was last modified: 12-01-2020, 07:58 PM by bandit571.)
Went sorting through a couple stacks..
and..
To find the best set of matches for a glue up..

And set these aside...clamps? They came off of the other 4 panels..
Needed to rip for width (5") and square the ends a bit....faces needed flattened...between the 60 grit beltsander and a junior jack plane..
Got them all flat and smooth, shortened the other two to 5-1/2" long...laid a few tools out..
6mm chisel to set the spacings...
That is both of the long sides sitting there. "X" marks the waste....drop the pair down low in the vise..
Chop the waste out...
Repeat for the other corners...and try a dry fit..
I think that will about do it, for today

Maybe tomorrow, I can layout the other two corners, and chop those. Then see about a groove to house a plywood panel for the box's bottom?

Stay tuned

Show me a picture, I'll build a project from that
Posts: 4,048
Threads: 0
Joined: Nov 2010
Corners #3 and #4 are done...

Grooves have been milled...
1/4" wide by 3/16" deep....panel for the bottom has been fitted..

And the usual glue, clamps, and cauls added...
Busy afternoon? Might work on a lid, tomorrow...we'll see.
Nice when dry fitting things together...it takes a mallet...

Show me a picture, I'll build a project from that
Posts: 4,048
Threads: 0
Joined: Nov 2010
Spent about 5 hours in the shop, yesterday...kind of sore, today...going to be a LONG entry...maybe a 2 or 3 parter?
Removed the clamps..slowly..
Listening for any cracks, pops, or creaking....except for having to use the mallet to remove one caul..
Not a sound was heard....always a good sign?

Stuck the box into the bench vise..
Sanded down any fingers ( except mine) that weren't flush....then checked the ends for square..
Hmmmm, we can fix that...mainly a warped corner..
Ends done, checked along the side, for high spots..
This time, the Craftsman jack plane went to work....then, leveled the top and bottom edges, as well.
Then make sure the box can sit level..
Outside of the box is done, for now..figure I'd add a couple items to the inside...while I can..
Strip of foam padding and some tray supports glued into place...allow the box to sit off in a corner, somewhere...
part 1. Part 2 involves a lid...stay tuned..
Show me a picture, I'll build a project from that
Posts: 4,048
Threads: 0
Joined: Nov 2010
Lid for the box...right. began over at the Mitersaw..

A cordless one. Needed to cut a few parts to length..
Some needed more than others....checked for length..
And try for a decent match on the grain...soon had all 4 parts trimmed..
lengths were good, width and thickness..not so good...we have ways..

Width was a matter of jointing all the edges.....thicknesses seemed to vary a bit...was soon flat, dry fit?
This will be a frame, to house the lid...
But, I needed to join the corners...means finger joints, again...
Yet another dry fit..
Should be about right...
Part 3 will be about that glued up lid panel....stay tuned

Show me a picture, I'll build a project from that
Posts: 4,048
Threads: 0
Joined: Nov 2010
Panel for the lid also came out of the clamps....a few creaks, mainly from the cauls....both faces needed plane flat and smooth....
Then trimmed this for length and width...and set it on the frame..
Should fit.....needed a rebate milled on all the sides...
Wards/Stanley #78, with the spur still rotated down....

To do both ends....end grain first...then, since the spur is not needed for long grain work..
It can be rotated up out of the way...reset the jig for the long grain sides...
The router plane is to clean out back into the corners....78s have a habit of walking away from a corner...
Rebates done, for now...need a place to house them...Stanley 45 was reset..
groove is to the "top" of the frame...test fit?

Lands were a bit too wide...used the #78 to adjust a bit....then the entire panel turned out to be too wide..length was fine, width was off a bit....jack plane to joint away the excess, 78 to redo the corners....it was during the last groove set up...jig and the grain at one of the fingers...didn't play nice...screw's head broke off the finger,,,,
I was going to glue the piece back on, and try for a glue up...Old bottle of glue was empty...new bottle was still upstairs
 ...decided I had just enough for one day..and closed the shop. 5 hours total time

have since fixed that broken piece, and did a final fit of the panel....might meander back to the shop after a bit...and try a glue up...
Maybe set up to build a tray for the inside?
Stay tuned...

Show me a picture, I'll build a project from that
Posts: 4,048
Threads: 0
Joined: Nov 2010
Cleaned out a few grooves, today...

was finally able to glue the lid up...
And a look at the underside of the lid..
Let this sit overnight.
Tray? 4 parts, glued to a 1/4" plywood base...

With a spacer bar. Tray need a handle?

Handle blank...showing where the finger holes will be drilled...
Pair of dividers....but how to add them...
So that they will look like this?
A "half lap"? drilled the finger hole, and of course the top of the hole broke off.....so, now it is also sitting in a few clamps, and cauls....
Time for a "Brew-up"? Maybe tomorrow, I can clean up all these glue ups?
Stay tuned

Show me a picture, I'll build a project from that
Posts: 4,048
Threads: 0
Joined: Nov 2010
Halftime! = Shoptime?

Handle came out of the clamps, got cleaned up....and a test fit was made...
Tray itself was sanded down, for a decent slip fit into the box...handle and dividers are now being glued into the tray...
Lid: came out of the clamps fine....long fingers sanded smooth....test fit on the box...
 at least 1/8" too narrow.
 ....we have ways

Added a 1/8" thick strip to both sides....will rip and plane the excess, once the glue is cured...then I'll see about the ends...
Stay tuned..
Show me a picture, I'll build a project from that
|

