#10
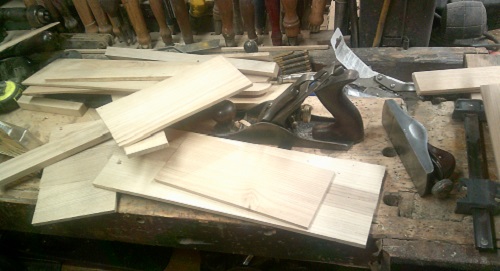
Have a stack of 1/4" thick slats..
   
Decided to start gluing up a few panels...
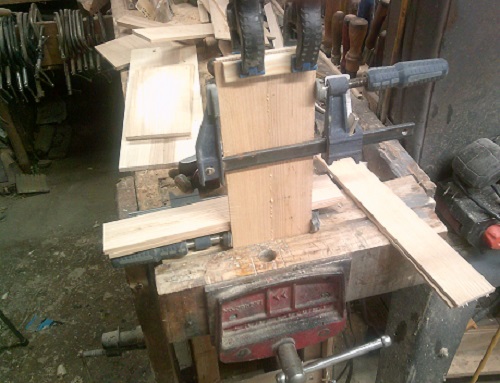
   
Get a few close to the same size..joint the edges for a glue up..panel #1...
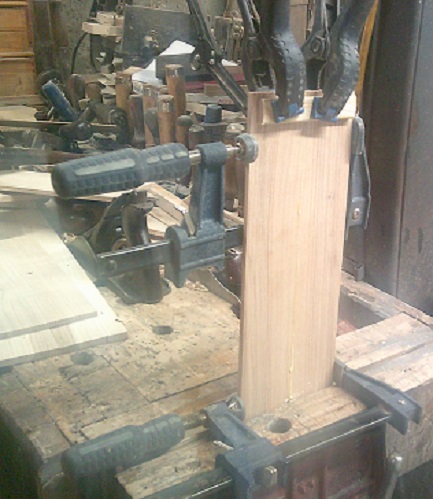
   
Then Panel #2..while Panel #1 was getting cleaned up...
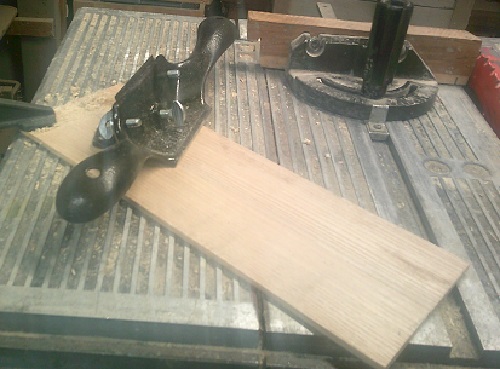
   
IF a Stanley No. 80 is going backwards, it lets out s SCREEEECH that can be heard a mile away...
Panel #3 was jointed...
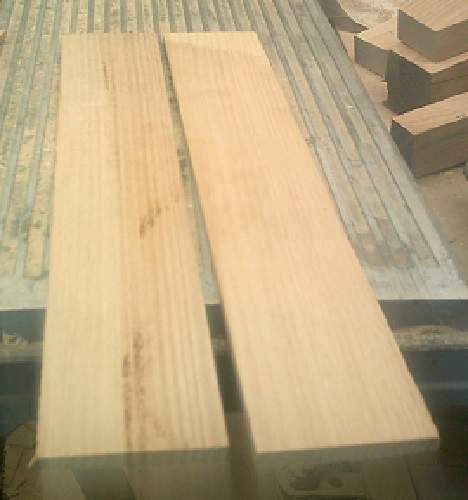
   
But needed #2 to get out of the clamps, before I could glue it up...

There are 2 planks at about 1/2" thick...that I could use as a top and a base....or some such way...maybe a base and a door...top and bottom of a fancy box?
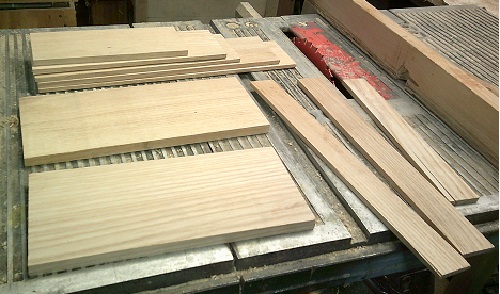
   
And a pair of fancy, curvy things..
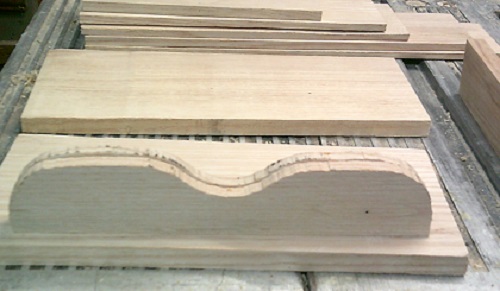
   
Maybe a base's feet?   or..some other fancy detail?

There is a left-over panel from the Clock Project..
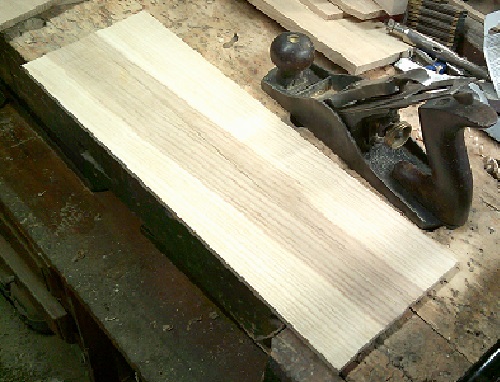
   
That MIGHT just get cut 3 times, and make a box where the grain goes all the way around the outside? 

Stay tuned..we'll get this figured out...by Ground Hog Day?
Show me a picture, I'll build a project from that
Reply

#11
Up-date:  Might have enough for 2 boxes...Got parts for 4 sides and a base..
[attachment=49537]
2 ends, 2 sides..and a base...Base was beveled on the better face to about 15 degrees or so..then the planes went to work..
[attachment=49538]
To remove the sharp edges..I even rounded them right on over..
[attachment=49539]
A 60-1/2 Block plane worked on the end grain..and a Stanley #3, Type 11 work the long grain edges...

The base will be sitting on a stand, of sorts...remember these 2 pieces?
[attachment=49540]
These and a couple slats between them....and it would be nice IF they matched each other a little better...
[attachment=49541]
Spokeshave to smooth things out...left the clamps in place, long enough to flip these 2 over, and into the vise..
[attachment=49542]
And joint the straight edges....straight and matched up..

Was one of Them Days, today...the kind that it would be better to stay out of the shop.....yep, safer, too.....maybe tomorrow's Laundry Detail, I can just hang out IN the shop, and see how things go.....corner joints to be Finger/Box Joints...1/4" x 1/4" x 1/4"....I hope...

Stay tuned...
Show me a picture, I'll build a project from that
Reply
#12
Glue-ups happens..


Once all 4 corners are done..
[attachment=49574]
Dry fitted together with clamps..
[attachment=49575]
Then brush on some glue, and clamp up for real..
[attachment=49576]
Had one area that want to bow in a bit...cut a spacer to stop that...and a square to check for....square..
[attachment=49577]
Let this sit a day. then do a clean up..
[attachment=49578]
And see how it will sit on the base..
[attachment=49579]
The panel I was going to use as a lid...
[attachment=49580]
Did not really fit the box...too big, too "clunky" looking....

Stay tuned....Single Brain Cell Sketch Up has a new "plan" for the lid....

So, anyone want to see the "Boring Parts"  of making box joints by hand?
Show me a picture, I'll build a project from that
Reply
#13
While the glue sets up on this...
[attachment=49612]
I worked on building up a thicker lid..
[attachment=49613]
Matching up the end grain on the ends...miter the corners..glue in place..
[attachment=49614]
Then the other end..
[attachment=49615]
Then fit the sides in place and glue them ...
[attachment=49616]
Let sit overnight...and then unclamp both..
[attachment=49617]
Clean things up, check for any gaps..
[attachment=49618]
Plane as needed..
[attachment=49619]
And get the hinges and the tools..
[attachment=49620]
Add a latch to the front...
[attachment=49621]
And now, to decide on a Finish of some sort..

Stay tuned...
Show me a picture, I'll build a project from that
Reply
#14
Looks like Mr Banditt has acquired some new F-clamps. What brand did you get?
Steve

Mo.


I miss the days of using my dinghy with a girlfriend too. Zack Butler-4/18/24


The Revos apparently are designed to clamp railroad ties and pull together horrifically prepared joints
WaterlooMark 02/9/2020


Reply
#15
The F style clamps are from Harbor Freight , the Spring clamps are from Hyper Tough, Wall E World....
PIP?
Hinge view..
[attachment=49658]
And from the front..
[attachment=49659]
Now has a coat of Amber Shellac on top of the Minwax Special Walnut stain....

Might leave it at that...?
Show me a picture, I'll build a project from that
Reply
#16
Nice. Project for January...check.
If you continue to cut corners, you'll end up going in circles!

It's my thumb so I'll hit it if I want to!
Reply
#17
Nice job.  Excellent idea!!!
"I tried being reasonable..........I didn't like it." Clint Eastwood
Reply
Making panels, again


Forum Jump:


Users browsing this thread: 1 Guest(s)

Product Recommendations

Here are some supplies and tools we find essential in our everyday work around the shop. We may receive a commission from sales referred by our links; however, we have carefully selected these products for their usefulness and quality.