Posts: 4,036
Threads: 0
Joined: Nov 2010
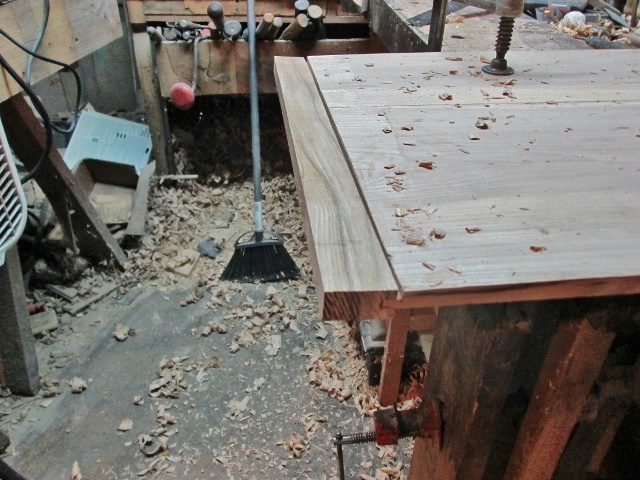
I used one of the frame's pieces to check the fit ..
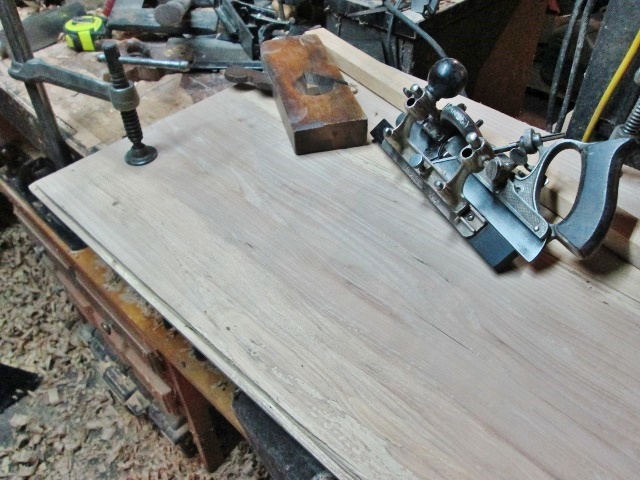
Then do the other end the same way. Didn't feel like messing with the spur on the 78...set up the Stanley45, instead
Shoulder plane was a "just in case" thing....did the dry fit..
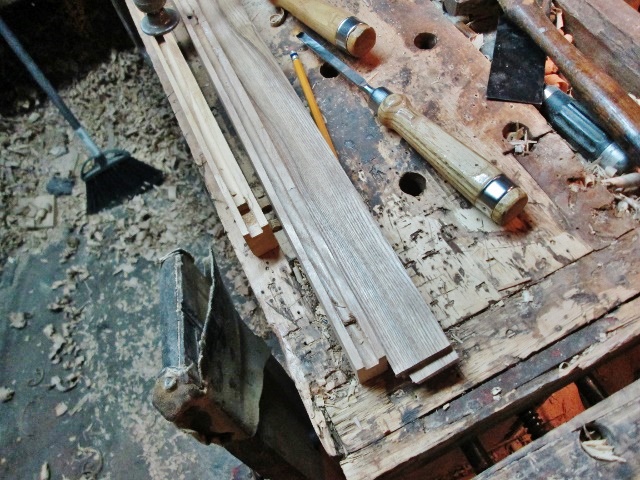
Then a little Mortise & Tenon work..
Finally, spread some glue, fought the clamps, added a bunch of cauls....cussed a lot..


And this thing can sit right there, until tomorrow. Had quite enough fun, for one day. 3.5 hours worth.
Have metal corner brackets to add after the clamps come off....then I can fit the door to it's opening, and add a couple hinges.
Methinks it is Millertime!....stay tuned for tomorrow's misadventures

Show me a picture, I'll build a project from that
Posts: 24,145
Threads: 2
Joined: Sep 2003
Location: Missouri
Steve
Mo.
I miss the days of using my dinghy with a girlfriend too. Zack Butler-4/18/24
The Revos apparently are designed to clamp railroad ties and pull together horrifically prepared joints
WaterlooMark 02/9/2020
Posts: 2,774
Threads: 0
Joined: Oct 2012
Location: W. of Rainier, E. of Orcas
I am confused. Are you ripping apart and rebuilding the same piece? From the first post? Or, is this a thread continuing through several projects? The last question has it's own followup--how many?
Posts: 4,036
Threads: 0
Joined: Nov 2010
This is all one large project. 45bf worth of Ash. There is a base cabinet, with a raised panel door and a drawer. Then there is a "bookcase" upper cabinet. It also has a raised panel door. All of the above is being built from scratch, no "ripping apart" needed.
Working on the door to cover the top book shelves now.
Just one single project. The Boss wanted a cabinet to sit in a corner of the Dining Room. There is also a chimney in that short section of wall. This will be like a Chimney Cupboard, but the upper half "steps back".
Project is being made as two units....just to make moving it a bit easier to do.
Show me a picture, I'll build a project from that
Posts: 4,036
Threads: 0
Joined: Nov 2010
Fought with the door long enough....it was going to be installed, one way or the other..

Was too wide..ripped that off....was too short...added a filler strip....metal corner brackets are on....after snapped half a dozen screws...
Spend a little time, making plugs, and installing them..

Had to drill two Walnut scraps, to get enough plugs.....
Will need to buy one more knob, to match the other ones. Spring latch is holding the upper door closed...
Letting the glue on the plugs dry....called it a day.
Show me a picture, I'll build a project from that
Posts: 40,246
Threads: 0
Joined: Apr 2007
Posts: 2,774
Threads: 0
Joined: Oct 2012
Location: W. of Rainier, E. of Orcas
Heheheheeeee.... The detritus never seems to grow too much. Bandit must use a shovel after stomping...
Ok! Now I get what you are doing. Cool!
Posts: 4,036
Threads: 0
Joined: Nov 2010
Ok, supplies have been bought, yesterday. Shop was closed..Monday.
Priced 1/4" plywood 2' x 4' panels.....Luann was about half the price of the other wannabees...and had way better grain...
1 qt of Amber Shellac, and a few cheap brushes....
Bought a pair of knobs..only because they came by the pair....only needed one. But at least it will match what I have on the case.
Right leg is acting up...not letting me stand for very long. Will be going out to check on Mom this afternoon....
Hey..at least it isn't a Monday....
All those shavings make good fire starter stuff out in the Fire Pit....for when we burn all the paper trash....Have a big, yellow scoop with a handle...carries about a 5gal bucket's worth up to the FirePit....
Show me a picture, I'll build a project from that
Posts: 4,036
Threads: 0
Joined: Nov 2010
Ok...plugs have been leveled....chisel to chop most of them off. then a block plane to level things. Knob has been installed, after I had sanded the entire front of the case..

Then brushed on a coat of Amber shellac..
Have the plywood cut to about the right size ( I hope

)
Should look better than this open-air thing..

So, close the door, and let the shellac cure awhile...
I think I am pretty close to calling this done?
Stay tuned..there may be Project pictures when it IS done....if anyone wants to see them


Show me a picture, I'll build a project from that
Posts: 795
Threads: 0
Joined: Dec 2016
I bet that cupboard weighs a ton. Only way to build something is to make it heavy.


![[Image: il_fullxfull.84640151.jpg]](https://img1.etsystatic.com/000/0/5374556/il_fullxfull.84640151.jpg)
