"we have a Plan"
#31
Door #1 was trying to curve a bit...found a plank that was curving the other way...
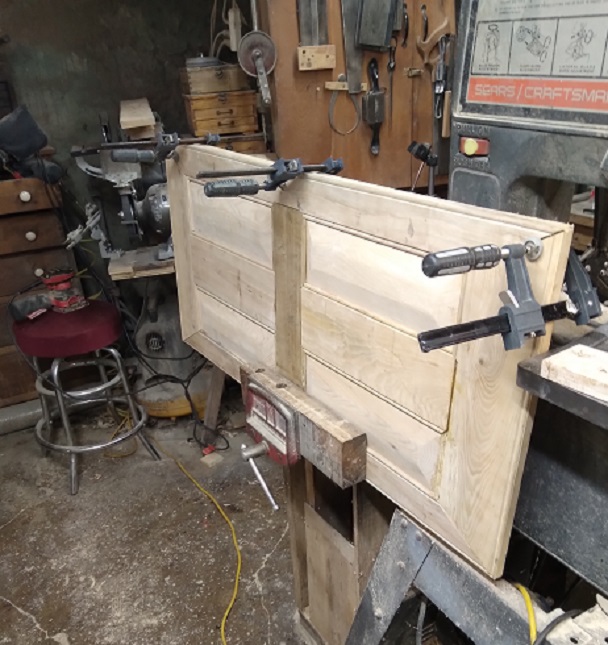
   
Clamped the 2 together so that the curves cancel each other out...and let sit a day or 3...

Cross cutting, and ripping going on...to mill blanks...
   
Already had the "top" rail...cut the middle/lock rail to size..and a "Bottom: rail....the center stile will be one piece, this time around...and will involve a half lap joint where it meets the lock rail..

Already have 4 raised panels set aside, and have the 2 Long stiles awaiting joinery..
   
As for that mess on the floor..
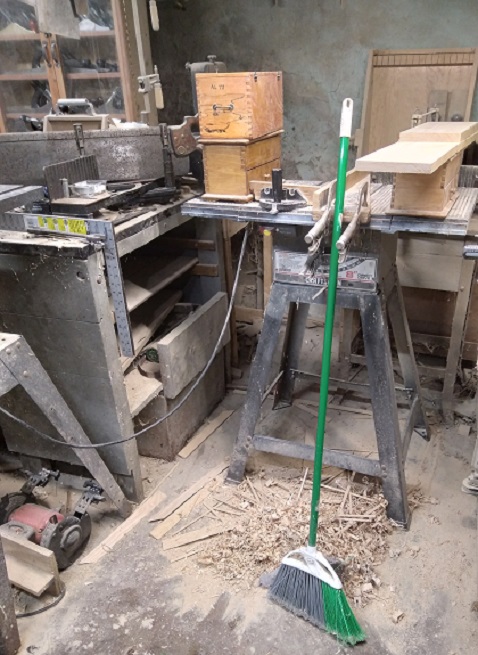
   
Took 3 round trips to haul it all upstairs...
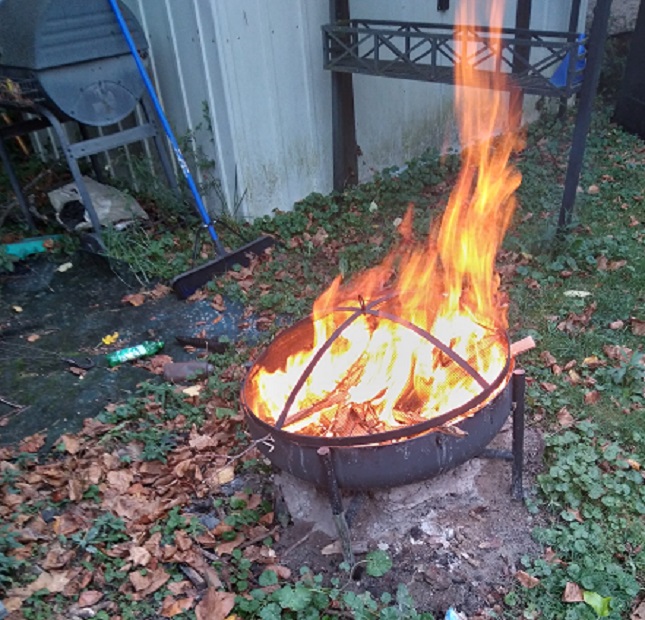
   

"Pass the marshmallows"?
Show me a picture, I'll build a project from that
Reply
#32
In USE this morning....
   
With the Stanley No. 3 to smooth things down before the Stanley #45 can start with the beads..
   

And then 2 beads were milled...one per edge..
   
Need to re-adjust the jig, to allow for the other 2 parts  

Then maybe start on some joinery?
Stay tuned
Winkgrin
Winkgrin


Attached Files Image(s)
   
Show me a picture, I'll build a project from that
Reply
#33
All beads have been run..
   
Double checked the angles needed..
   
Gauge had slipped a bit sine the last time...
   
Protractor now says the angle is 62 degrees..

2 Hours IN the shop today...was right at the time limit...decided to try a few ideas out...
   
To speed up cutting these angles...I tried the Bandsaw..
   
Bandsaw blade likes to wiggle a bit in the cut....we have ways..
   
My Chuting Board....cut was a bit wavy...was trying to stay on the waste side of the lines..then plane down to the lines..

Second operation:   this is a Half lap sort of joint...mean half needs to be removed...Thought about free-handing at the bandsaw...
Try with some scrap, first..
   
Hmmm, not good...try a fence?
   
Was a little better...

Cut runs up to a cross cut done on the Mitrebox..
   
Saw down to the layout line...

Still..I had to level things out...
   
Wide chisels, and the Sargent #79...

Worked to get both Stiles done...then I could try to work on the 2 rails that join to them....

Stay tuned...
Show me a picture, I'll build a project from that
Reply
#34
Last part of today's 2 hour shop....was trying to get ONE corner done...

This time around, it was just the Mitrebox....and a rip saw....once the layout lines were drawn...
   
Angle was set at 28 degrees....only thing is, there is no tab to LOCK the angle...

Again..saw down to the lay out lines....then remove most of the waste with the D8 Rip saw....which also likes to wiggle in the cut...

More wide chisel and #79 work....until....
   
I finally got a Dry Fit that I was happy with....

Shop fan was blowing on me, about out of Diet Mountain Dew...legs were complaining...
One corner done..3 more to do...then work on the inside parts...

Stay tuned....I MIGHT try that Japanese Rip saw..tomorrow...we'll see..
Show me a picture, I'll build a project from that
Reply
#35
More dry fits...seems I have been doing a LOT of them, lately..
   
And...
   
Middle section needed a bit more work..
   
Right about here...

Until finally..
   
Linen Closet Door #2 is in the clamps, waiting for glue to cure...

And..Door #1?
   
Still needs cleaned up and made ready for a finish...

Stay tuned....made a $16 Lumber Run, today...to get parts for Doors #3 and #4...
Show me a picture, I'll build a project from that
Reply
#36
2 doors..awaiting a clean up, and a finish...
   
Standing 42-3/4" tall...each are 19" wide...
Too tired to work in the shop, today....will see how things go...tomorrow...

Have laid in a supply of Lumber...
   
About $16 worth....should be enough to build the other 2 doors...
Show me a picture, I'll build a project from that
Reply
#37
Nice doors. 

And $16 for all of that wood... wow.
Reply
#38
Ok...doors have been Gap-Filled,  broken trim fixed..everything has been sanded down to 220 grit..insides and outside...

Went to apply a coat of Witch's Brew Stain....not a single brush to be found anywhere?  

Sitting here, cooling down with a Guinness Draught Stout, and sitting in front of a fan to cool and dry me done...

Stay tuned...will post a few photos AFTER the stain is done....
Show me a picture, I'll build a project from that
Reply
#39
A run to the store...
   
For Knobs, brushes, latches, and fine sandpaper for the ROS...

Witch's Brew was getting a bit low in the can, and getting a bit too Walnutty....Dumped what was left of the Gunstock Stain into the can, and gave things a good stir.

Set one door face down on top of the Tablesaw...brushed on a coat of the Witch's Brew..wiped it all down...set up 2 wooden Dobies and set the just stained face on top of them...stain and wipe down the "Show Face"...and set the first door aside..

NEXT!
   
Repeat the above..then set both doors aside to dry...
   
Will check on them, tomorrow...might try to add a coat of Warm Gloss Poly?   THAT should be "Fun"....

Stay tuned...

BTW: these 2 are to be the upper 2 doors...trying to decide which is "up" and which is "down"   wait and see after the Varnish is done, I guess....Then add the Knobs, and latches...
Show me a picture, I'll build a project from that
Reply
#40
Been following along, just been silent and preoccupied with the recovery. Sorry but Wow Bandit, those turned out great.
If you continue to cut corners, you'll end up going in circles!

It's my thumb so I'll hit it if I want to!
Reply


Forum Jump:


Users browsing this thread: 1 Guest(s)

Product Recommendations

Here are some supplies and tools we find essential in our everyday work around the shop. We may receive a commission from sales referred by our links; however, we have carefully selected these products for their usefulness and quality.