Using the leftovers
#38
Stain has arrived..Minwax "Gunstock".    Has been brushed on,  then, wiped down once everything was coated...
   
Intend to "line" the inside 
   
With a foam padding...this IS a toolbox, after all..
   
Good thing this IS the back of the box, and will be against a wall...
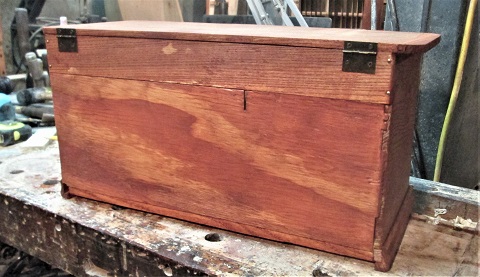
   
Trying to decide on whether to add a chain to the lid...
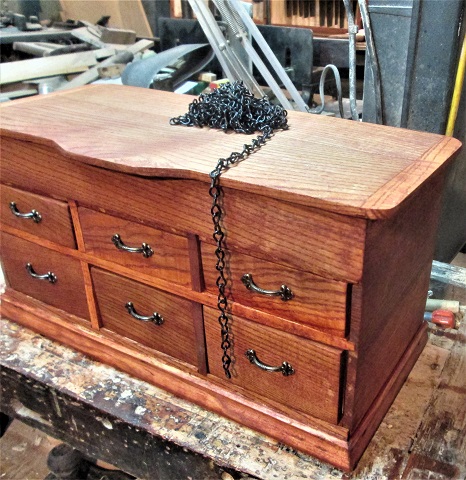
   
Or..not....kind of on the thin side...trying to find screws wide enough, that won't poke through the lid or the sides...

Will be looking for a couple handles for the ends, to help carry this thing....there will be a special bit of "trim"  right above the upper center drawer...once the finish is done...

Stay tuned..
Winkgrin
Show me a picture, I'll build a project from that
Reply
#39
Waiting on the stain to stop smelling the place up...then I can do the varnish part..

Well, and how does one install this stuff...?
Confused
   
Just lay in in there?   line all the sides, as well.....glue used? 

May just cut to fit... and flop it into the wet varnish....or, just leave it loose...
Stay tuned...
Show me a picture, I'll build a project from that
Reply
#40
I just cut it to fit and lay it in there. Never had a piece jump out yet.


Big Grin
Mark Singleton

Bene vivendo est optimum vindictae


The Laws of Physics do not care about your Politics   -  Me
Reply
#41
Hmmmm. one on the lid, and one on the front, above the center drawers?
Confused
   
Make a couple labels?
   
These come 3 to a baggie, with screws...
Show me a picture, I'll build a project from that
Reply
#42
It sure looks good to me.
As of this time I am not teaching vets to turn. Also please do not send any items to me without prior notification.  Thank You Everyone.

It is always the right time, to do the right thing.
Reply
#43
Single coat of clear gloss has dried, and been rubbed down...Label holder installed, and figured out the chain install...
Cool
   
Oh, and a foam pad was cut to fit. Then these took up "residence"...
Rolleyes 
   
Closed the lid, before any more show up...
Winkgrin  
   
Still on the look out for a pair of handles I like, that will fit on the ends...
   
Install with screws ( can't access the inside very well) and match the rest of the hardware...
   
maybe print or draw up a label to sit in the holder? 

Just might be done?   Was supposed to be done before Aug. 1st....I was.."delayed"...
Rolleyes

Thanks for looking...
Winkgrin
Show me a picture, I'll build a project from that
Reply
#44
Handles were bought, today....needed modified to what I needed.   They were to use a bolt from the inside of the case.....not an option here.   There were two FAKE screw heads on the outside..were being the operative word.   ground those off flat.   There was a dimple in the back...got out a couple drill bits...one broke before I finished the first hole!  Over in the Tap & Die Box, there was a brand new, SHARP drill bit about the right size...drop or two of oil...did 3 holes in the same time as the first one did..

So, holes drilled, fake screws gone...and some of the paint....paint the entire handle black...and then rehab a saw while I wait on paint to dry..


Then, haul the handles and their new screws upstairs, and install on the ends of the case..(picture time!)
Winkgrin
   
hard parts...getting this level...and then..
   
Getting the other one to match...
Tray is filling up..
   
And, so are some of them drawers...going to be a hefty case...

Oh, as for that saw?
   
That Estate Sale $1 D8 Rip saw....might find a use for it...
Rolleyes
Show me a picture, I'll build a project from that
Reply


Forum Jump:


Users browsing this thread: 1 Guest(s)

Product Recommendations

Here are some supplies and tools we find essential in our everyday work around the shop. We may receive a commission from sales referred by our links; however, we have carefully selected these products for their usefulness and quality.