02-05-2018, 03:42 PM
Quick back story....
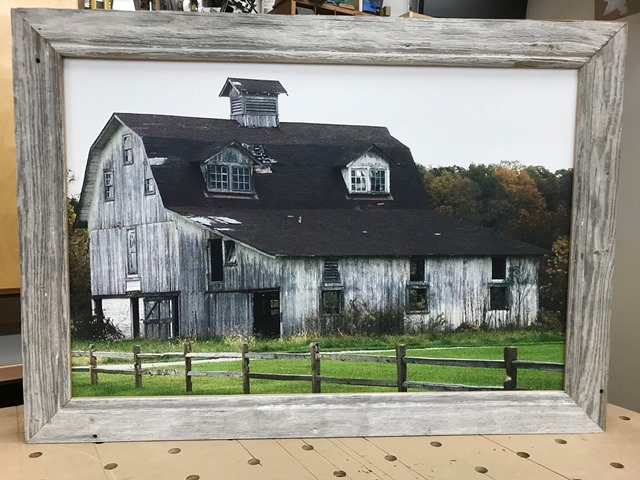
The barn in the pictures was on a farm in Bartholomew County Indiana. My wife's boss owns the property now where the barn once stood and unfortunately it had to be taken down.
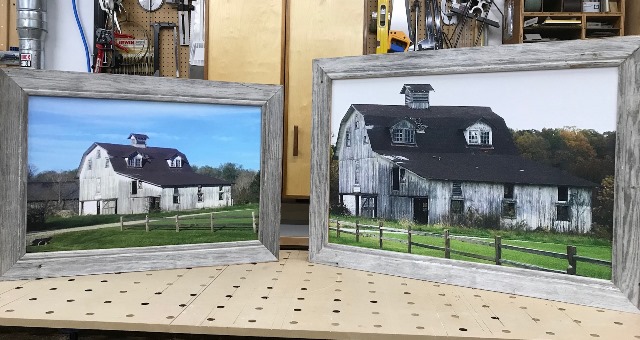
They salvaged all the materials they could off the barn and had the forethought of taking pictures of it before it was taken down. These particular prints were put on canvas.
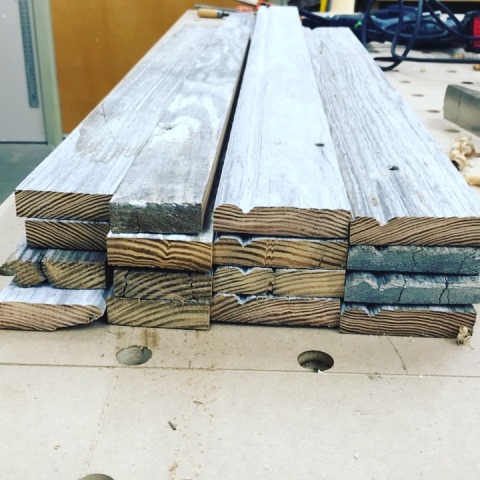
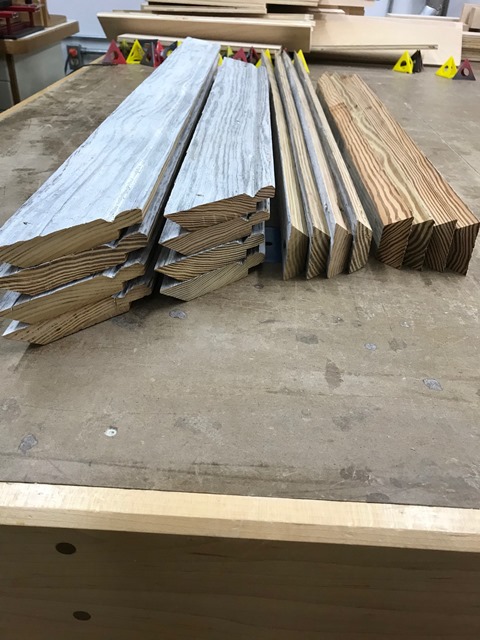
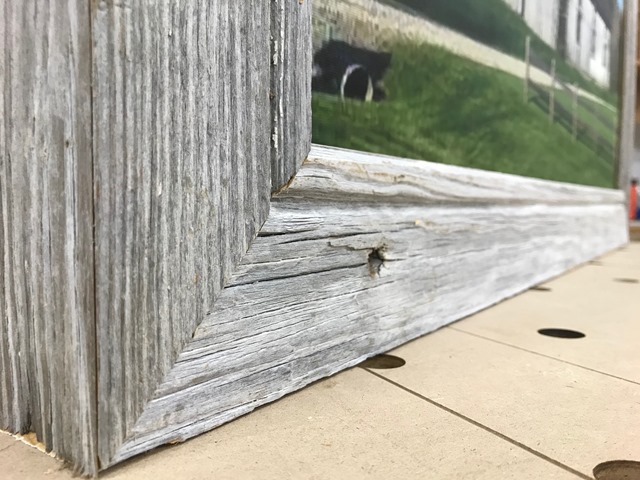
What better material to use for frames than the barn wood itself. All the siding was ship lapped 6" wide pine. I used the bead detail that was in the middle of each board for the inside edge of the frames. I think each frame was arouind 2 3/4" wide.
4mm dominos and pocket screws hold the miters together.
Since the prints were on canvas, the frames had to be built up so they were 1 1/2" thick.
I did go back and roll the miters along the edges with my burnisher and it gave it a seamless look.
The large one is 24" x 36" and smaller is 20" x 30"
Pretty cool that the barn stood there for who knows how many years and parts of it get to keep living on....


"This is our chance, this our lives, this is our planet we're standing on. Use your choice, use your voice, you can save our tomorrows now." - eV


