Posts: 4,006
Threads: 0
Joined: Nov 2010
Have a few scraps of pine, left overs. To start the Project, I needed to clear the decks..

Everything out of the tool well, swept it out, even. Put the planes away, and about half of the tools

The tools I use all the time went back into the well....only way I can keep track of them pencils..Boards laying under the toys are for the Project..
Hmmm, too skinny, and too thin....might make the legs from this, and burn the knot

This one is about right, length wise, and thickness. 1 x 10 scrap. Has issues with pitch pockets, and a bit of wane
 So...
I can use this second 1 x 10. I can rip to remove the bad areas, then glue the good parts back together, keeping an eye on the grain. The short 1 x 4? Will be a stretcher between the legs, at each end of the Step Stool. "Plan" is for wedged, through tenons to attach the legs, and a wedged through tenon on each end of the stretcher. Thinking maybe Walnut scraps to make the wedges. 8" or so tall, just enough to step onto and reach a top shelf as needed...
Will round the corners of the top. Legs will get a couple curves to them....to give it some feet, and a waist. May start in on Tuesday.....shop is usually closed on Mondays

Stay tuned

Show me a picture, I'll build a project from that
Posts: 747
Threads: 0
Joined: Jul 2004
Looking forward to the update. I like your build alongs, not everything needs to be fine furniture made from mahogany. Sometimes a stool made from pine scraps is the most fun in the shop.
Semper Fi,
Barry
Posts: 4,006
Threads: 0
Joined: Nov 2010
This might take a few..( 18 photos....yeah, that kind of an evening
 )
So, cut the skinny board down to a pair of 8" long parts...
Hmmm, these came from the same board ?

"Ve Haft Vays.."

Stanley No. 3c Type 11/12. jointed both edges with the two parts clamped up....some they would at least match each other. Faces of the boards needed cleaned up...

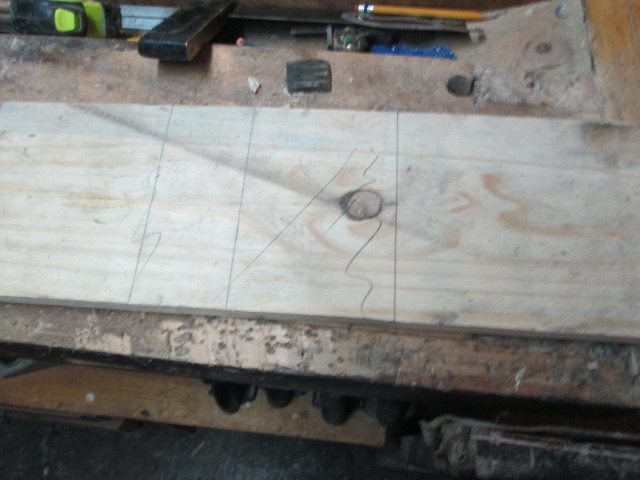
All four faces were done. Then some work marking a few lines, some straight, some curvy....even used a compass to draw some of the curves
 ...Bandsaw to make a bunch of cuts, and hope the two "legs" match each other...

Got lucky
 had a piece to use as a stretcher....it MAY get some curves, too...for now, just a block (easier to lay out tenons, that way..)
Set these three aside....have two more boards to mill up
Stay tuned

Show me a picture, I'll build a project from that
Posts: 4,006
Threads: 0
Joined: Nov 2010
Did I mention we have had a bit too much rain around here?

Starting dry out. At least the floor drain works

Of the other two boards, each had "issues" that needed taken care of...board #1
A big pitch pocket, and that knot...will have to go. Board #2?
Remains of a knot, the wane on the edge, and yet another pitch pocket....marked a few more lines. bandsaw to do the rips

These are the scraps....the remains?
Less wear & tear on me...same result as if I had hand sawed them. Maybe I can get these three ready to be glued up?

Stay tuned...

Show me a picture, I'll build a project from that
Posts: 4,006
Threads: 0
Joined: Nov 2010
"Roh-kay, Raggy" Still had the plane handy, might as well joint the edges?

Must have done "OK", as I stacked the first two up, to check the joints, and left them sitting there, while I jointed the third one...
They never moved. must have got them pretty close? One board was a bit too long, grain was nasty at the end, and wasn't even square...we have ways

Then back to the bench, to try out matching the grain..
Not too hateful?
 Spread some glue, add some clamps...

Think that will do it, for one evening in the shop.
Maybe tomorrow, I can start on chop a bunch of through mortises? We'll see...
Stay tuned

Show me a picture, I'll build a project from that
Posts: 4,006
Threads: 0
Joined: Nov 2010
Letting the glue cure a while today...and the left heal can heal a bit...
Legs?

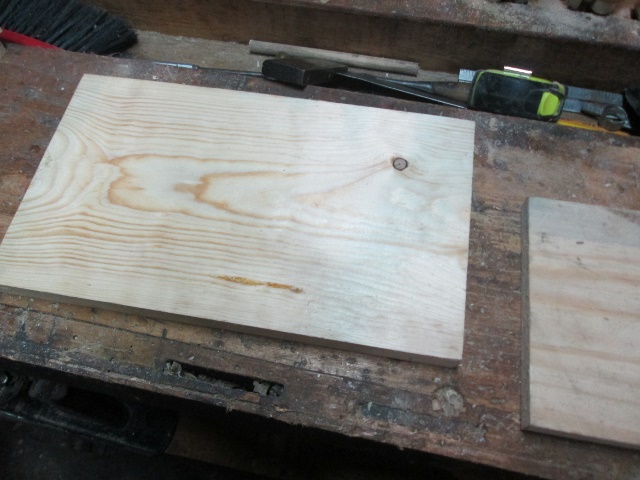
Need some work done, first. need the stretcher done, and fitted to the legs. Tenon and Mortise work need done to connect the legs to the stretcher. Once that is done, I can layout for the tenons through the top. Maybe after Lunch?

Stretcher looks a bit too...blocky
 , may add some shallow curves, to it's top and bottom edges....after the tenons are done.
Stay tuned....maybe have this little project done before Saturday?


Show me a picture, I'll build a project from that
Posts: 2,772
Threads: 0
Joined: Oct 2012
Location: W. of Rainier, E. of Orcas
Will there be enough 'meat' between the mortises to hold the top together? It seems like a lot of tenon.....
Posts: 520
Threads: 0
Joined: Jun 2018
(08-22-2018, 10:57 AM)hbmcc Wrote: Will there be enough 'meat' between the mortises to hold the top together? It seems like a lot of tenon.....
I don't think that will be an issue. M/T is one of the strongest joints, but the one fear in a piece like that is if the tenons are too tight, there's a chance the top will split when it's assembled. Critical to make sure there's enough space. I prefer to make 'em a tad loose and wedge 'em. Looks good too!
Alan
Posts: 4,006
Threads: 0
Joined: Nov 2010
All tenons are now 3/4" square...more or less....

Panel is out of the clamps, and planed...
Once I figured out which scrap laying on the bench was the stretcher blank,,,a few lines were drawn, bandsaw used

I could use the tenon to lay out a mortise, and chop that out...
Straight through...chisel is from Aldi's, BTW

Used that square hole to mark out one for the other leg....chopped that. Then the dry fit..

And marked for the wedge, so after I have installed the wedge, that gap will close up...wedge?
 May need to cut a few of those?

may be able to get a few out of this scrap of Walnut?
2 mortises done, 6 to go...sometime. Was just killing time last night, waiting of the towels in the dryer to get done.
Will see how today goes...stay tuned

Show me a picture, I'll build a project from that
Posts: 4,006
Threads: 0
Joined: Nov 2010
6 mortises were drilled..
Aldi's chisel and a hammer to chop square..
Spokeshave to ease some edges..

Top marked for square, and to round off the corners...
Kerfs cut ....wedges (8) were cut
BRB...have a couple more photos to add

Show me a picture, I'll build a project from that
|


 So...
So...


 So...
So...


