Posts: 612
Threads: 1
Joined: Dec 2016
....not this much.
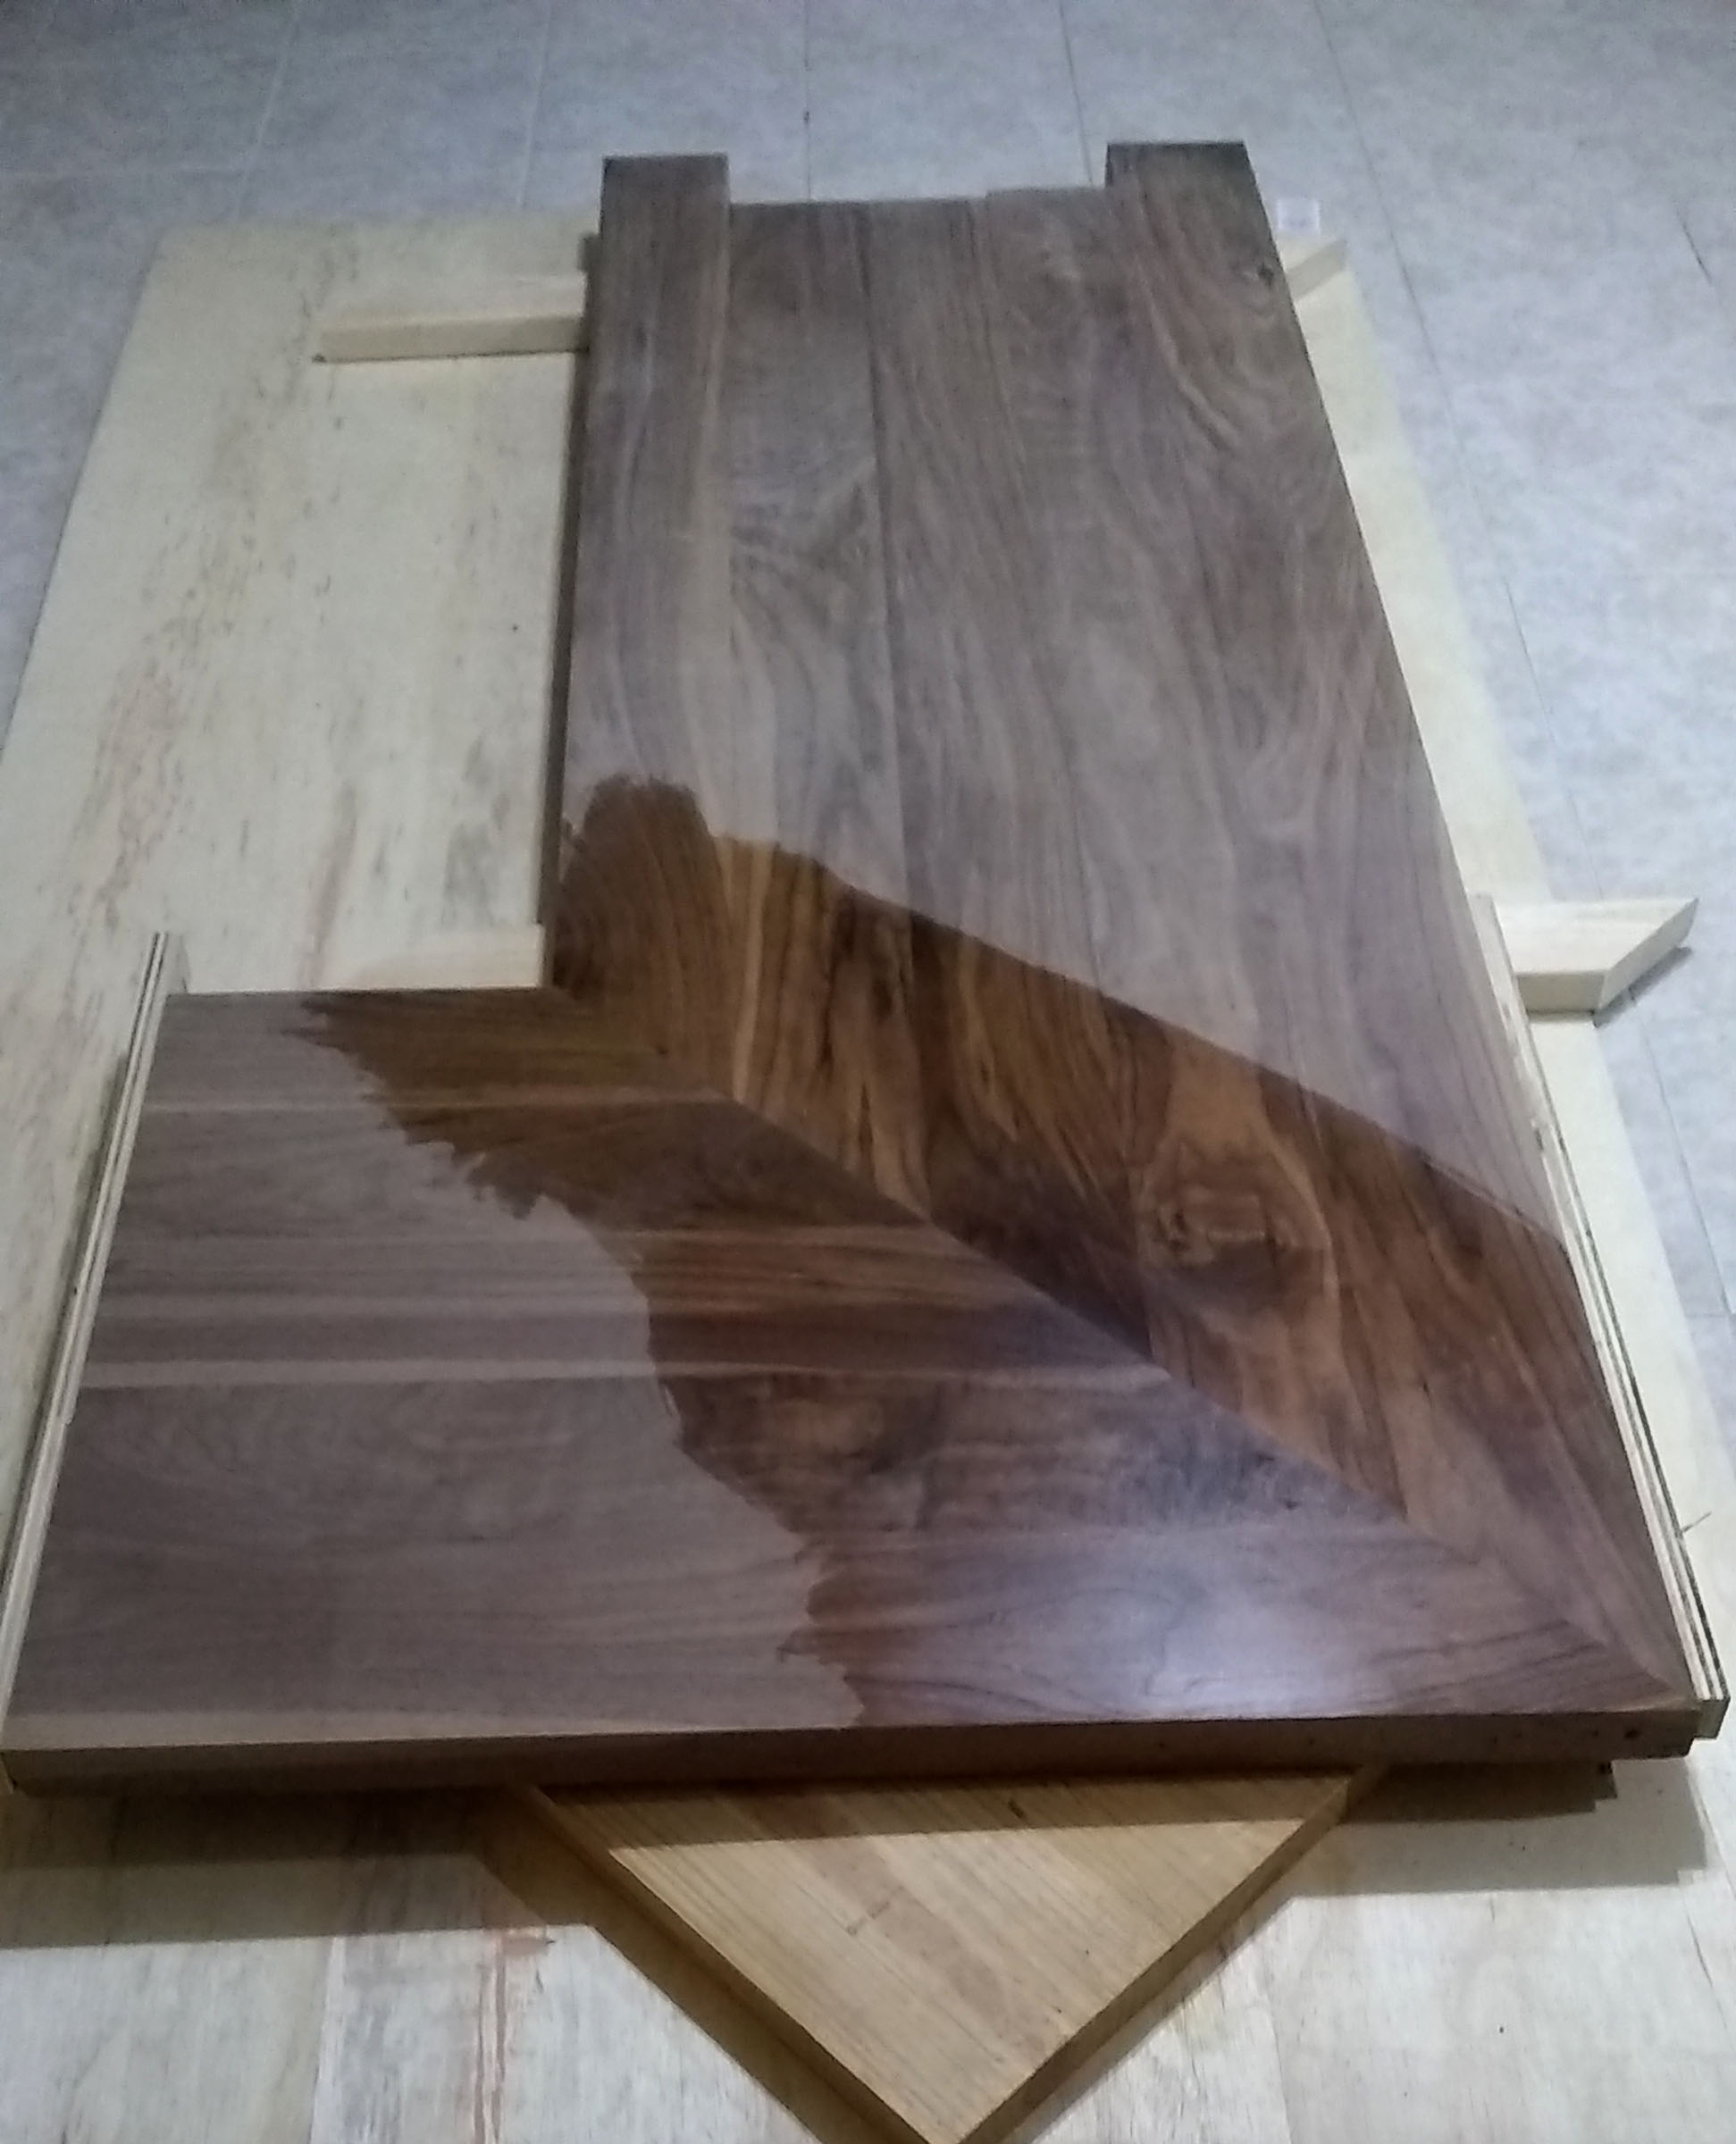
This was attempt #3 to glue up the 2 small Walnut counter tops together last night. The issue I've been having is the tops shifting as I clamp them together and the set up time for the Titebond III glue I'm using. The first 2 attempts I just used biscuits (mainly to help line up the 2 tops) and an outside corner bracket. This last attempt I also added two 3/4" Oak dowels and the dry fit went well but during glue up the tops shifted yet again. Also, either my saw wasn't at 90 degrees or the blade flexed because there's a taper causing a gap towards the top of the 2 counter tops.
What also concerns me is this was supposed to be the easy one at only 5 1/2 feet long. The other two tops are 10 1/2 feet long and I have to do them in place due to the length and weight of the Walnut.
Posts: 4,652
Threads: 0
Joined: Jan 2008
i think id fashion me up some form of inside corner out of some scraps to shove the outside corner of the top into and clamp it.pocket holes are my frind on things like this.
Posts: 12,197
Threads: 2
Joined: Nov 1999
Location: Nebraska City
I've done one bar top with a miter like that and it was a miserable experience... but looking at that pic, I think maybe you're being a little hard on yourself. I'd take that and be grateful.

Remember, you may bugger up the cut for the reals next time if your start trying to 'fix' it.
Posts: 2,387
Threads: 0
Joined: Jan 2008
Location: Irving, Tx
I've never tried it on a piece as big as yours (and your next piece is much larger), but I have had good luck with pocket hole screws. But that too, had a lengthy learning curve.
To get the perfect joint you might try a shooting board.
"I tried being reasonable..........I didn't like it." Clint Eastwood
Posts: 12,888
Threads: 0
Joined: Jan 2010
Location: Lewiston, NY
How wide are those pieces? If they are more than 8" or so I bet they are going to split open as the RH changes seasonally. Wide solid wood glued at 45 deg is never a good idea. Anyway, I would switch to epoxy for the glue because it will fill any little gaps and also because it doesn't need nor want much clamping pressure to bond. I'd probably glue some temporary blocks on the bottom (or maybe the top) on each side of the joint so I could put clamping pressure directly 90 deg to the glue line.
The joint looks to be cut nearly perfectly; expecting more directly off the saw might be too much to ask. But you can make them perfect with a shooting board and hand plane, and that's how I would go about it if you want better.
John
Posts: 21,886
Threads: 0
Joined: Oct 2003
Are you saying the gap changes thru the vertical and there’s no gap on the bottom?
How small is this gap?
Gary
Please don’t quote the trolls.
Liberty, Freedom and Individual Responsibility
Say what you'll do and do what you say.
Posts: 612
Threads: 1
Joined: Dec 2016
09-28-2019, 10:12 AM
(This post was last modified: 09-28-2019, 10:40 AM by Duane N.)
After about 3 hours of prep work and using three 3/4" Oak dowels I got it together with a tighter seam and it didn't shift. The planks are 5" wide with a total of 5 boards making a 25" deep counter top. I ended up doing a slight bevel on both faces being glued together but not enough that it caused the counter top to bow at the seam when clamped.
Posts: 619
Threads: 0
Joined: Mar 2005
I have to admit, it looks much better.
Telling a man he has too many tools,
is like telling a woman she has too many shoes.
Posts: 13,412
Threads: 0
Joined: Jun 2004
Location: Texas
I'll fasten/screw a block on either side on the bottom every few inches to get clamps on. Sometimes it works, sometimes not.
It looks good now- you did it.
Posts: 21,886
Threads: 0
Joined: Oct 2003
That’s the ticket!
Gary
Please don’t quote the trolls.
Liberty, Freedom and Individual Responsibility
Say what you'll do and do what you say.


