Adventures in Pine
#10
Ok..first off, this is a Build-along thread.   IF someone does not care for the word "Pine"..move along. 

Before I can even get started, things needed put away..
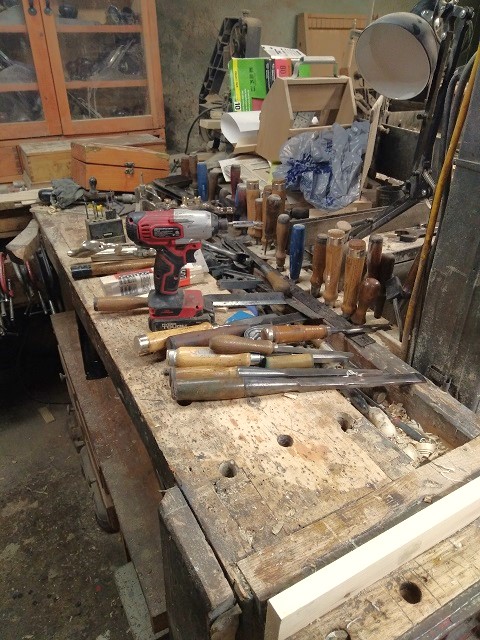
   
"Clear for ACTION!"
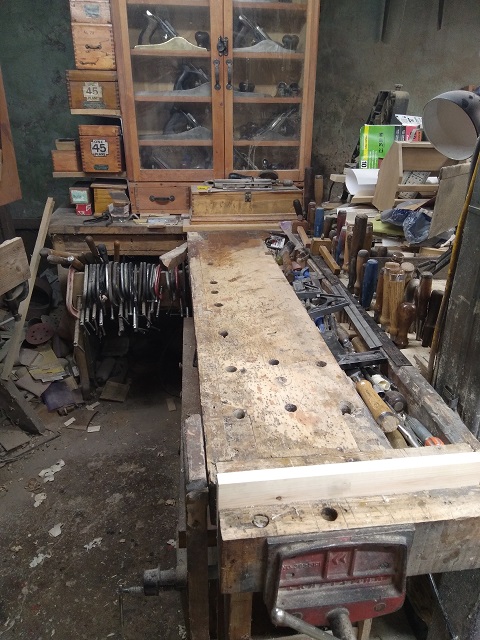
   
I took an inventory of the leftovers from the last Project..
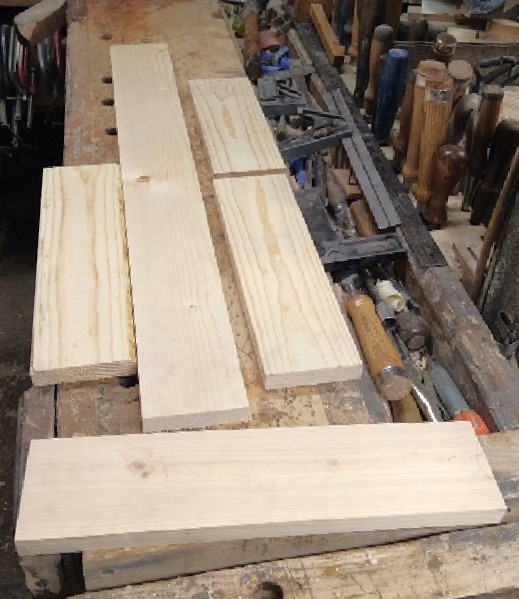
   
Hmmm..maybe build a case or 2? 
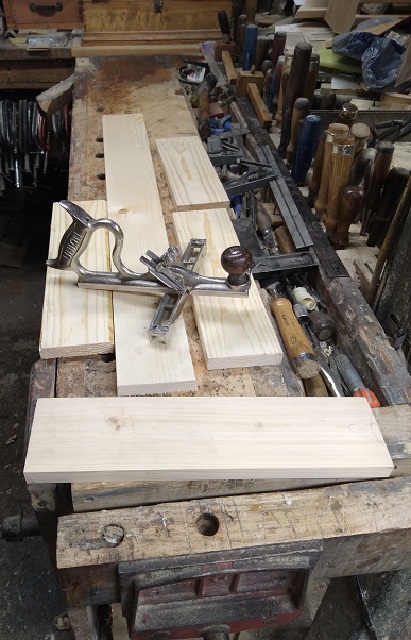
   
As both this Union No. 41 and a Stanley No. 66 could use a place to call home?   After all, this fancy plane has one..
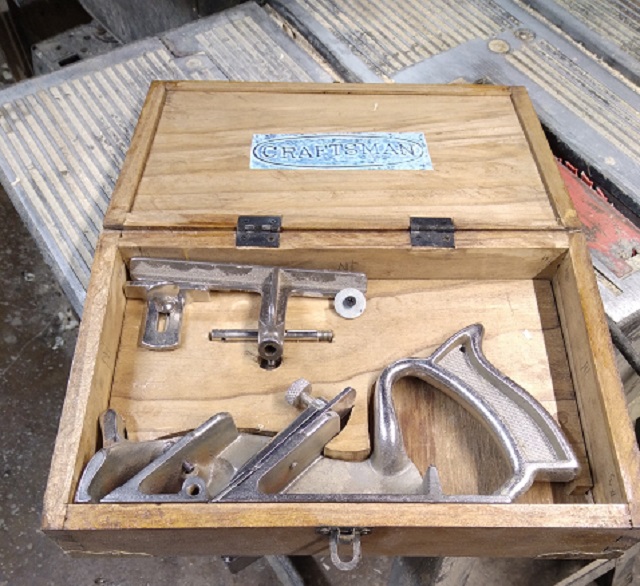
   
So..close the lid on this one, and put it away..
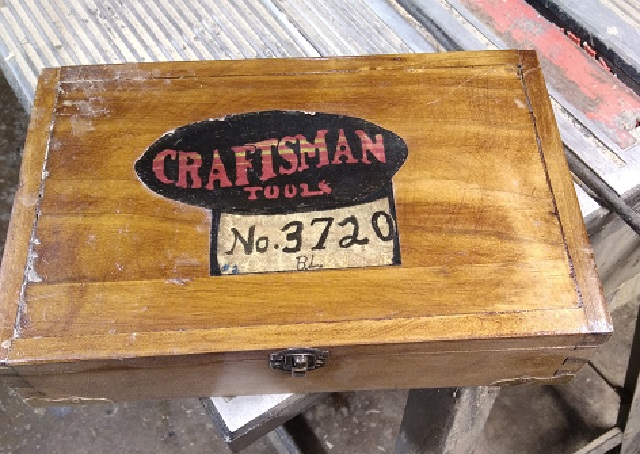


leftovers are all 3/4" thick...so I'll need to resaw them down to about 3/8" thick.  At 3-1/2" wide, they MIGHT be a tad too tall....

A few tools did stay out on the bench...
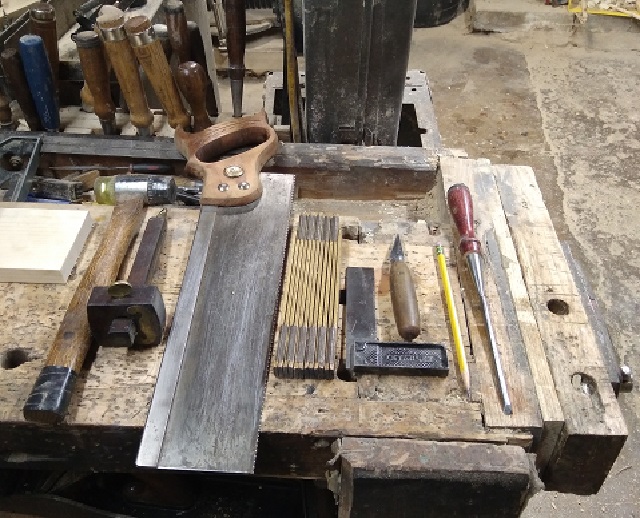
   
Will see if I need some of them...for now...take a good look..
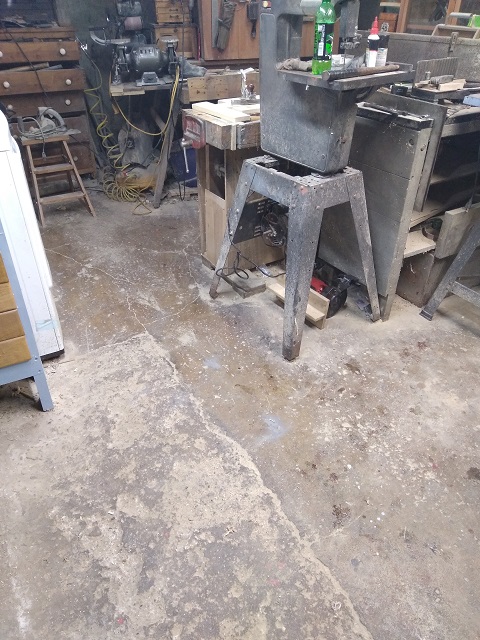
   
As this Work Area won't stay this way for long..

Stay tuned...
Show me a picture, I'll build a project from that
Reply
#11
Cross cut to remove a couple knots..decided 3/4" was too thick for such a small box..

Shallow kerf cuts..
   
Maybe 3/4" deep...to try to help this saw
   
Resaw the boards to 3/8" thick...more or less..saw drifted just a bit..
   
Turned the board end for end and finished the cut..
   
Cleaned the parts up..
   
Thought I had all the parts cut to size...
   
Except the horn on the handle sticks up a bit more than I thought...

Got 2 more ends cut to correct length...needed ripped to correct width...Tablesaw was quicker...then Joint all 4 so that they match each other..
   
And lay out a few tools...
   
For the Next Episode's Tasks....

"Wir haben zu arbeiten" 
Stay tuned..
Show me a picture, I'll build a project from that
Reply
#12
Top of the morning to ye!  "ta obair le deanamh agaiin" as my very distant relatives would say..

First tool to use..name and model number..
   
To mark a "baseline" for me to abuse..
   
Darken the scratched line with a pencil, so my eyes can see the line...then that Stanley 4" square and a sharp knife to knife the lines

The chisel being used..Witherby 3/16" bevel chisel...it will set the spacings..
   
And the 6" combo square to carry the lines over and down each face..then a wee bit of saw work..
   
Disston No. 68...a light rub of a candle, just above the tooth line, helps a lot..

I have a thick plywood piece I call a chopping block..I attach it to the bench right over the bench's top of the leg...no bouncing allowed..
6" H-F F Style clamp to hold things still.   The same chisel used for the lay out work..
   
Goes to work on the show face, first...chopping and peeling about 1/2 way down..this USUALLY prevents any blowouts happening on where it would show on the outside of the corner...then flip the end piece over..
   
And chop out the rest of the waste...then stand this up onto the long side piece..so that the faces marked "IN" are facing each other..
   
And with a freshly sharpened #2 pencil, trace around each finger..
   
Then finish marking this out..saw the waste side of the lines..chop from both faces..and see if things dry fit together...
   
And see IF things are square...
   

Then repeat for each corner...currently have 3 out of 4 corners done..and dry fitted up..
Just been too hot in the shop the last few days...I do have Laundry Detail this evening...so, will see what happens then...and see IF the new box fan will be of any help..

Stay tuned..( boring anybody?)
Show me a picture, I'll build a project from that
Reply
#13
Boring, no. Inspiring, YES!!
Mark Singleton

Bene vivendo est optimum vindictae


The Laws of Physics do not care about your Politics   -  Me
Reply
#14
Corner #4 started..
   
And..about 25 minutes later..
   
Then dry fit all 4 corners...
   

Cut a supply of braces and cauls up...
   
The braces are a friction fit, sit in the middle of the longer sides....to prevent those long sides from bowing in, when the clamps are squeezed tight..
   
I checked for square, and then used a diagonal clamp..
   
To pull until things are indeed square..checking all the corners..
   
Then let sit overnight...

Stay tuned..
Show me a picture, I'll build a project from that
Reply
#15
Clamps have come off..
   
Corners have cleaned up nicely.. and a view of the front/back..
   
Checked that the plane still fits..
   

Ripped some Pine strips...
   
And miter the ends on a mitersaw..
   
And work my way around the edges of the box with clamps and glue..
   
These are known as "Slips"...flip this mess over..
   
And let this sit a spell...

later, I might put a saw to work..
   
Once I figure out WHERE to saw at...as the "Lid" will get sawn off.   Then I can cut 2 plywood panels to fit...one for the box's bottom panel, and one for the Lid's panel...and glue both in place on the "slips"...wood box sides are a bit too thin to mill grooves into...

There is a plywood piece on the mitersaw..
   
It protects the saw's teeth from cutting into the gib, while still allowing me to cut all the way through a part..and keeps the cut-off from clogging things up...

Stay tuned...
Show me a picture, I'll build a project from that
Reply
#16
Clamps came off...top and bottom planed level
   
Decided to add a bead detail...near where the saw will be going
   
Had the fence on the wrong side of the cutter..fixed that..cuts a lot better..Stanley No.66

Used a part of that bead..
   
Turns out, that the D8 Panel saw has gone "many Moons" since the last time it saw a file....used the Disston No.4 Backsaw instead..
   
Cutting the corners, and connecting them first, then..
   
Then saw the long sides, to connect with the ends...

Use the 2 halves to mark out a couple plywood panels...then glue, clamps and cauls..
   
Both in the box, and..
   
F Style clamp is because a finger joint corner did not hav any glue in it

Letting this sit a spell..stay tuned
Show me a picture, I'll build a project from that
Reply
#17
Lid being installed...hinges..
   
Flipped over, Latch installed..
   
Blocking to hold the plane still..
   
Final sanding done...then a coat of the Infamous Witch's Brew Stain..
   
Wiped down, and then a pad was used..
   
Then a coat of Amber Shellac...
   

Rub this down with the Steel wool..call it done...
Show me a picture, I'll build a project from that
Reply
#18
Fun adventure...fits like a glove...'er plane. Nicely done. Thanks for the build-a-long.
If you continue to cut corners, you'll end up going in circles!

It's my thumb so I'll hit it if I want to!
Reply


Forum Jump:


Users browsing this thread: 3 Guest(s)

Product Recommendations

Here are some supplies and tools we find essential in our everyday work around the shop. We may receive a commission from sales referred by our links; however, we have carefully selected these products for their usefulness and quality.