"we have a Plan"
#41
A Serious Can Opener was required..
   
It even came with a screwdriver end, for those Old School Types that use a screwdriver to open a can of varnish...I used the Hook for mine...

Door #2....moved it a bit, varnished to inside face first...then carefully rotated it to do the show face...
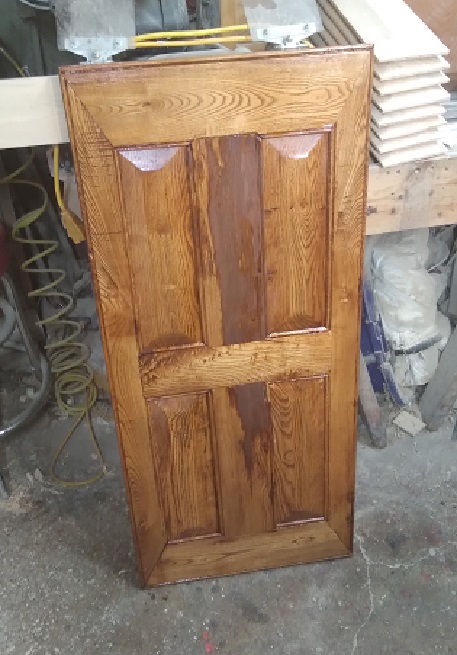
   
That center "stripe" is sap wood...aka...SPONGE...will let this coat of Varnish dry...then go over the sap wood later...

Knees were protesting ( again?) with all the bending down...so. IF I can not go to the "Mountain"...
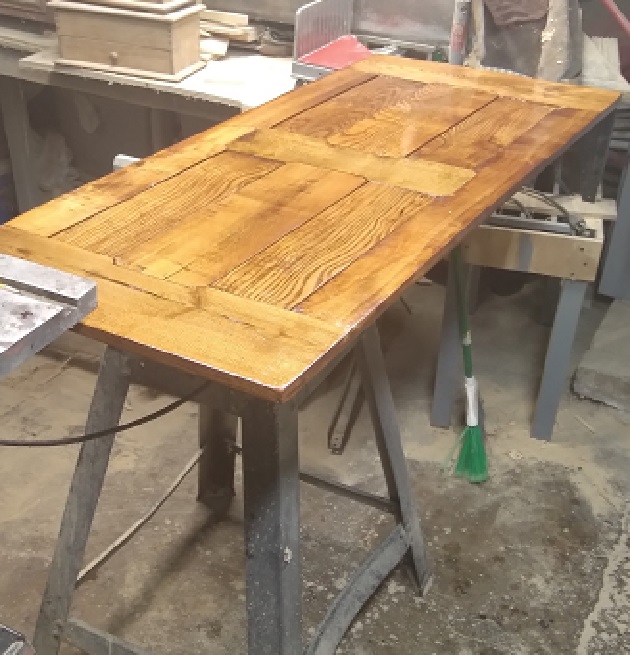
   
This is the inside face of Door #1...there are 2 wood Dobies underneath it...

As I will have Laundry Detail later today,,,will check on both doors...and flip #1 Door over, and varnish the show face...and let both doors sit overnight...rub down tomorrow, after I get back from 2 Yard/Moving Sales....

Stay tuned..
Show me a picture, I'll build a project from that
Reply
#42
Both doors have been hauled upstairs,,and are awaiting to be installed..
3 Rails for the next 2 doors ( #3 #4) have been milled to rough length, width, and thickness..
   
Was trying out a "New" toy in the shop...
   
Came in a box with 4 other power tools...$10......

Stay tuned..
Show me a picture, I'll build a project from that
Reply
#43
one hour shop time, today..

Hauled one plank to the shop...marked it up for 3 Top/Bottom Rails..trying to avoid stuff like this..
   
Wanted three blanks..3/4" x 5" x 19"....
   
To match the 4th rail I already had milled...freshly milled parts, get clamped up for a day or three...
   
To season them a bit..along with the 4 stiles...

tablesaw was the main tool, today..
   
Clean up, Aisle #2!

Have 2 options for Monday...either mill the rest of the parts needed...or...start running beads on the parts I already have....
The Raised Panels were done a while back..
   
So, it is just a matter of making frames to hold these in...

As for that powered planer...
   
It do make a big mess...and this is just what hit the floor...

Stay tuned...
Show me a picture, I'll build a project from that
Reply
#44
Up-dates?   Been a few days, hasn't it...and with 90+ minutes each day...things have moved along quite a bit..
Beads have been milled
   
4 Stiles,and...
   
Along with the top and bottom rails to match up with the center stiles and Lock rails..
   

Ends of the stiles were mitered...
   
And made sure they matched...

Then turned these into half laps..
   

Then the top and bottom rails were done to match..
   

Next. tenons were milled..
   
And the corners mitered..

Then mill a few grooves, with  the router table...as some of the grooves need to be stopped...
   
Yep..NEW fences, even...
So, now the bench is filled up..
   
As all grooves are done...
   

So..later today..layout and mill a few M&T joints, and maybe see about a half lap the the lock rail crosses over the Center Stile? 
Stay Tuned...
Show me a picture, I'll build a project from that
Reply
#45
Dry fit #1...
   
Lock rail mortised into the 2 Stiles...2 raised panels fitted to the grooves....

Dry fit #2...
   
Center Stile Mortised in the Bottom Rail....remaining 2 Raised Panels planed for a better fit in the grooves...

Half Lap:   Laid out on the Center Stile...
   
Will work on the last Mortise ( top rail) next time I am in the shop...and work on that half lap..

MIGHT just get Door #3 Glued up before next weekend?   We'll see...

Stay tuned...
Show me a picture, I'll build a project from that
Reply
#46
These are not Passage doors. these are Cabinet Doors...

IF they were Passage doors...They would be twice as thick.....thinking 6/4...the tenons would be in through Mortises..fastened with wedges and pins....Long time ago, I used to make and sell Passage Doors...pre-hung ones at that...both solid panels and Louvered versions....

These are for a Bathroom Linen Closet...that happens to use 2 pairs of doors, 4 doors total.

Feeling a bit under the weather, today....unable to stray too far from the Bathroom....trying to get Laundry Detail done...but nothing getting done in the shop...today...will have to wait and see how tomorrow ( Pay Day !!!) turns out....
Hopefully I am not boring everybody....
Show me a picture, I'll build a project from that
Reply
#47
It's looking good.

Hoping you're feeling better soon.
Reply
#48
Thanks for the build along!

Hope you feel better soon
Reply
#49
Heal up Bandit. We love your build posts.
Mark Singleton

Bene vivendo est optimum vindictae


The Laws of Physics do not care about your Politics   -  Me
Reply
#50
Ok...start here..
   
Have a selection of helpers handy...
   
Bottle of glue, a brush to spread it around..and plenty of clamps...
   
Including a LARGE Pipe clamp underneath..
   
Plan is to let Door #3 sit here for a day or 2...until I need the Tablesaw back...while I work on the Joinery for Door #4..
   

Stay tuned....
Show me a picture, I'll build a project from that
Reply


Forum Jump:


Users browsing this thread: 3 Guest(s)

Product Recommendations

Here are some supplies and tools we find essential in our everyday work around the shop. We may receive a commission from sales referred by our links; however, we have carefully selected these products for their usefulness and quality.