Posts: 11,685
Threads: 1
Joined: May 2014
Location: South Central Oklahoma
I didn't do this one as a buildalong, but thought I'd share the finished project.
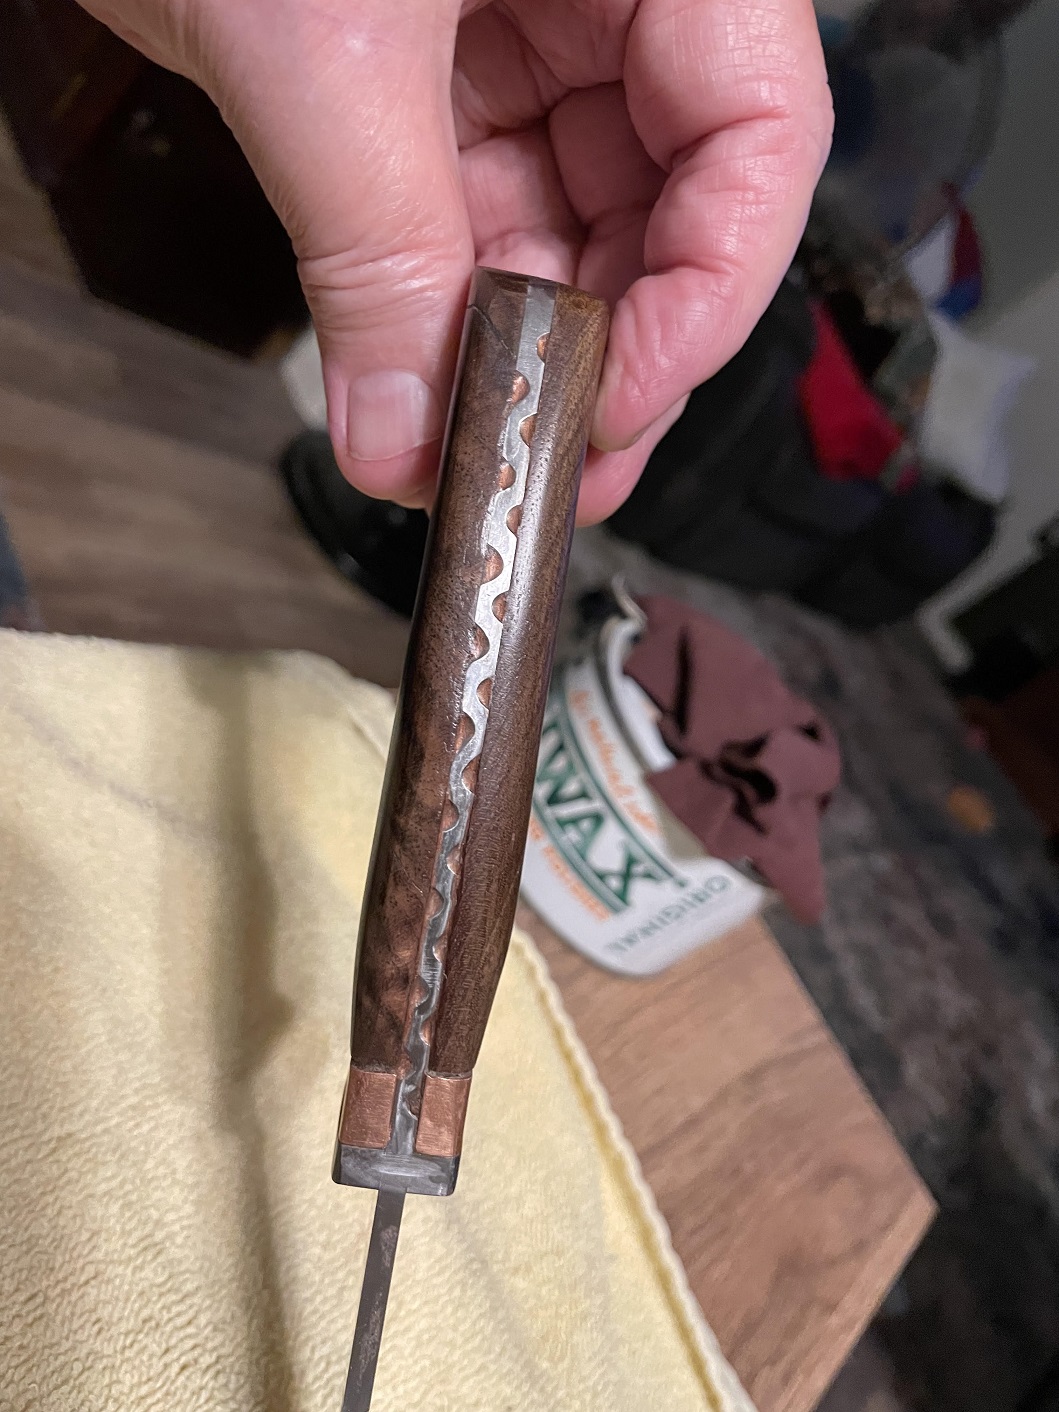
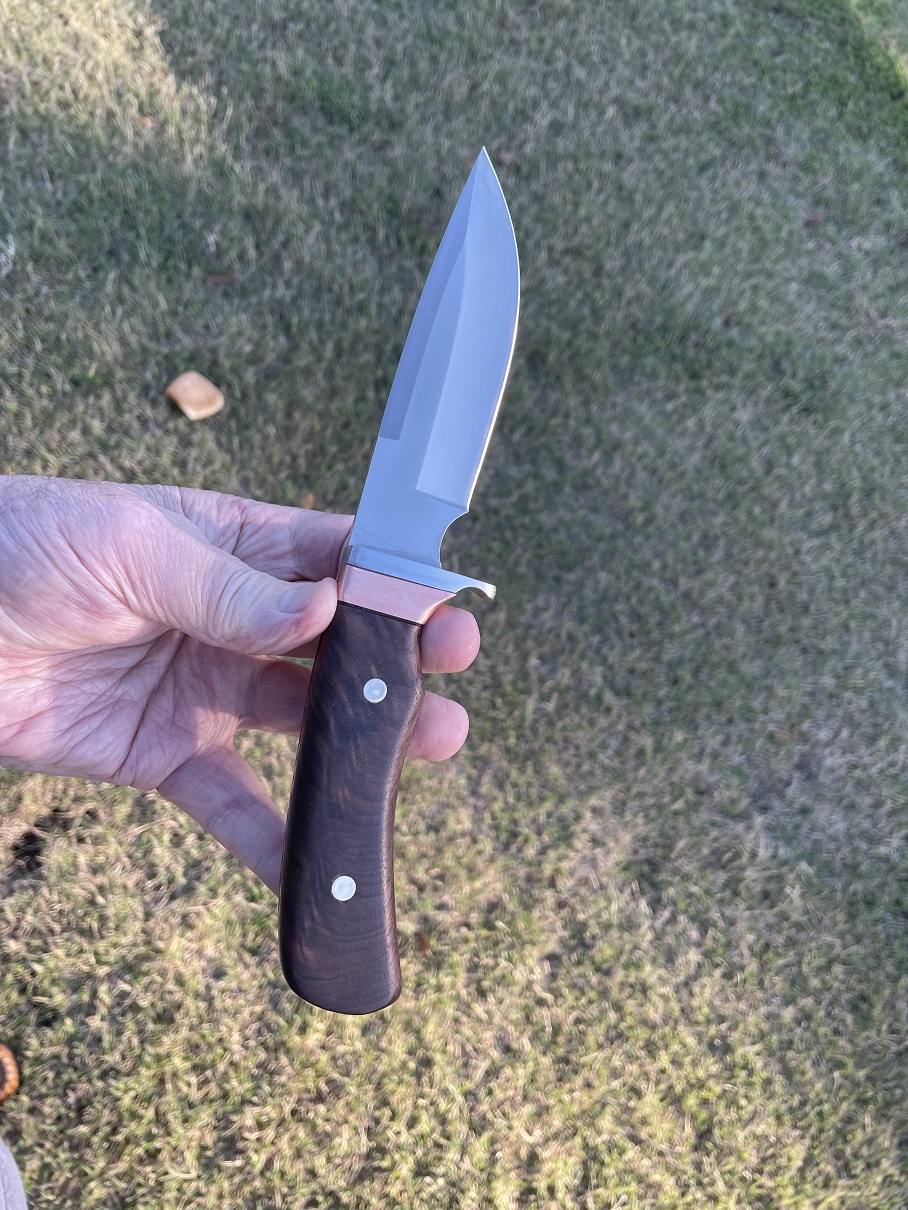
The knife is a nice little skinner. Stainless Guard, with a Copper accent I shaped from a BarStock piece of copper. The pins in the Highly Figured walnut scales are from round stock Nickel Silver. I spent hours laying out and tooling the spine on this knife and tried a new technique for filling in the tooling. I bought some metallic tint which I used on the epoxy I used on the scales and the copper accent and filled in the tooling accents on the spine then sanded it all smooth. I sanded the scales to 1500 grit and they got seven coats of beeswax, after treatment with Watco Golden Oak Oil finish. That Golden Oak really made the grain in the walnut pop. First a look at the spine's details.
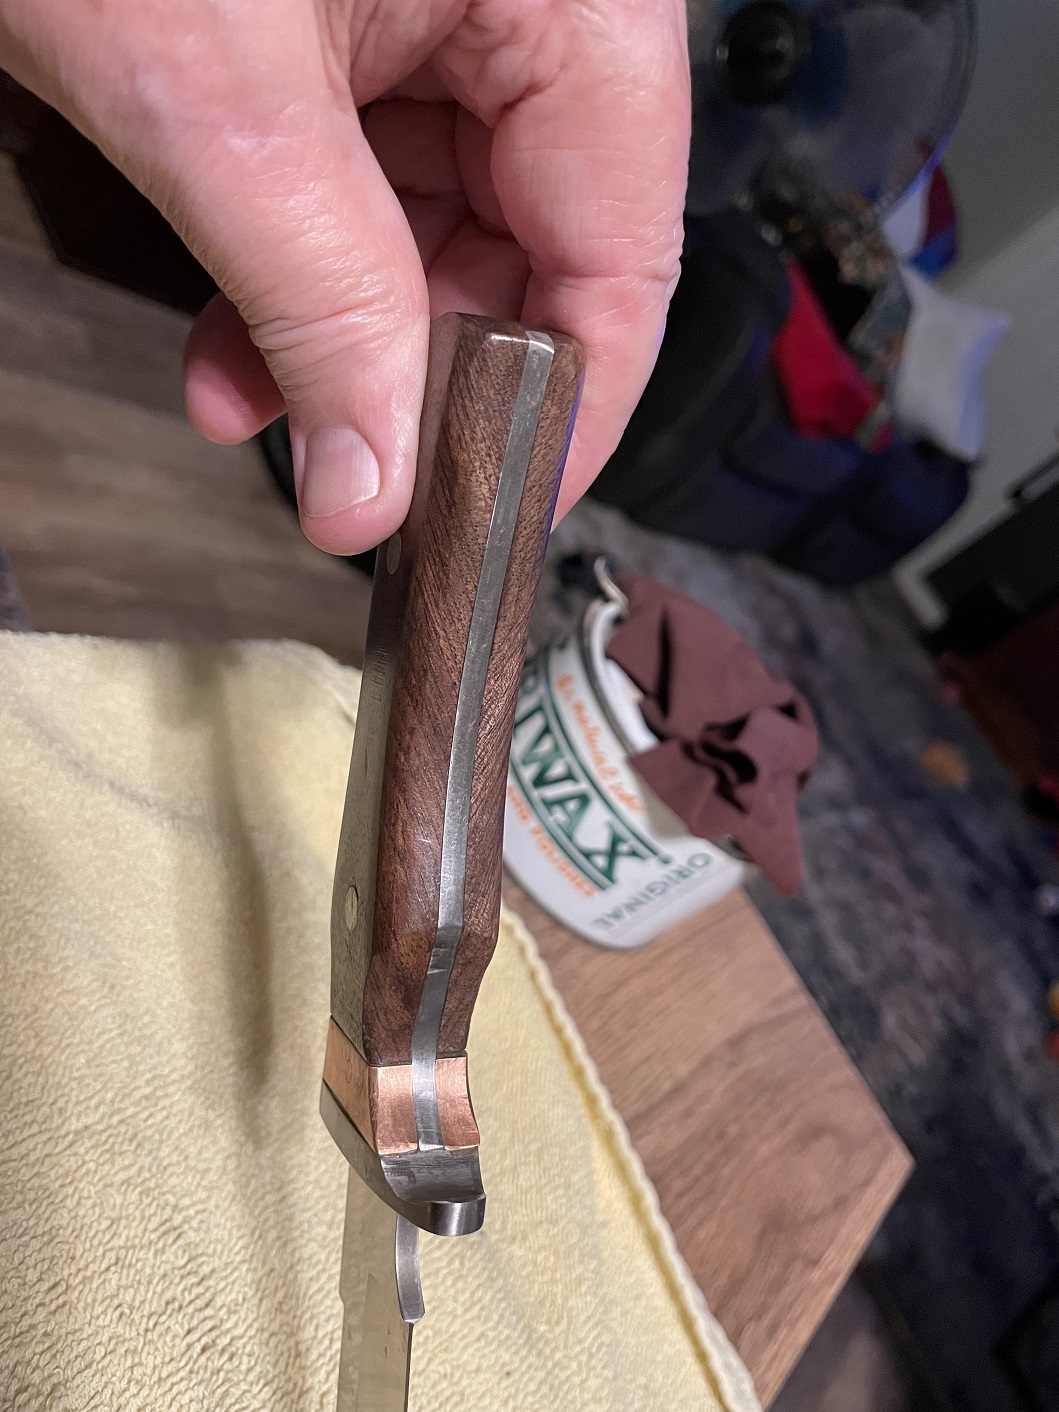
Then a peek at the grain pattern in the belly of the beast.
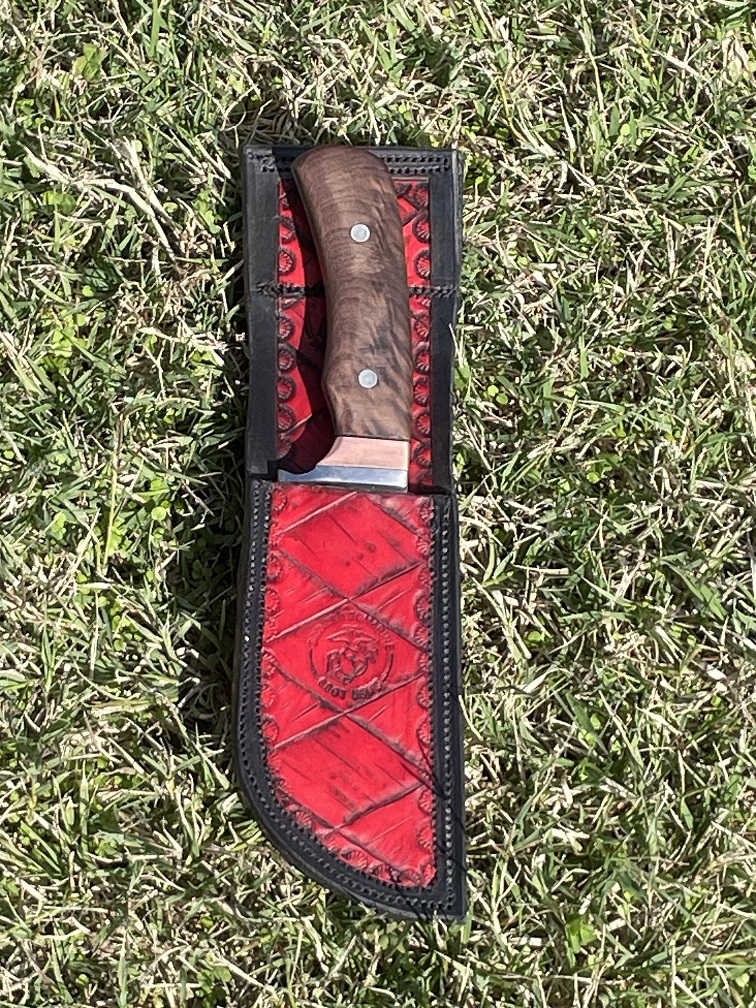
I made a sheath for practice as I am trying to learn to use my Cowboy 3200 sewing machine. This thing can sew harness thickness leather. Miss T can knock stuff out on it left and right, but she is a quilter and has a half dozen high end machines in her hobby shop... all top quality. She answers my questions and shows me how to do "things" on my machine, bought to sew belts and holsters.
I'm getting there. This was tooled, dyed, antiqued, and waxed. Came out pretty good for a leather rookie.
The knife itself? Yup, Miss T said it's looking good, so I'm good.
Like many of us, I look at the completed projects and see the small issues. I'm anal, a bit of a perfectionist. But... it makes me strive to improve on the next project. I guess that's not a bad thing, although it means I can't be satisfied in my work. LOL.
Jim in Okie
You can tell a lot about the character of a man -
By the way he treats those who can do nothing for him.
Posts: 11,685
Threads: 1
Joined: May 2014
Location: South Central Oklahoma
11-12-2024, 04:34 PM
(This post was last modified: 11-12-2024, 04:34 PM by BrokenOlMarine.)
I had originally planned this as a working knife and stopped at 800 grit on the polishing. I also had some small gaps and a crack in the walnut, but vowed to leave it as is, A working knife doesn't have to be perfect and the imperfections wouldn't matter once it got scarred and beaten up a bit.

Yeah right. While the dye was drying on the leather, but used some left over scraps from the walnut to make some sawdust and stained it to match.
Filled the gaps and crack and then used CA glue to lock the sawdust in place and sanded the whole thing up to 1500. Working knife or not.... Couldn't let it go. An annoying gap on each side.
and the crack...
Collecting sawdust.
No more gap, the defect became an accent stripe.
Miss T laughs at me. She'll say, Can you knock out a small shelf for the sewing Shop, just plywood is fine.
(Then she grins) She knows she'll get Oak, Walnut, or Ash and it will have trim, spindles, or arches.

I can't just knock out a plywood shelf someone might see and think "I" just didn't care.
Jim in Okie
You can tell a lot about the character of a man -
By the way he treats those who can do nothing for him.
Posts: 2,772
Threads: 0
Joined: Oct 2012
Location: W. of Rainier, E. of Orcas
That's a nice looking knife, just don't point out the errots.

Heirlooms are self-important fiction so build what you like. Someone may find it useful.
Posts: 1,130
Threads: 0
Joined: Aug 2004
Looks great! Can you tell us how you tooled the spine? Is this all one piece of metal? The back of the spline is straight so I guess my question is it two separate pieces of metal or is it one piece that is tooled on one side?
Thanks
Posts: 11,685
Threads: 1
Joined: May 2014
Location: South Central Oklahoma
(Yesterday, 08:34 AM)Randy C Wrote: Looks great! Can you tell us how you tooled the spine? Is this all one piece of metal? The back of the spline is straight so I guess my question is it two separate pieces of metal or is it one piece that is tooled on one side?
Thanks
The blade blank is one long piece of metal that includes the tang... so I'll show you how I go about tooling the spine.
First, after clamping the blank in my small vise, I dye the spine blue with a metal marking dye.
Then I use a set of calipers to carefully mark the spacing on the spine, in this case, a quarter inch. The dye allows the pencil marks to show. I go back with a small 4" square and extend the marks across the spine.
I used to use diamond files to start cutting the tooling, but I have arthritis in both hands. Miss Tina bought me a pencil Dremel tool and I now use that. So, Using a pencil Dremel and a cutting wheel I cut a reference notch at each location where the grooves will be cut. They are cut on alternating sides in this pattern. To avoid mistakes, I have marked a small triangle where the notches are to be cut.
Switching bits in the Dremel, I use a cone shaped carbide cutter to cut the grooves in the marked slots to form the pattern. Each pattern can be different and as my skill level in tooling will increase I may attempt various patterns. Chains, Claddagh, etc.
Once the grooves are cut, you work the grooves until you have the sizes and shapes you want. Then you polish away the dye.
As you saw in the initial post, I tried that new trick and filled the grooves with the copper tinted epoxy as a new technique. But in most cases I poliish the grooves to about 1500 grit using a small piece of eraser, and thin strips of sandpaper. Then using a buffing head in the Dremel and some rouge, make them glow like stainless.
Jim in Okie
You can tell a lot about the character of a man -
By the way he treats those who can do nothing for him.
Posts: 11,685
Threads: 1
Joined: May 2014
Location: South Central Oklahoma
On the next project, I will cut the grooves closer together, and round away the shoulders as the pattern moves along the spine, or, attempt the chain pattern.

Jim in Okie
You can tell a lot about the character of a man -
By the way he treats those who can do nothing for him.
Posts: 21,848
Threads: 0
Joined: Oct 2003
Really nice. It’s a beauty.
Gary
Please don’t quote the trolls.
Liberty, Freedom and Individual Responsibility
Say what you'll do and do what you say.
Posts: 3,108
Threads: 0
Joined: Oct 2007
Location: Cumming, GA.
You do beautiful work, Jim!
Frank
Posts: 1,130
Threads: 0
Joined: Aug 2004
(Yesterday, 08:53 AM)BrokenOlMarine Wrote: The blade blank is one long piece of metal that includes the tang... so I'll show you how I go about tooling the spine.
First, after clamping the blank in my small vise, I dye the spine blue with a metal marking dye.
Then I use a set of calipers to carefully mark the spacing on the spine, in this case, a quarter inch. The dye allows the pencil marks to show. I go back with a small 4" square and extend the marks across the spine.
I used to use diamond files to start cutting the tooling, but I have arthritis in both hands. Miss Tina bought me a pencil Dremel tool and I now use that. So, Using a pencil Dremel and a cutting wheel I cut a reference notch at each location where the grooves will be cut. They are cut on alternating sides in this pattern. To avoid mistakes, I have marked a small triangle where the notches are to be cut.
Switching bits in the Dremel, I use a cone shaped carbide cutter to cut the grooves in the marked slots to form the pattern. Each pattern can be different and as my skill level in tooling will increase I may attempt various patterns. Chains, Claddagh, etc.
Once the grooves are cut, you work the grooves until you have the sizes and shapes you want. Then you polish away the dye.
As you saw in the initial post, I tried that new trick and filled the grooves with the copper tinted epoxy as a new technique. But in most cases I poliish the grooves to about 1500 grit using a small piece of eraser, and thin strips of sandpaper. Then using a buffing head in the Dremel and some rouge, make them glow like stainless.
That’s very cool. I would have never thought of doing that.
|


