Just another Box Project?
#19
Leftovers from those slips...was used to add drawer runners...
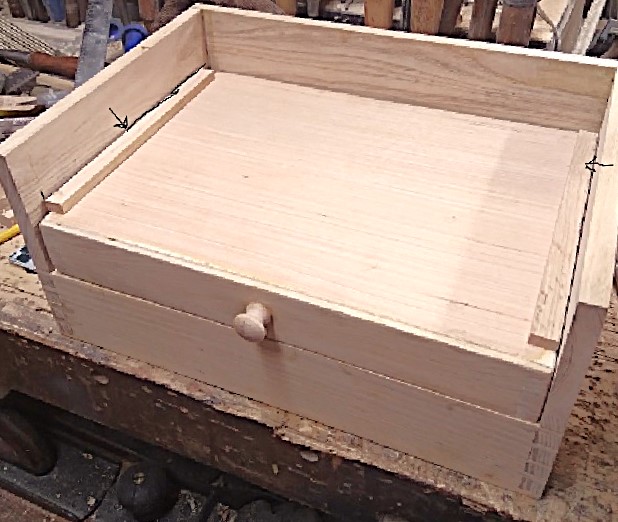
   
Set a drawer in it's home station...lay 2 runners on the drawer's sides..mark a line with a heavy pencil...goal is to glue the runners in place, covering those lines..
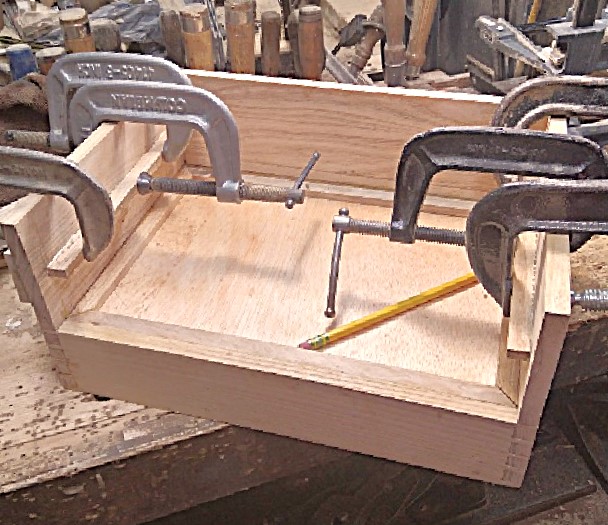
   
Then lay out for the "Divider"'s location..
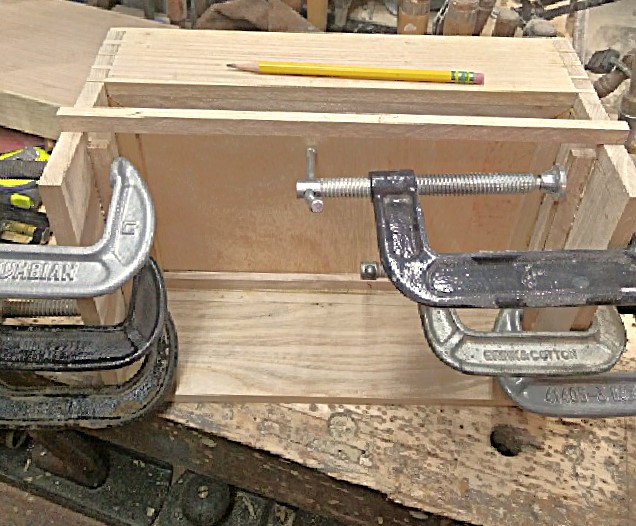
   
But...it seemed a bit too plain...so..
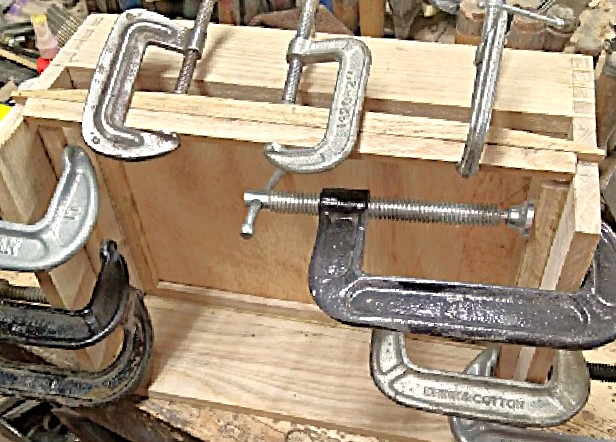
   
It became a glue up...one was a tight fit between the sides of the case...the other was cut into a "Fair Curve"  that reach across the front edges of the case..

Then, glue that in place...cussing was involved...
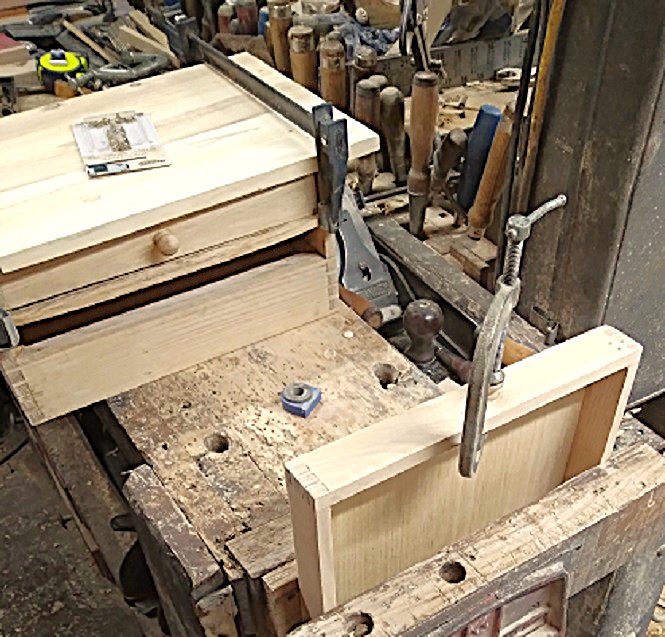
   
The other front knob was also installed...

Let these sit a day..no rush..
Once the clamps did come off....I had to fit both drawers to where they will not get stuck...and..level the top and bottoms of the drawers...

Stay tuned...still have to work on the base and the lid...then MAYBE a finish?
Show me a picture, I'll build a project from that
Reply
#20
Lid needed it's edges given a rounding over.  As a squared edge didn't look right..
   
And, since I don't have a router bit shaped the right way..I'll just make do with these...
   
Including the sandpaper.   Stanley No. 4-1/2c, Type 11,  Stanley No. 3, Type 15...and..
   
Done.  Rough out with the 4-1/2, remove the big facets with the #3....use the sandpaper as a shoe-shine towel to smooth it all down...

Next..attach the base to the case....with out any metal in use...
   
Unless you count all the clamps....around in front, there wasn't any place to clamp..
   
No place for the glue.   And, NOW would be a good time to fine tune the fit of both drawers....
   
This one fits...
   
This second one fits, but there is a different  Problem..
   

Cut the knob off, line the new knob up with the other drawer's knob...old location is now a "Knot"...
More about those "feet" in the next episode...
Stay tuned..
Show me a picture, I'll build a project from that
Reply
#21
Box has feet?
   
Well, I had a stick left over from doing the Slips, and drawer runners....cut 8 parts to length, with half of them 1/4" shorter....then turn the mitersaw from 90 degrees ( 0 on the dial) around to the 45 degree detent, and miter all the ends..

Next, bandsaw to cut a profile..
   
Give each part a coat of glue, and apply to the bottom of the base..
   
And let the glue cure a day....

Hardware?   Small hinges for the lid....I tend to clamp things together so parts do not get squirrelly 
   
Stanley Defiance Eggbeater with a 1/16" bit for pilot holes.  That Screwdriver is a Phillips.  mark the location of the screws with the pencil.   The Olde Candle to wax the threads...
   
Be sure to "clock the screws"....Next, without removing the clamps..add the latch...

But..lid and case were not flush with each other...we have ways..
   
Stanley No. 60-1/2 until the case matches up with the lid...then I could add the latch..
   
Then stand the box up on one end...add a handle....and repeat for the other end..
   
And...the last bits of Hardware?
   
Add a bit of chain and 2 screws...to keep the lid from flopping over the back....

Currently waiting on the coat of Witch's Brew to fully dry....before a coat of Warm Gloss Poly gets brushed on...

Stay tuned..
Show me a picture, I'll build a project from that
Reply
#22
Currently, things are at a stand still as far as the shop is concerned....seems the furnace for the house has decided to quit working ( last night!) and we are now waiting on a repair person to show up and fix it.....currently it is 21 degrees F. outside....

As for the Witch's Brew?   Equal parts Minwax Dark Walnut, and Minwax Gunstock stains.  
   
Mixed well, brushed on, and wiped off...

The Sapwood Base...
   
Is nothing more than a giant sponge....but, other than the outside edges, will not be seen, anyway...

   
Front view....I like this stain because it makes the Grain detail really POP!...

Before the issues with staying warm happened...I was able to add a coat of Warm Gloss Poly
   
And let it sit and "air out" a day or 2...
I had to varnish the drawer fronts separately..
   

Once these 2 were dry, I waxed to top of the top drawer's sides, and tested for fit..
   

Too cold IN the house right now...I did manage to rub the varnish down with 0000 Steel wool, and then cleaned it up with a brush...


So..once we manage to get the house warmed back up....I need to add a second coat of varnish to the spots that need it....add a layer of RED felt to the drawers and the top compartment...and add a label to the case...the Label?
   
Trying to decide on the size of the label, and the Location to stick it to...

Stay tuned...
Show me a picture, I'll build a project from that
Reply
#23
Wow, I hope you can get your furnace fixed soon.
Reply
#24
A Service Tech is supposed to be here around 1100 hrs this morning.    2 nights, with only a couple space heaters trying to keep up...

We'll see how this goes...
Show me a picture, I'll build a project from that
Reply
#25
When I lived in PA, I had a fitted sheet that was like and electric blanket. It was a long time ago, so not sure if that sort of thing is still available.  All I know is it worked great.
Reply
#26
Twas a little "Limit Switch" that failed...new replacement was installed...we NOW have HEAT in the house again!

Took too long and the bank, with the Boss sitting in the car listening to the radio...yep...needed a jump to get the Chevy back on the road again....

Methinks I will just kick back this evening...and rest up...been a very LONG 3 days...
Show me a picture, I'll build a project from that
Reply


Forum Jump:


Users browsing this thread: 2 Guest(s)

Product Recommendations

Here are some supplies and tools we find essential in our everyday work around the shop. We may receive a commission from sales referred by our links; however, we have carefully selected these products for their usefulness and quality.