02-17-2018, 01:15 PM
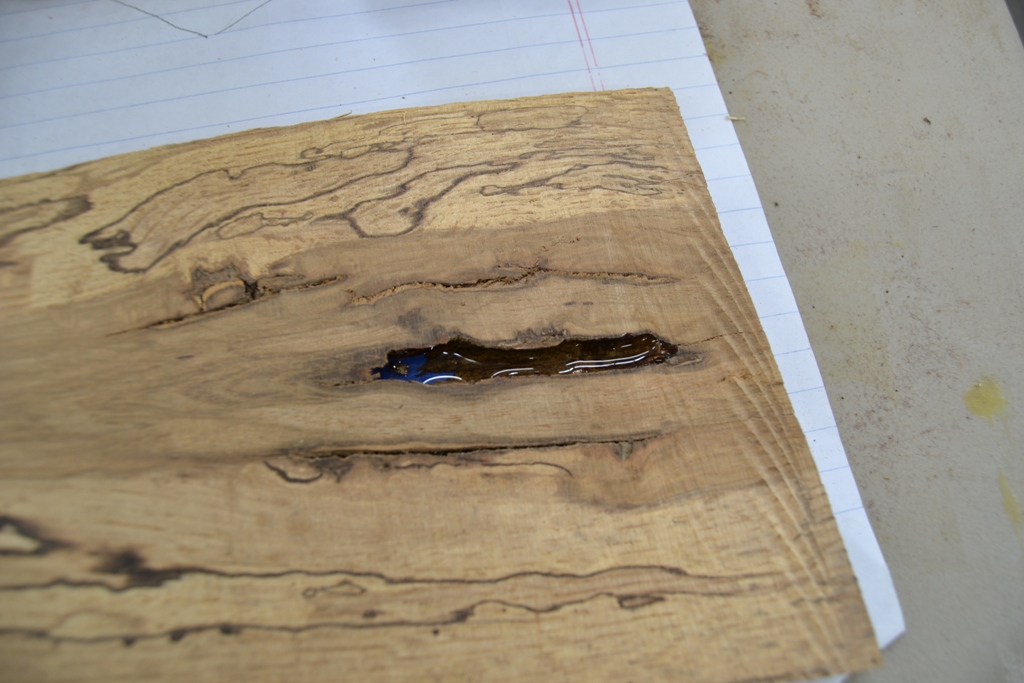
I am making a masculine jewelry box for my Son in Law in OK for Christmas. Yup, it's late, but we aren't driving out for another couple months, and he really wanted a box from my shop and was willing to wait, and this was on the to do list. I was looking for a specific piece of spaulted maple for the tray bottom and this one was perfect, but had a hole all the way thru. I have repaired them in the past, even larger. Thought I'd share since I had seen questions on this in the past.
Here is the box so you'll see why I particularly wanted highly figured spaulted maple for the tray bottoms. The top is walnut and spaulted maple, and the box itself is walnut.


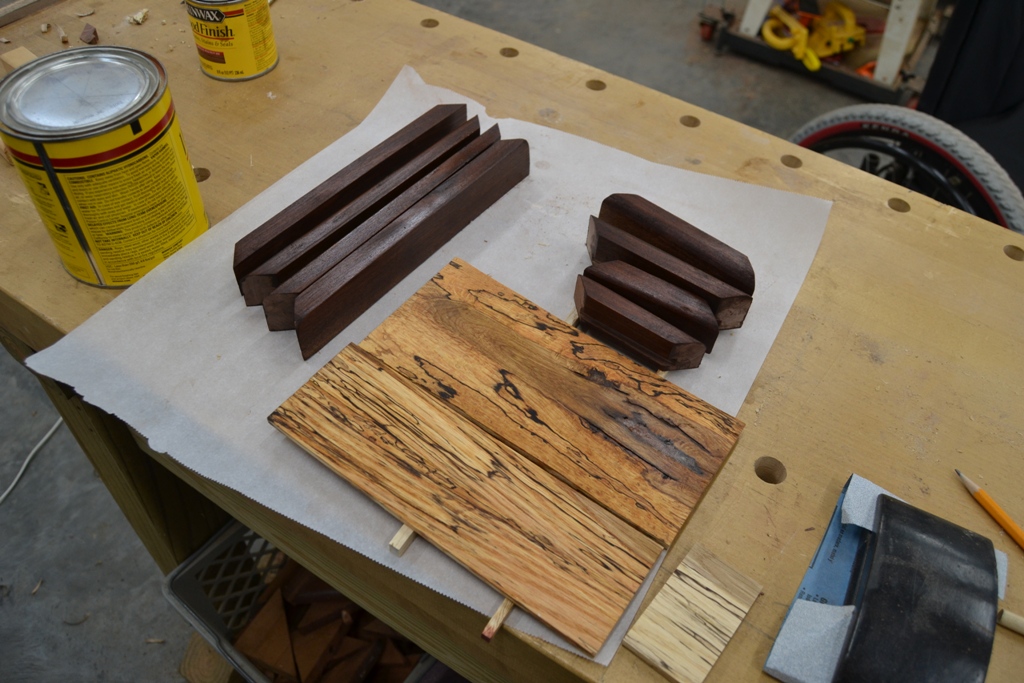
The two trays will fit against the left side wall of the box, and will be 3-1/2 and 4-1/2 inches wide one above the other, leaving the right side of the box full depth.
The wider bottom section had a hole all the way thru, but I figured I could save it...


First step, gather all the necessary goodies... and tools.


As you can see, the CT glue and accelerator. Painter's Tape. Xacto-knife. A bit of Walnut Dust for color. (The glue dries clear and doesn't take stain.)
The first step in the process, tape the back of the hole to hold the glue.


Next up, lay a thin line of glue and spray it with the accelerator. The glue dries in about 10 seconds, ready to proceed.


Pack in a color layer of sawdust. Fine dust works best. I have found all kinds of uses for fine sawdust, and I have accumulated a good collection of each species in containers and saved them. You never know when you'll need a bit. Like now.


For the next step, you can switch from the thickest CT glue to the medium thickness which will whick into the sawdust. Lay in a layer of glue over the sawdust and activate it. Dries again in about fifteen seconds. They build up layer after layer of CT until you are proud above the wood surface. Then begin sanding or use a card scraper to bring your repair flush.


A check with mineral oil shows it doesn't look to bad after rough sanding. Certainly better than a hole thru the middle.


later in the process, you can see that the repair is nearly invisible.


Here is the box so you'll see why I particularly wanted highly figured spaulted maple for the tray bottoms. The top is walnut and spaulted maple, and the box itself is walnut.


The two trays will fit against the left side wall of the box, and will be 3-1/2 and 4-1/2 inches wide one above the other, leaving the right side of the box full depth.
The wider bottom section had a hole all the way thru, but I figured I could save it...

First step, gather all the necessary goodies... and tools.

As you can see, the CT glue and accelerator. Painter's Tape. Xacto-knife. A bit of Walnut Dust for color. (The glue dries clear and doesn't take stain.)
The first step in the process, tape the back of the hole to hold the glue.

Next up, lay a thin line of glue and spray it with the accelerator. The glue dries in about 10 seconds, ready to proceed.

Pack in a color layer of sawdust. Fine dust works best. I have found all kinds of uses for fine sawdust, and I have accumulated a good collection of each species in containers and saved them. You never know when you'll need a bit. Like now.

For the next step, you can switch from the thickest CT glue to the medium thickness which will whick into the sawdust. Lay in a layer of glue over the sawdust and activate it. Dries again in about fifteen seconds. They build up layer after layer of CT until you are proud above the wood surface. Then begin sanding or use a card scraper to bring your repair flush.

A check with mineral oil shows it doesn't look to bad after rough sanding. Certainly better than a hole thru the middle.

later in the process, you can see that the repair is nearly invisible.

Jim in Okie
You can tell a lot about the character of a man -
By the way he treats those who can do nothing for him.
You can tell a lot about the character of a man -
By the way he treats those who can do nothing for him.


