04-19-2019, 03:56 PM
First off there is no perfect woodworking bench, there is only the perfect woodworking bench for me.
There is no perfect material to build a bench from, only what I chose to use. There are some choices for the top that are better than others but that is a different subject.
There is no one perfect style, or perfect sizes, not to mention perfect vises, or the number of vises or lack there of that can be included..
The following is a record of my present but 4th build. I know that for most people especially for the hand tool crowd, the Roubo bench is the only one to have. But about 25-30 years ago I saw a video on Wood Finishing by Frank Klausz and latter on Dovetailing a Drawer by again Frank Klausz. I watched him use his bench and heard him expound on it and I was hooked on the European style because it mirrored my style of woodworking. I did somewhat use the Roubo style, as best as I could, for the left handed side of my bench. And in jest, for the Roubo lovers out there, I considered the back side of my bench
Anyway I thought I would take you through the steps I took to make my present bench.
I. I visualize very well but a lot of people don't, But visualizing and working through details
are two different animals.
A. First of all the space should define the size not built to a measured drawing and
then try to fit it in the space.
B. A mock up of bench size helps the bench fit the size.
1. Using cheap material saves money if design changed need to be made.
2. By using cheap material it can be reused else wear.
3. It maybe a mock up but you have a makeshift bench to use in the process..
4. Exact width is impossible to hit exactly because it is a glue up and wood
dimensions it.


II. The height of the bench is probably the most important dimension of the whole
project.
A. The thickness and type of material can affect height.
B. Type of work mostly performed at the bench determines height.
1. planing will require a certain height.
2. Assembly may require a different height.
3. spending a little time doing even mock up of different operation may eliminate
sore backs at a latter time.
C. If using a floor mat of some kind it can add over a half inch to height.
1. I use an interlocking floor mat because the required size is not available
2. glued to a 1/4 piece of plywood so it would stop being coming apart in use.
3. .In my case screwed to floor to keep it from sliding around.


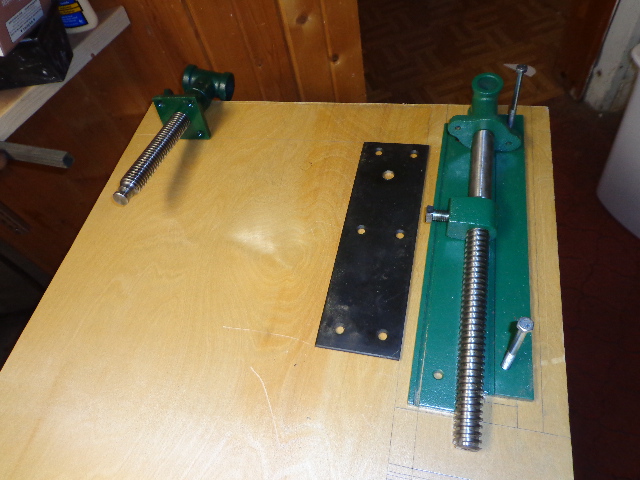
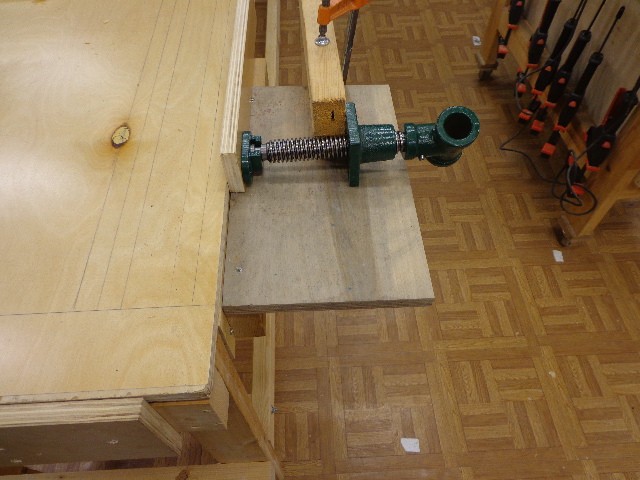
III. Vises effect benchtop design.
A. A leg vise effects not only top design but length of leg also.
B. Shoulder vise effects the height of legs as well as design of the front leg design.
C. Tail vise and wagon vises effects length and placement of the stretchers.
D. Vises dictate dog hole distances as well as placements for bench top layout.


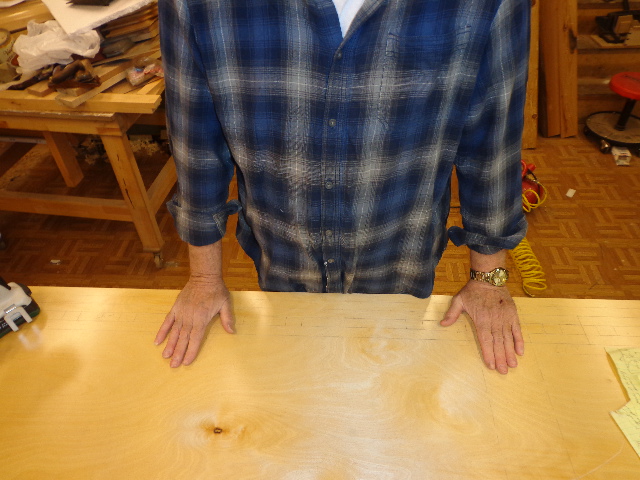
IV. And the final height for me is 34 1/2 or 35 because of the mat. And my height is when my arms are extended straight down, my hands will be flat on the bench top.
A. A variation of a half inch either way doesn't effect the body.
B. A variation of one inch either way does effect the body over the course of time if one tends to have back problems.


This was written to the one who is excited about his first bench build or after building one wishes he would have did it differently. This is what 50 plus years of experience has taught me. It is so simple that everyone should know it but it can be so problematic if a step is short cutted.
I am not very far into the build and if you would like to know more please let me know.
Tom
There is no perfect material to build a bench from, only what I chose to use. There are some choices for the top that are better than others but that is a different subject.
There is no one perfect style, or perfect sizes, not to mention perfect vises, or the number of vises or lack there of that can be included..
The following is a record of my present but 4th build. I know that for most people especially for the hand tool crowd, the Roubo bench is the only one to have. But about 25-30 years ago I saw a video on Wood Finishing by Frank Klausz and latter on Dovetailing a Drawer by again Frank Klausz. I watched him use his bench and heard him expound on it and I was hooked on the European style because it mirrored my style of woodworking. I did somewhat use the Roubo style, as best as I could, for the left handed side of my bench. And in jest, for the Roubo lovers out there, I considered the back side of my bench
Anyway I thought I would take you through the steps I took to make my present bench.
I. I visualize very well but a lot of people don't, But visualizing and working through details
are two different animals.
A. First of all the space should define the size not built to a measured drawing and
then try to fit it in the space.
B. A mock up of bench size helps the bench fit the size.
1. Using cheap material saves money if design changed need to be made.
2. By using cheap material it can be reused else wear.
3. It maybe a mock up but you have a makeshift bench to use in the process..
4. Exact width is impossible to hit exactly because it is a glue up and wood
dimensions it.


II. The height of the bench is probably the most important dimension of the whole
project.
A. The thickness and type of material can affect height.
B. Type of work mostly performed at the bench determines height.
1. planing will require a certain height.
2. Assembly may require a different height.
3. spending a little time doing even mock up of different operation may eliminate
sore backs at a latter time.
C. If using a floor mat of some kind it can add over a half inch to height.
1. I use an interlocking floor mat because the required size is not available
2. glued to a 1/4 piece of plywood so it would stop being coming apart in use.
3. .In my case screwed to floor to keep it from sliding around.


III. Vises effect benchtop design.
A. A leg vise effects not only top design but length of leg also.
B. Shoulder vise effects the height of legs as well as design of the front leg design.
C. Tail vise and wagon vises effects length and placement of the stretchers.
D. Vises dictate dog hole distances as well as placements for bench top layout.


IV. And the final height for me is 34 1/2 or 35 because of the mat. And my height is when my arms are extended straight down, my hands will be flat on the bench top.
A. A variation of a half inch either way doesn't effect the body.
B. A variation of one inch either way does effect the body over the course of time if one tends to have back problems.

This was written to the one who is excited about his first bench build or after building one wishes he would have did it differently. This is what 50 plus years of experience has taught me. It is so simple that everyone should know it but it can be so problematic if a step is short cutted.
I am not very far into the build and if you would like to know more please let me know.
Tom


