I referred to my last workbench as TNW, the "next" workbench. I call this one TNNW, the "next, next" workbench since it seems that in my world, a workbench is an evolving thing. The TNNW came about because I built the previous bench too large. Excess flat space can attract random crap and hang onto it tenaciously, refusing to let it be removed, put away or thrown out
 .
.
I liked the 30" depth which is deeper than a lot of benches but, the length was excessive. I ended up looking for something like this.


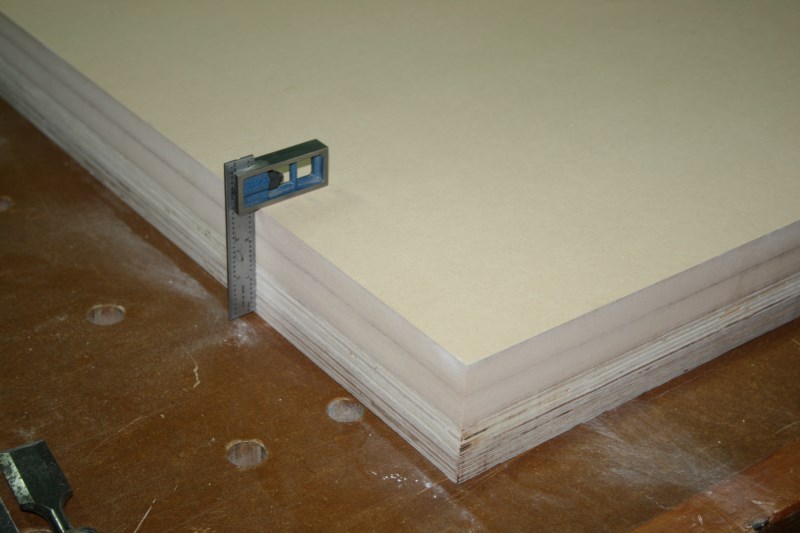
Fortunately I already had a nice large flat level surface to build the new bench on. Finding a surface like this to build a bench on is a stumbling block. I decided to go with 2 layers of 3/4" MDF on top of 2 layers of 3/4" ply as this top construction had worked surprisingly well for me over the years. I know this flies in the face of tradition but, I have had benches of various types and this construction is currently serving me well. This laminating method is done by making one layer the exact final dimension you are after. I use screws and weights for clamps. The screws are removed . . . well, I guess the weights are too but, you know what I mean.


You can now laminate on the next layer slightly oversized. Once the glue is dry I use a flush trim bit to even it up to the first layer. Rinse and repeat making sure your sides stay nice and perpendicular to the surface.


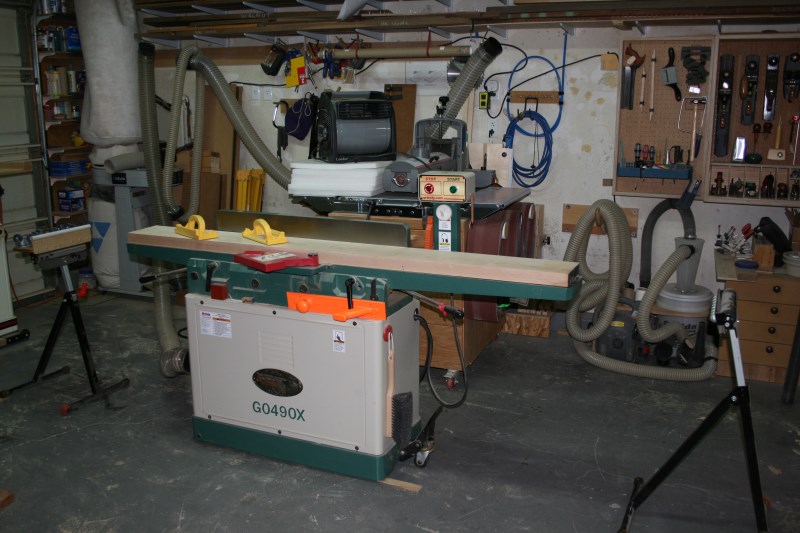
I decided to go with poplar for the base as this too had provided good service on the previous bench. When milling long stock you want to have good support. If you find yourself muscling your material through the operation you may not get good results.


I have often said; when you need a pipe clamp, a pipe clamp is good to have.


I have a lot of various clamps but, pipe clamps are still my go-to for long work.
 .
.I liked the 30" depth which is deeper than a lot of benches but, the length was excessive. I ended up looking for something like this.

Fortunately I already had a nice large flat level surface to build the new bench on. Finding a surface like this to build a bench on is a stumbling block. I decided to go with 2 layers of 3/4" MDF on top of 2 layers of 3/4" ply as this top construction had worked surprisingly well for me over the years. I know this flies in the face of tradition but, I have had benches of various types and this construction is currently serving me well. This laminating method is done by making one layer the exact final dimension you are after. I use screws and weights for clamps. The screws are removed . . . well, I guess the weights are too but, you know what I mean.

You can now laminate on the next layer slightly oversized. Once the glue is dry I use a flush trim bit to even it up to the first layer. Rinse and repeat making sure your sides stay nice and perpendicular to the surface.


I decided to go with poplar for the base as this too had provided good service on the previous bench. When milling long stock you want to have good support. If you find yourself muscling your material through the operation you may not get good results.


I have often said; when you need a pipe clamp, a pipe clamp is good to have.

I have a lot of various clamps but, pipe clamps are still my go-to for long work.
When I was young I sought the wisdom of the ages. Now it seems I've found the wiz-dumb of the age-ed.


 . It was, however, a lesson I only had to learn once
  .
.
 .
.