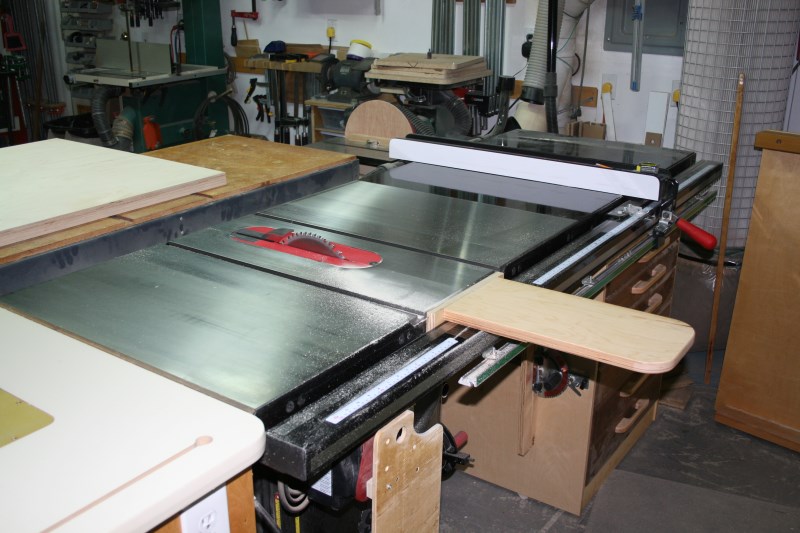
A few years ago I got tired of my re-purposed metal base with particle board top "workbench" serving as my tablesaw outfeed table. I got it free from a neighbor but, it just didn't feel right in a wood shop. I was also struggling with assembly surfaces for larger projects at the time. I wanted something that would serve as a reasonable outfeed but, also allow me a work holding / clamping surface for assembly.
I laminated some plywood similarly to how I did my latest workbench.


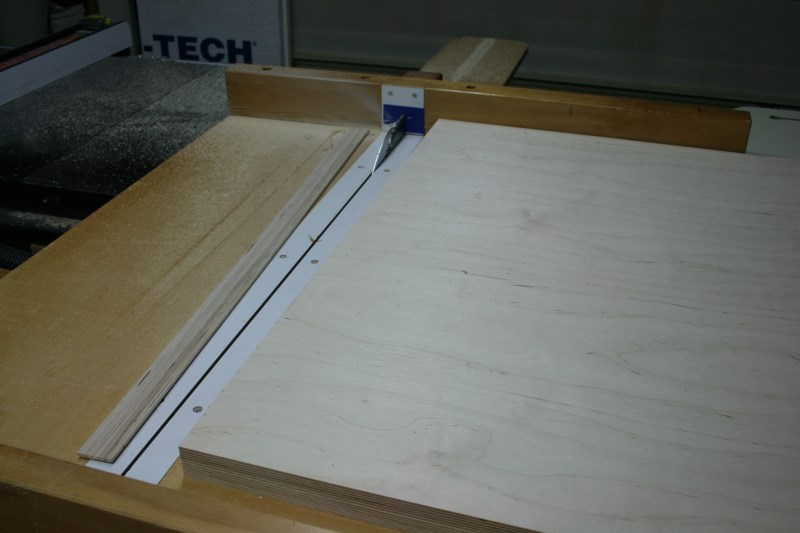
I stuck in my large sled support fixture and squared up the 34" x 48" lamination.


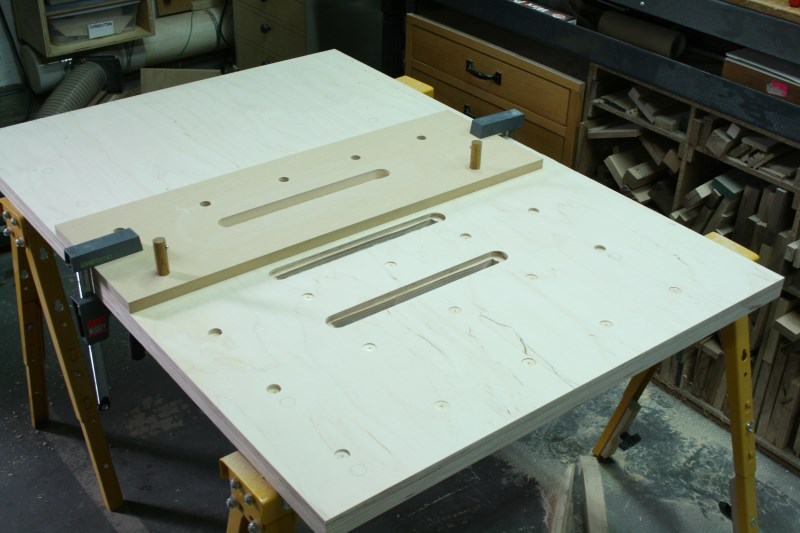
I made a template for the dog holes and clamping slots. I basically stole this concept right off of ShopNotes #124. Look Ma, I'm a human CNC

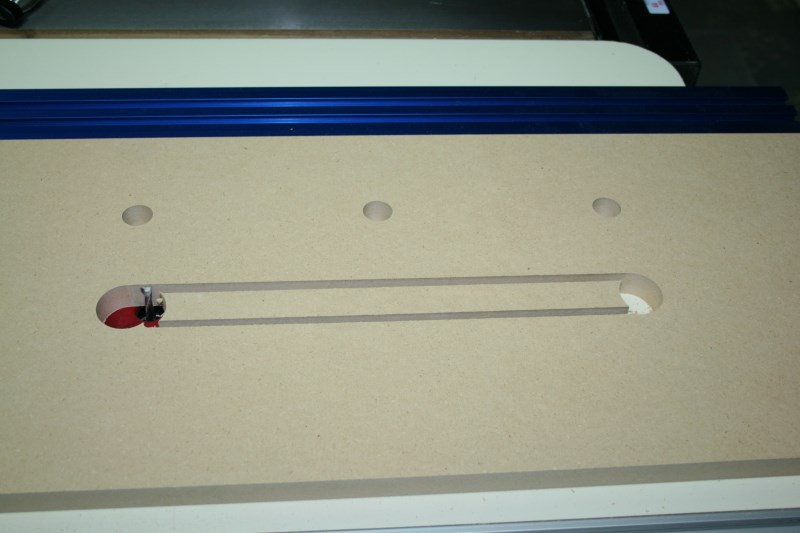

I use a Forstner to drill an 1/8" or so through the top surface to assure a clean entrance. Notice my sophisticated method of stopping myself from drilling holes where they don't belong for the end positions of the pattern.
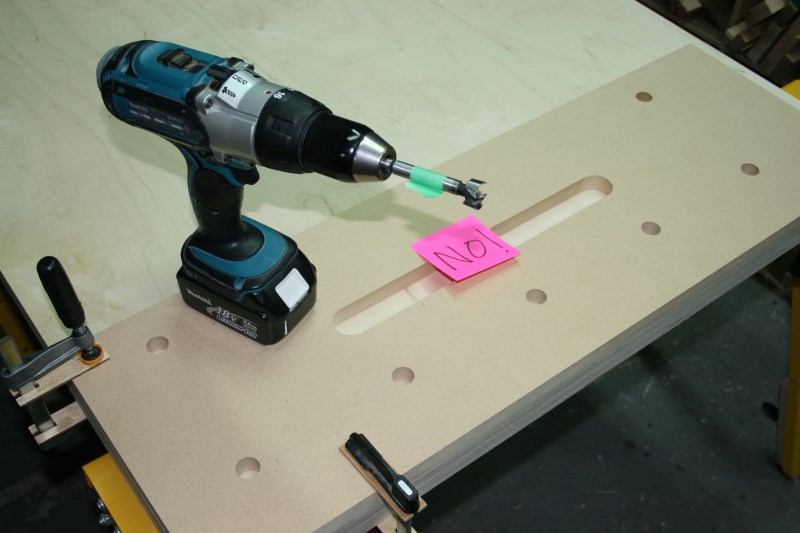

Once the first set of dog holes are started I use dogs to register the template for the additional positions.

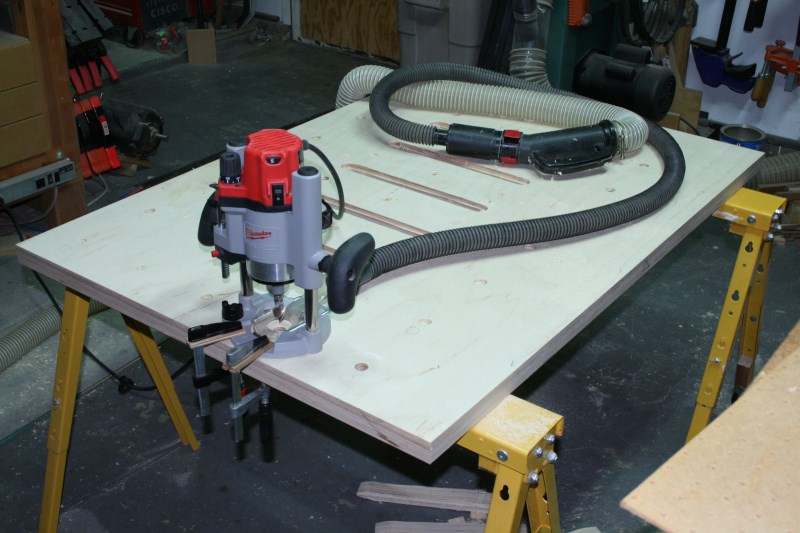
I then use a 3/4" router bit to complete the dog holes. The clamps let me use the plunge router like a small drill press and they hold a backer board for a clean exit wound as well.

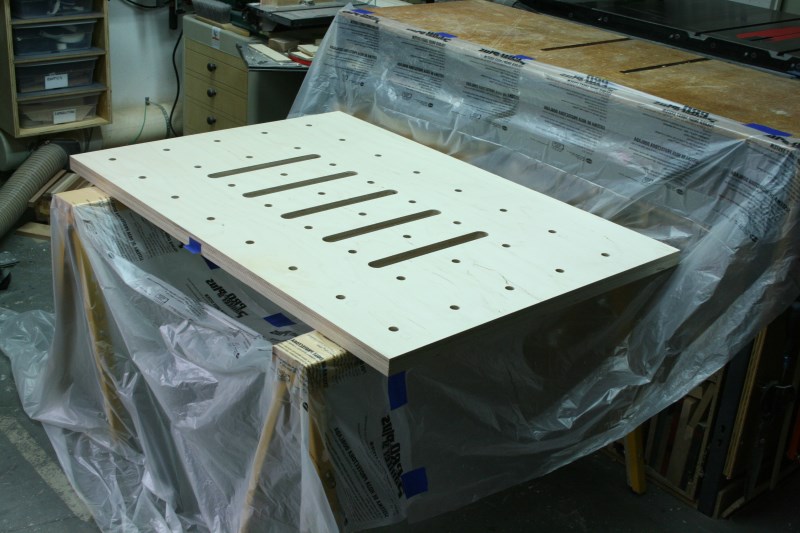
And here's the 'substrate'. The plastic sheeting is protecting things from the contact cement.

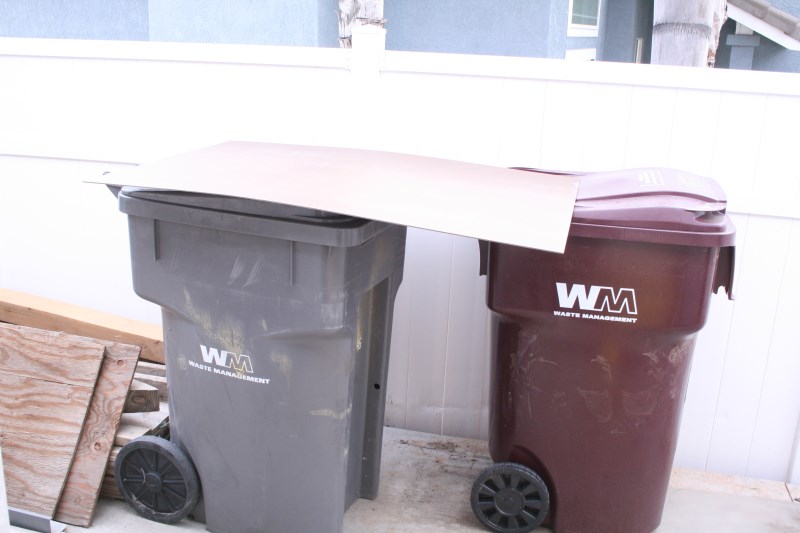
I use my auxiliary work surface to apply contact cement to the hardboard.

I drill pilot holes through the hardboard into the dog hole and clamp slot cavities. I then use a flush trim bit and a chamfer bit to finish the openings.
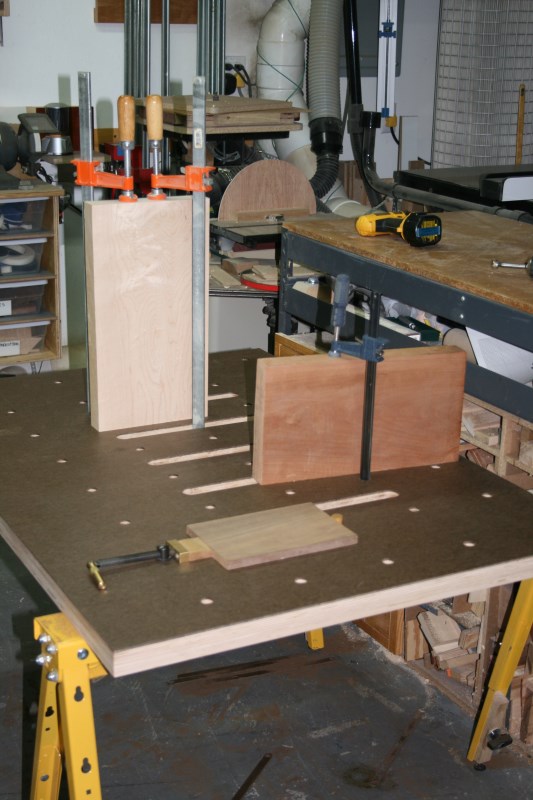

I laminated some plywood similarly to how I did my latest workbench.

I stuck in my large sled support fixture and squared up the 34" x 48" lamination.


I made a template for the dog holes and clamping slots. I basically stole this concept right off of ShopNotes #124. Look Ma, I'm a human CNC


I use a Forstner to drill an 1/8" or so through the top surface to assure a clean entrance. Notice my sophisticated method of stopping myself from drilling holes where they don't belong for the end positions of the pattern.

Once the first set of dog holes are started I use dogs to register the template for the additional positions.

I then use a 3/4" router bit to complete the dog holes. The clamps let me use the plunge router like a small drill press and they hold a backer board for a clean exit wound as well.

And here's the 'substrate'. The plastic sheeting is protecting things from the contact cement.

I use my auxiliary work surface to apply contact cement to the hardboard.

I drill pilot holes through the hardboard into the dog hole and clamp slot cavities. I then use a flush trim bit and a chamfer bit to finish the openings.

When I was young I sought the wisdom of the ages. Now it seems I've found the wiz-dumb of the age-ed.


