Posts: 706
Threads: 0
Joined: Dec 2011
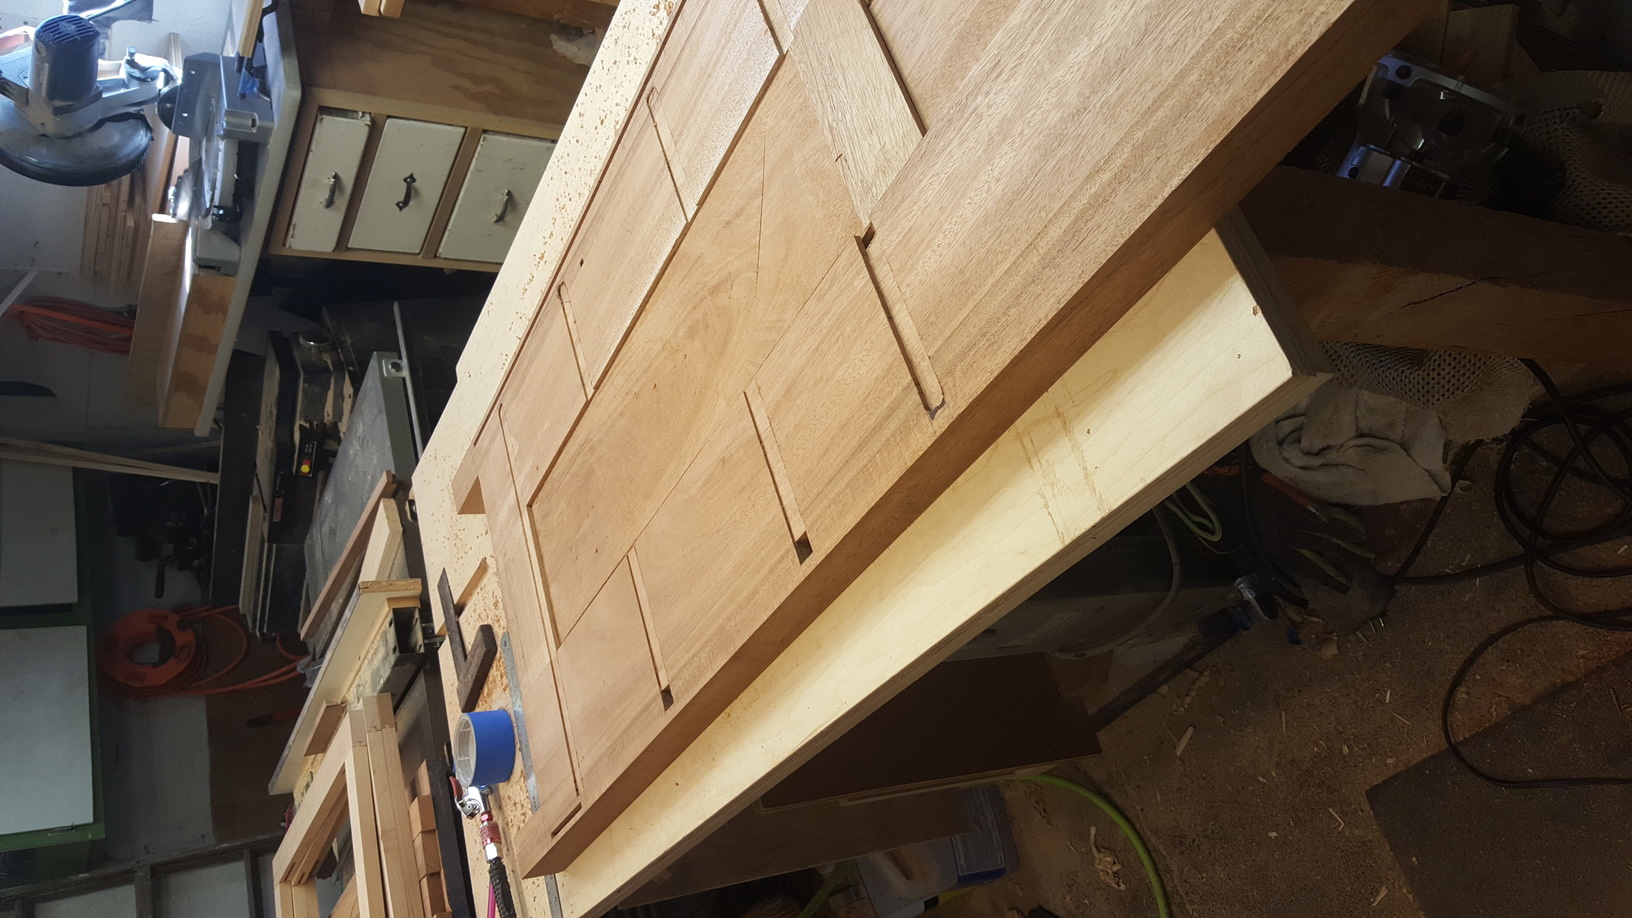
Hey Folks. I've got a pair of dressers that I've been building for my kids. It's been a long and rewarding process so far. These are the biggest projects I've built yet and with minimal plans, it's been an interesting journey figuring out how to do everything. Now that all the case joinery is done, it's time to tackle the next steps: glue-up and fitting drawers. My two biggest fears of the project have been worrying about joinery lining up and going together nice and square and the glue-up. Obviously, since I'm talking about glue, the cases already went together splendidly. What I'm looking for here is some advice on gluing up a big project like a dresser. I'm terrified that the glue is going to seize up on me while I'm fussing about getting things square. Here are a couple of pictures to show the joinery.


I plan on only gluing the tenons on the front edge of the web frames. the sides sit loose, but captured, in the groves. In addition, there are 3 rails on the back and the apron on the front. To complicate things I deviated from the plans a bit when doing the back rails and filler slats. The plans call for it all to be done as an assembly with the 3 rails and slats all held together by tall stiles. Then the stiles would get a tongue and fit into grooves on the legs. Instead, I skipped the stiles and just put some mortises for the 3 rails. That means I have to fit/slide in a bunch of slats at some point during the glue-up.
I have lots of pictures so if you want any clarification on anything I'll be happy to provide more info.
Posts: 2,375
Threads: 0
Joined: Dec 2011
03-29-2021, 06:23 PM
(This post was last modified: 03-29-2021, 06:36 PM by Handplanesandmore.)
Dry fit (& dry fit) including checking for square
Note the sequence (if you don't glue up right away so you can remember the assembly sequence)
Sort out ALL issues found in the dry assembly process before moving further
Use glue that has long working time (which isnt necessarily the same as open time) -- I use hide glue for very complex and critical builds, which can be undone.
Get all supplies ready (wet rag, clamps (& extra clamps as backup), clamp pads, clamping cauls, glue brush, mallets, tape, etc) and select a flat platform
Get a helper, even Tage Frid got assistance for a complex glueup. Rehearse so your helper knows what to do even if the helper is a woodworker
Mark all the pieces properly so you dont glue the leg upside down or inside out etc. Under stress you WILL mix things up if they're not clearly & visibly labelled
Start in the morning (10am?), not near lunch or dinner time. You dont want to hurry on a glue up job
Divide and conquer. Decide which parts can be glued up as subassemblies, and do those first and let them cure
The final assembly should be much less stressful
Make a list of everything that needs to be completed (checking for square, etc), and review that list after the glueup. You might be able to undo and fix what might have been missed within a minute or two after a glueup. (Have a heat gun and wet towel nearby.)
Reminder: dry fit, dry fit, dry fit.
Good luck and have fun!
Simon
Posts: 12,668
Threads: 0
Joined: Jan 2010
Location: Lewiston, NY
What Simon said. Do any subassemblies first. When you have a really high number of joints to glue you can either use a long open time glue like liquid hide glue or epoxy, or use TB II, etc., and glue up one side while dry fitting the other, then glue up the other side after the first has set. FWIW, epoxy is not the two headed monster many make it out to be. The T-88 I use has a 45 minute working time, plenty long enough to do almost any glue up. White vinegar or lacquer thinner cleans up any squeeze out.
John
Posts: 1,396
Threads: 2
Joined: Jun 2003
 03-30-2021, 08:33 AM
(This post was last modified: 03-30-2021, 08:34 AM by rwe2156.)
I've been using Old Brown Glue more and more. Cleans up easy, has a good open time and if something goes wrong, it can be reversed.
Posts: 706
Threads: 0
Joined: Dec 2011
(03-29-2021, 06:23 PM)Handplanesandmore Wrote: Dry fit (& dry fit) including checking for square - Done and done! I've fit everything together every step of the way in order to tweak each joint to fit perfectly.
Note the sequence (if you don't glue up right away so you can remember the assembly sequence) - I will put thought into this during the final dry fit.
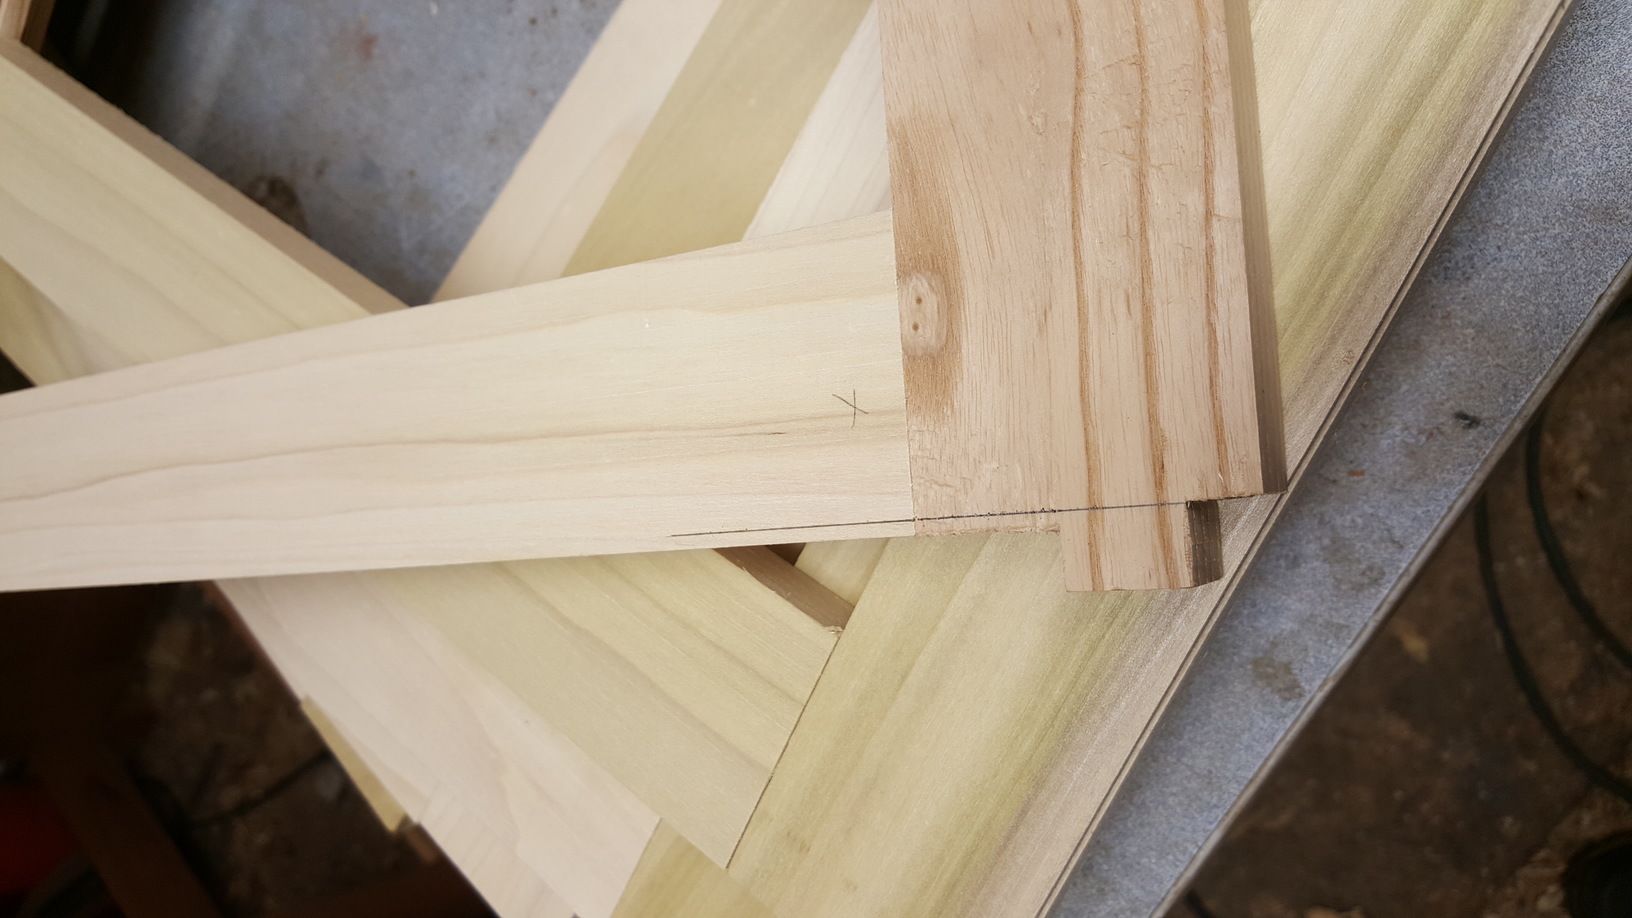
Sort out ALL issues found in the dry assembly process before moving further - See the photo below. I took a pencil and knife to mark out and makes notes of uneven, mating surfaces and any joints that weren't air-tight.
Use glue that has long working time (which isnt necessarily the same as open time) -- I use hide glue for very complex and critical builds, which can be undone. - I'll be looking into different options. Hide glue is high on the list.
Get all supplies ready (wet rag, clamps (& extra clamps as backup), clamp pads, clamping cauls, glue brush, mallets, tape, etc) and select a flat platform - Noted! I've already begun taking stock of all my possible clamps.
Get a helper, even Tage Frid got assistance for a complex glueup. Rehearse so your helper knows what to do even if the helper is a woodworker - My wife is on notice.
Mark all the pieces properly so you dont glue the leg upside down or inside out etc. Under stress you WILL mix things up if they're not clearly & visibly labelled - They are well maked now but I need to put back the necessary ones after I finish sanding.
Start in the morning (10am?), not near lunch or dinner time. You dont want to hurry on a glue up job - It will be the one and only item on the agenda, besides celebraing with some homebrew!
Divide and conquer. Decide which parts can be glued up as subassemblies, and do those first and let them cure
The final assembly should be much less stressful - This is where I'm running into the complications. The back was drawn as a subassembly but that's not how I did it. I'll elaborate in a sepeate post.
Make a list of everything that needs to be completed (checking for square, etc), and review that list after the glueup. You might be able to undo and fix what might have been missed within a minute or two after a glueup. (Have a heat gun and wet towel nearby.)
Reminder: dry fit, dry fit, dry fit.
Good luck and have fun!
Simon


Posts: 706
Threads: 0
Joined: Dec 2011
|


