Posts: 4,167
Threads: 0
Joined: Nov 2010
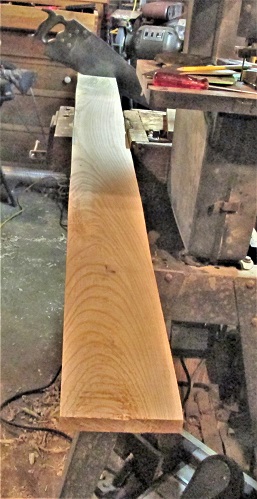
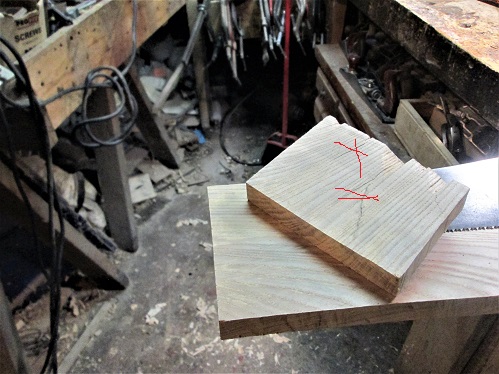
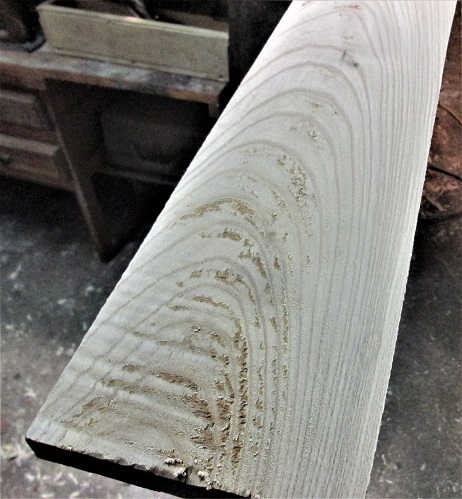
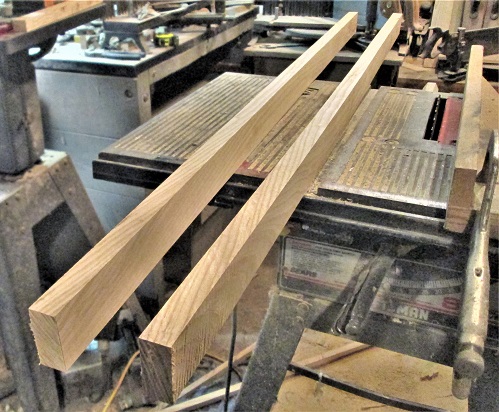
Yep, that is what my daughter wants built....so...haul a 7' plank to the shop...and trim just over 4' out of it....and whatever is leftover, can be the rungs...one end had a few splits trying to form up...and there is no room to use either the mitre box, nor the tablesaw...
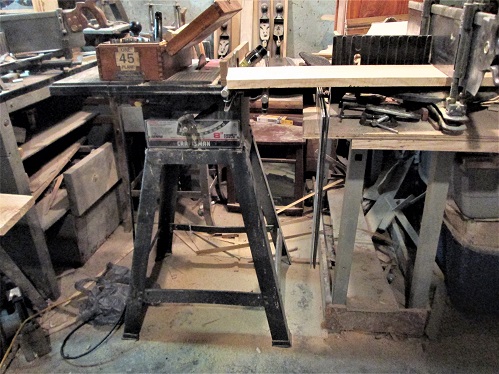
So, had to set it up this way..
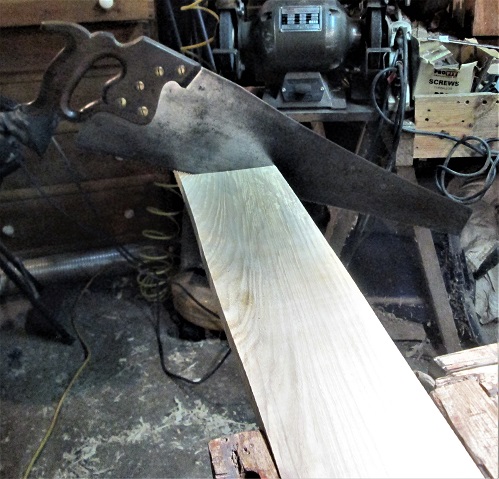
Clear down on the end is a handsaw...
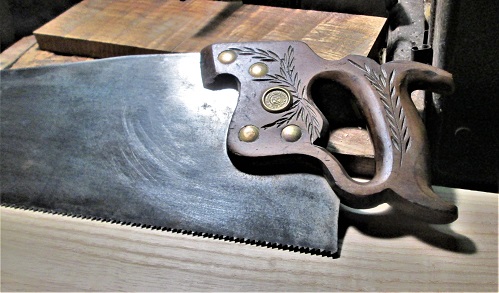
A Disston D-112, 26", 7 ppi cross cut...
Removed the "Splitsville stuff"..
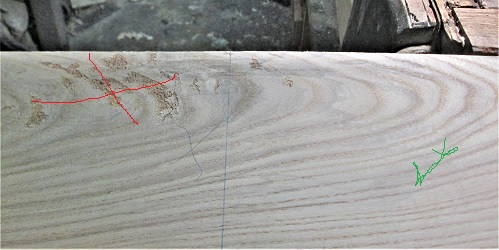
Yep, looks like scrap, to me....measured from this nice edge to a point about 50" away...was trying to avoid the "Problem Child"..
Missed it by that much, Chief..
Handsaw to make this cut.....board is now somewhat more manageable so.....I moved the tablesaw out, set up a rip fence...
Straighten out one edge....reset again....
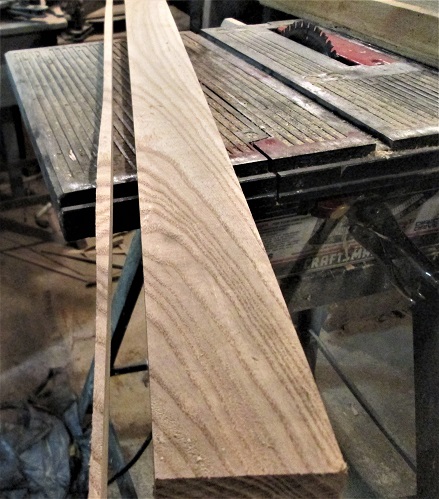
And I now have both sides of the ladder milled...but...I need rungs, too...The 2 short planks in the shop, were run through the tablesaw, after I narrowed down the rip fence a tad..
And set out the best 5 pieces...
Next on today's schedule...tenons on the ends of the rungs...more fun..
Stay tuned

Show me a picture, I'll build a project from that
Posts: 4,167
Threads: 0
Joined: Nov 2010
Ladder sides tip in ~ 12 degrees...Bottom is to be ~18" wide....trying for ~13-16" at the top. had to trudge back upstairs, grab the new-to-me Sargent Patent bevel gauge..

A square and a sharp pencil...the bevel was set with a ladder upstairs....angle between the side and the tread...Laid out 5 tread blanks...Cut to about 18" long...
Then used the same setting to adjust the mitre gauge on the tablesaw....Too much Cardio doing these on the Stanley#358..

Then run the 5 blanks through..
Reset the saw blade's height, to just under 1/4" high...and do the shoulder cuts..
half done, reset the mitre gauge to do the other half....Then the mitre gauge is brought back to 90 degrees..
I do not trust the scale on the guage...might be the pointer is a hair off...reset the blade,,, tilted 12 degrees, and set the height, again..
Wound up adding a stop block while nibbling away the waste....each tenon was then pared..
The Olde School way...took a while, finally got all 10 tenons made..

Other ends look the same. Was getting a bit sore, spent 3 hours or so in the shop...and a few round trips upstairs....Decided to stop..

Stay tuned

Show me a picture, I'll build a project from that
Posts: 9,693
Threads: 0
Joined: Jan 2005
Location: Orlando FL
Never heard of a towel ladder. It will be interesting to see what you come up with.
Posts: 4,167
Threads: 0
Joined: Nov 2010
Late last night, decided to go to the shop for a bit....just to get a few things set up...wasn't meant to be a "work session"....
Yeah...right

Decided that to safely hold each tread still on the bench, enough to allow a couple planes and a router to work...without chasing the part all over the top of the bench..
That IF I drill a hole through the tenon, where it will not be seen later....add 2 screws...parts should stay put...test piece was set down upside down on the bench, as it needed smoothed out, anyway....Then decided to test out the router (Hide yer eyes, Mabel!)
And do a small round-over along the edges...
Then flip the part over...
And smooth things out a bit...edge grain was done over in the vise, though..
Some edges were a bit worse than others..
A smooth edge for the fence on the Stanley 45 to move along....
one bead is done....turn the other edge out to where the 45 can get to it....and something wonderful happens...

A bead down the center appears...one setting on the plane, 3 beads done. Can't afford a purpose made 3 bead cutter ($$$)
Then a round-over, and sand down into each beads groove. Was so much "fun", decided to do the other 4 treads...then sweep up the shop..
And even found a Dime laying on the floor..."Pay Day!"

Later today, after all the "Honey-dos", I could get started on Mortises for these treads to sit in.....through mortise, angled at that, in Ash....wedged tenons at that...
Stay tuned

Show me a picture, I'll build a project from that
Posts: 4,167
Threads: 0
Joined: Nov 2010
So...prep for the sides of the ladder. Top end needs a curve..
Starrett Compass to lay out the line for the bandsaw to try and cut...then the beltsander to refine the curves, once both sides were cut..
The "foot" just gets a simple bevel...for now..
Which bring up jointing the edges, so both sides match each other, but, at 49-1/2" long..
Might be a problem for the Millers Falls No. 9 to do..we have ways..
"move over, Shorty..."
And, let a real jointer take over......Stanley No.8, Type 7...making shavings...and we worked down both edges, flip the pair over, reclamp, and do it all again...tried it out as a smooth plane?
Went back to the regular smooth plane...wanted to get things all smoothed out, to make mortise lay outs a bit easier to do..
Straight tenon, with an angled step and an angled side of the ladder = a compound mortise...
Because the "step" needs to be parallel to the floor, while the ladder sides are leaning against a wall, and the sides of the ladder toe in towards the top...
Should be "fun" to do
 with chisels and a mallet, in Ash....from both sides, until they meet in the middle...
Stay tuned....intend to do this one hole at a time......only ten to do....And, get both sides to match....don't want a lop-sided ladder, right?

Cussing may be involved...

Show me a picture, I'll build a project from that
Posts: 4,167
Threads: 0
Joined: Nov 2010
To better give an idea about the treads...
Arrayed from bottom tread to the top tread 5 in all. Working with a 12 degree angle throughout...
Mortise tools?

These should do for starters....we'll see how that goes....may need others for the clean up...

Jointer?
The Late Charles Neil allowed me to bring this home from his shop, on the condition I make it usable in my shop...
This plane screams "Cardio Workout" even before I pick it up to use....
I guess this would be called the Starboard side?

And this is the sole of a working hand plane....or..is it a flight deck?
 24" long.
Stay tuned...thinking 1400 hrs as a start time today....

Show me a picture, I'll build a project from that
Posts: 4,167
Threads: 0
Joined: Nov 2010
04-17-2021, 08:00 PM
(This post was last modified: 04-17-2021, 08:01 PM by bandit571.)
Needed to clear off the top of the bench...BEFORE anything else could get done...

So....

Round up the usual suspects..
But, before I could do to much lay out work, a problem needed fixed..

So, "Shorty" came back out, and a few swipes later...
So, NOW I could do a bit of lay out work...
Lets see...Treads sit parallel to the floor...Ladder tilts towards the wall at 12 degrees...ladder sides splay out at 12 degrees (see a pattern?)
And..the tenon is straight...ok...carry the lines around a bit...
And, mark both faces.....because I will need to chop down from both faces, and meet in the middle....Start on the outside face..
Chop about 1/2 way down, following the lines on the edges for the correct angle....then...flip over and chop again...and hope the two holes line up...enough for a dry fit..
Tenons were a tad long...better than being a tad too short..

Stay tuned....there was a 3 hour shop session, today ...1 mortise done, out of 10...

Show me a picture, I'll build a project from that
Posts: 4,167
Threads: 0
Joined: Nov 2010
04-17-2021, 08:14 PM
(This post was last modified: 04-17-2021, 08:17 PM by bandit571.)
During a dry fit, when this was starting to look like a ladder, happened to look at the feet...and discovered..

That instead of a simple bevel cut....it should have been a compound miter cut....Will tackle that detail, later..
Still chopping away...had one blow out...Started the chop on the wrong face...soon, though..
had 3 mortises done. Had to stop for a few minutes ( Pee Break, Gatorade Break, resharpen a chisel or three)
When a chisel bounces instead of cuts...time to resharpen..
Still had 2 more to do..
Sharpening a chisel, seemed to make things go a bit better, too.. half way there...may wait until tomorrow for the other half. time to hang up the apron..
And call it a day....need a nap.

Stay tuned...

Show me a picture, I'll build a project from that
Posts: 4,167
Threads: 0
Joined: Nov 2010
04-19-2021, 01:11 AM
(This post was last modified: 04-19-2021, 01:14 AM by bandit571.)
Got off to a rather late start...around 1500hrs.....Stop time turned out to be 1630hrs....( 3pm to 4:30 pm for you civilians)
Started with this end...
Outside face first, then flip over and complete the first mortise...at 1515hrs..

At 1530 hrs..
A second mortise was done, and both dryfitted
 By 1600hrs..
Was down to just the middle mortise ( worked in from both ends towards that spot) At 1615hrs...
Middle one was done...wasn't in a rush, but..I was loafing along, either..
 .working with just 3 chisels...
Saved that mallet for dry fitting....that Ball peen seemed to work better...the 1/2" wide one in the middle is a PEXTO....Was I done for today? Nope..
Decided to try to dry fit everything together...
Some of the tenons need a little off the end....a bit too long....they were hitting the bench top, before they were all the way seated...
Have a few things to do to the sides...maybe round over the sharp edges. Maybe some other "details"? Pick up a pack of shims, to help with a glue up, later. Need to add a kerf in the tenons, and make the wedges. Then maybe try the glue up? Need to trim the feet a bit, so they will sit flat on the floor...
Should be "fun" to do...was waiting to see how the sides would line up....so I know which way the bevel will go..
Stay tuned...
Show me a picture, I'll build a project from that
Posts: 4,167
Threads: 0
Joined: Nov 2010
Hmm...glad she likes a Rustic look to these things...

Glued in in two "stages" with rosewood wedges...
and...
Worked my way down one side...after rounding over all the side's edges..
Just wedges and glue....repaired the other side....chip had blown out...
Then run the router down the last edges...and start in at attaching side #2
Letting this sit a least a full day...before them clamps come off.....then maybe a spokeshave or two, for clean up...then a stain and some Poly...
Stay tuned..

Show me a picture, I'll build a project from that
|










 with chisels and a mallet, in Ash....from both sides, until they meet in the middle...