Posts: 24
Threads: 0
Joined: May 2017
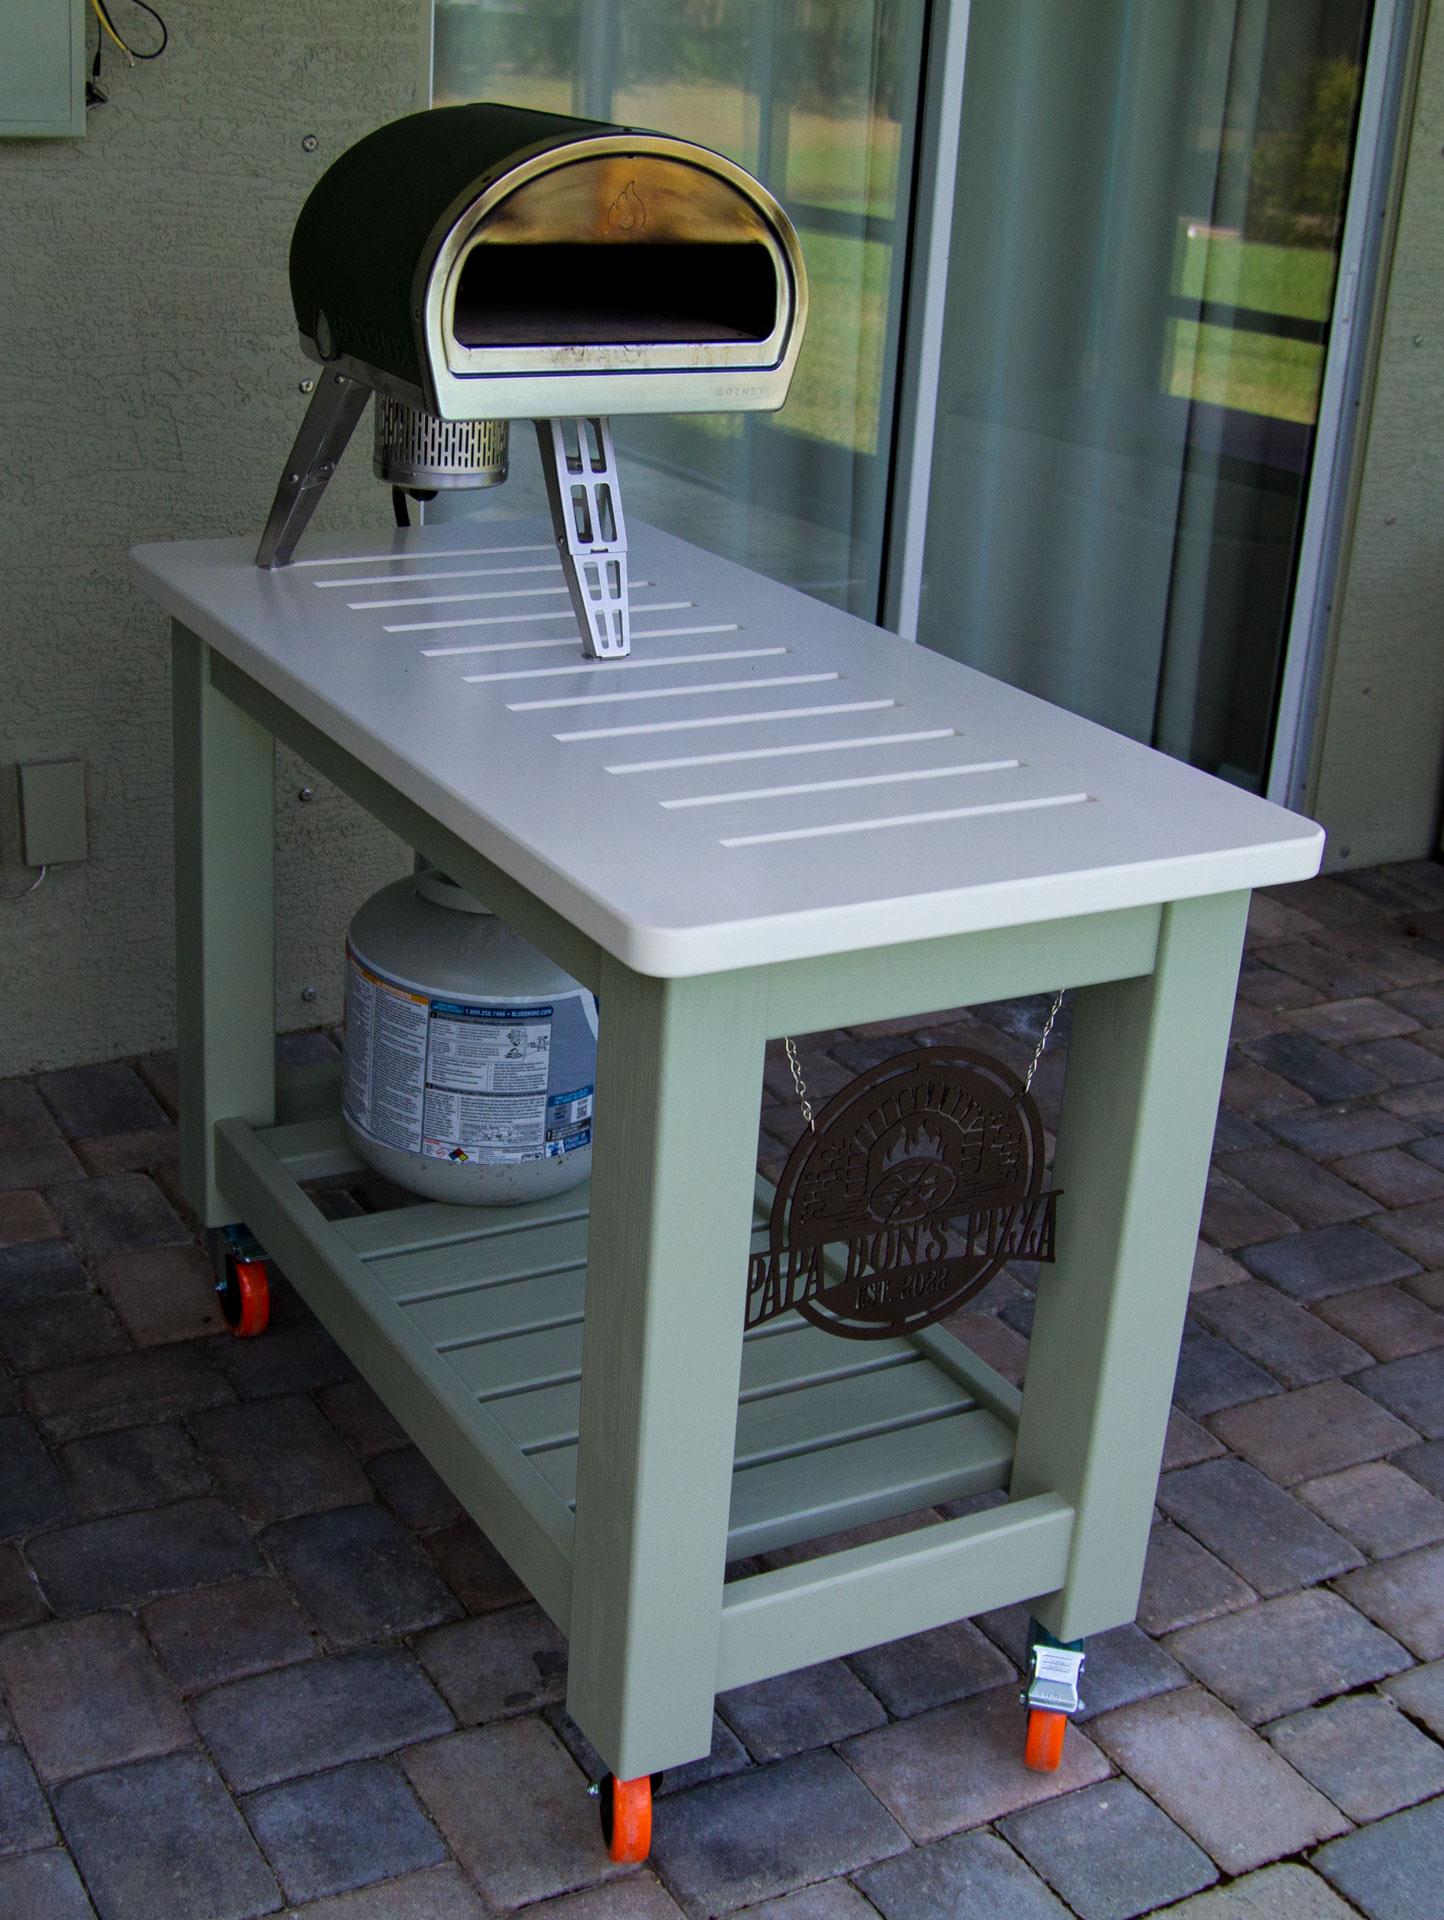
Because I got tired of carrying my pizza oven in and out when I wanted to use it, I decided to make a rolling cart for it.
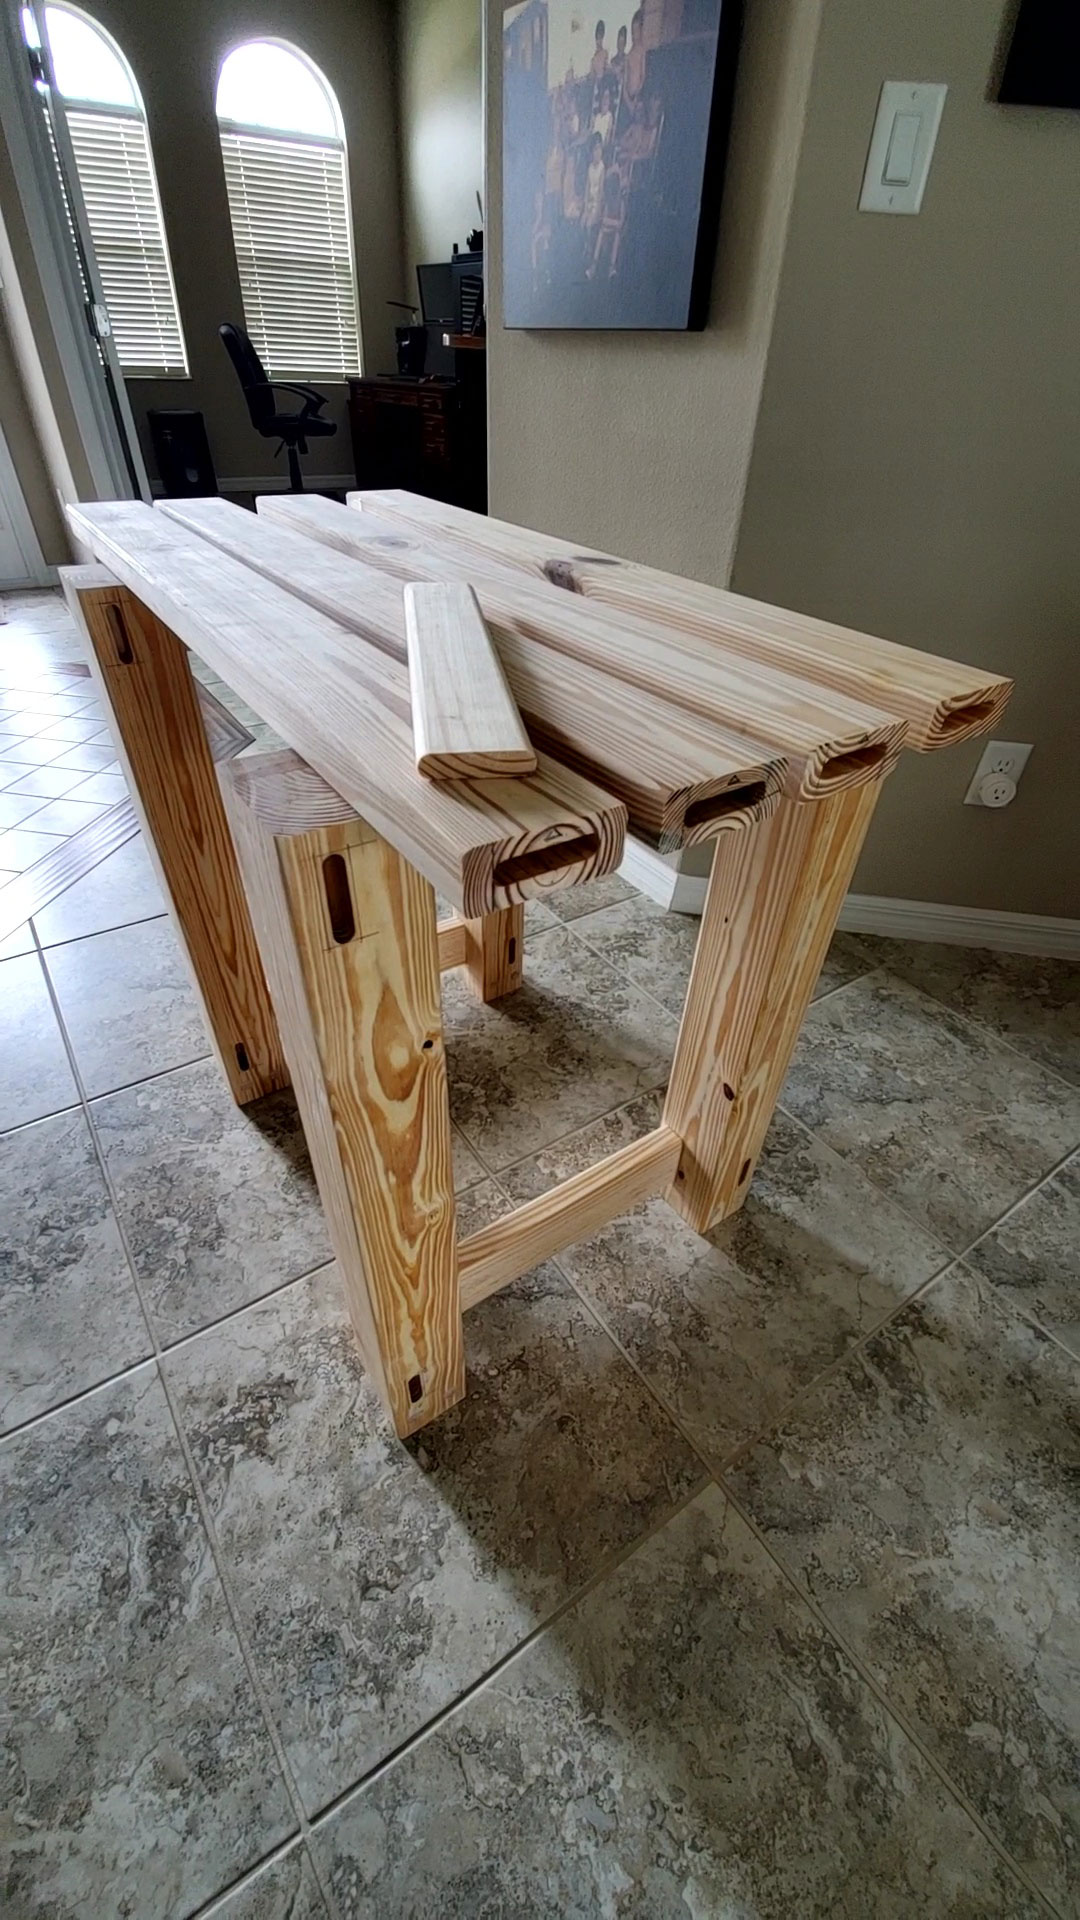
It is made from simple 2x4 and 2x6 stock from the local big box.
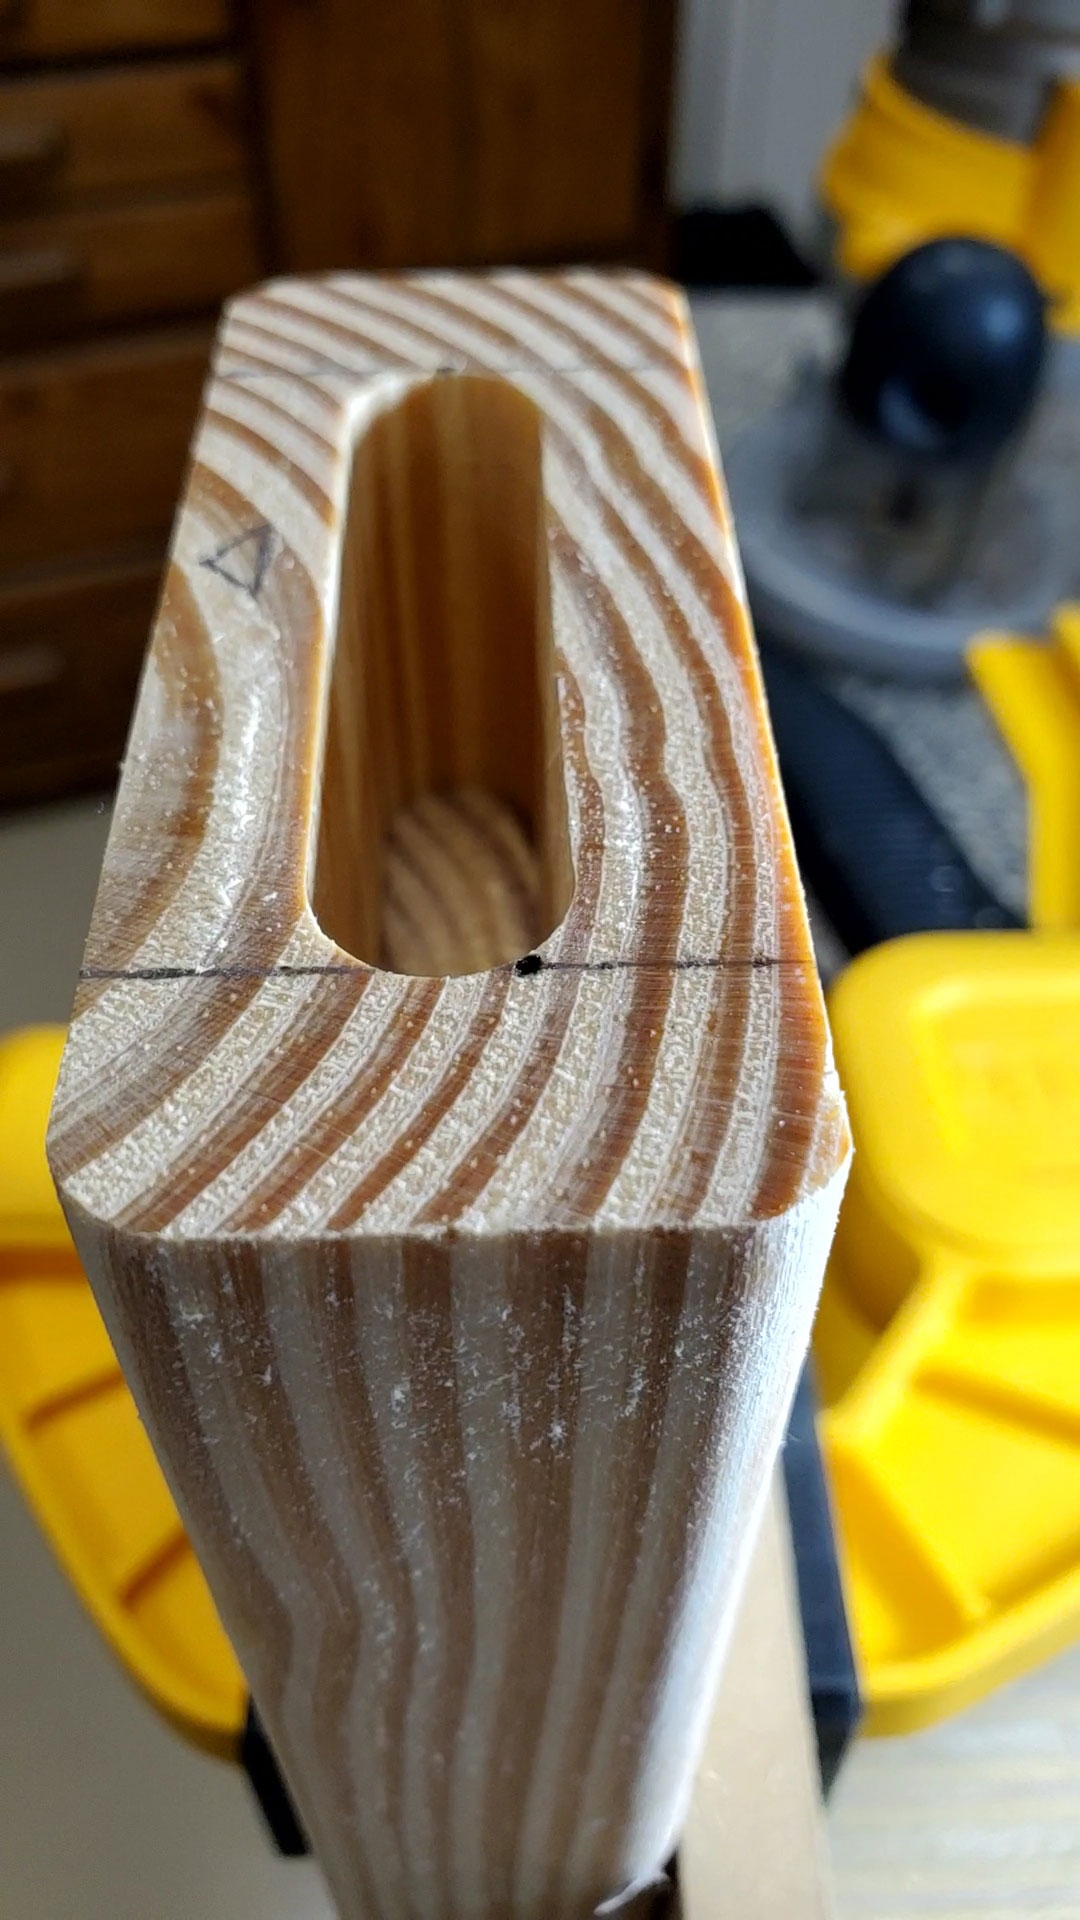
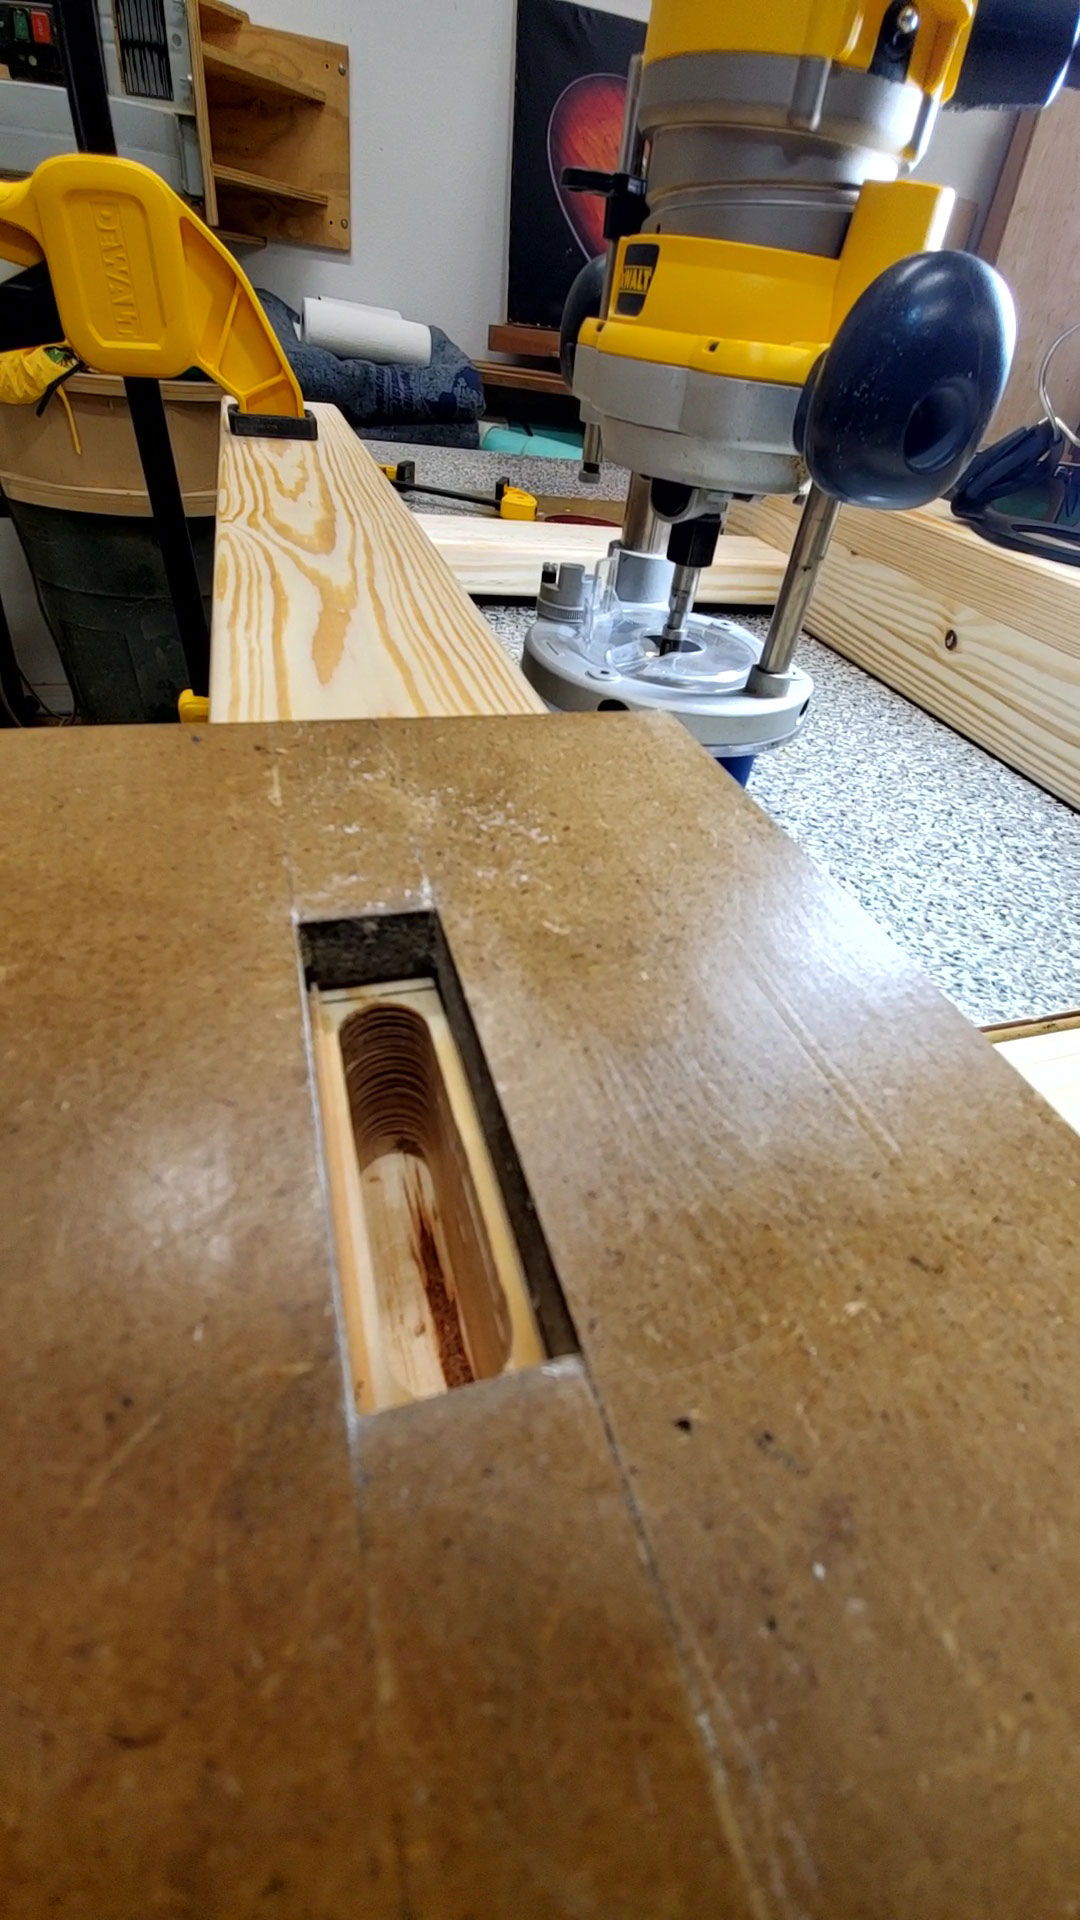
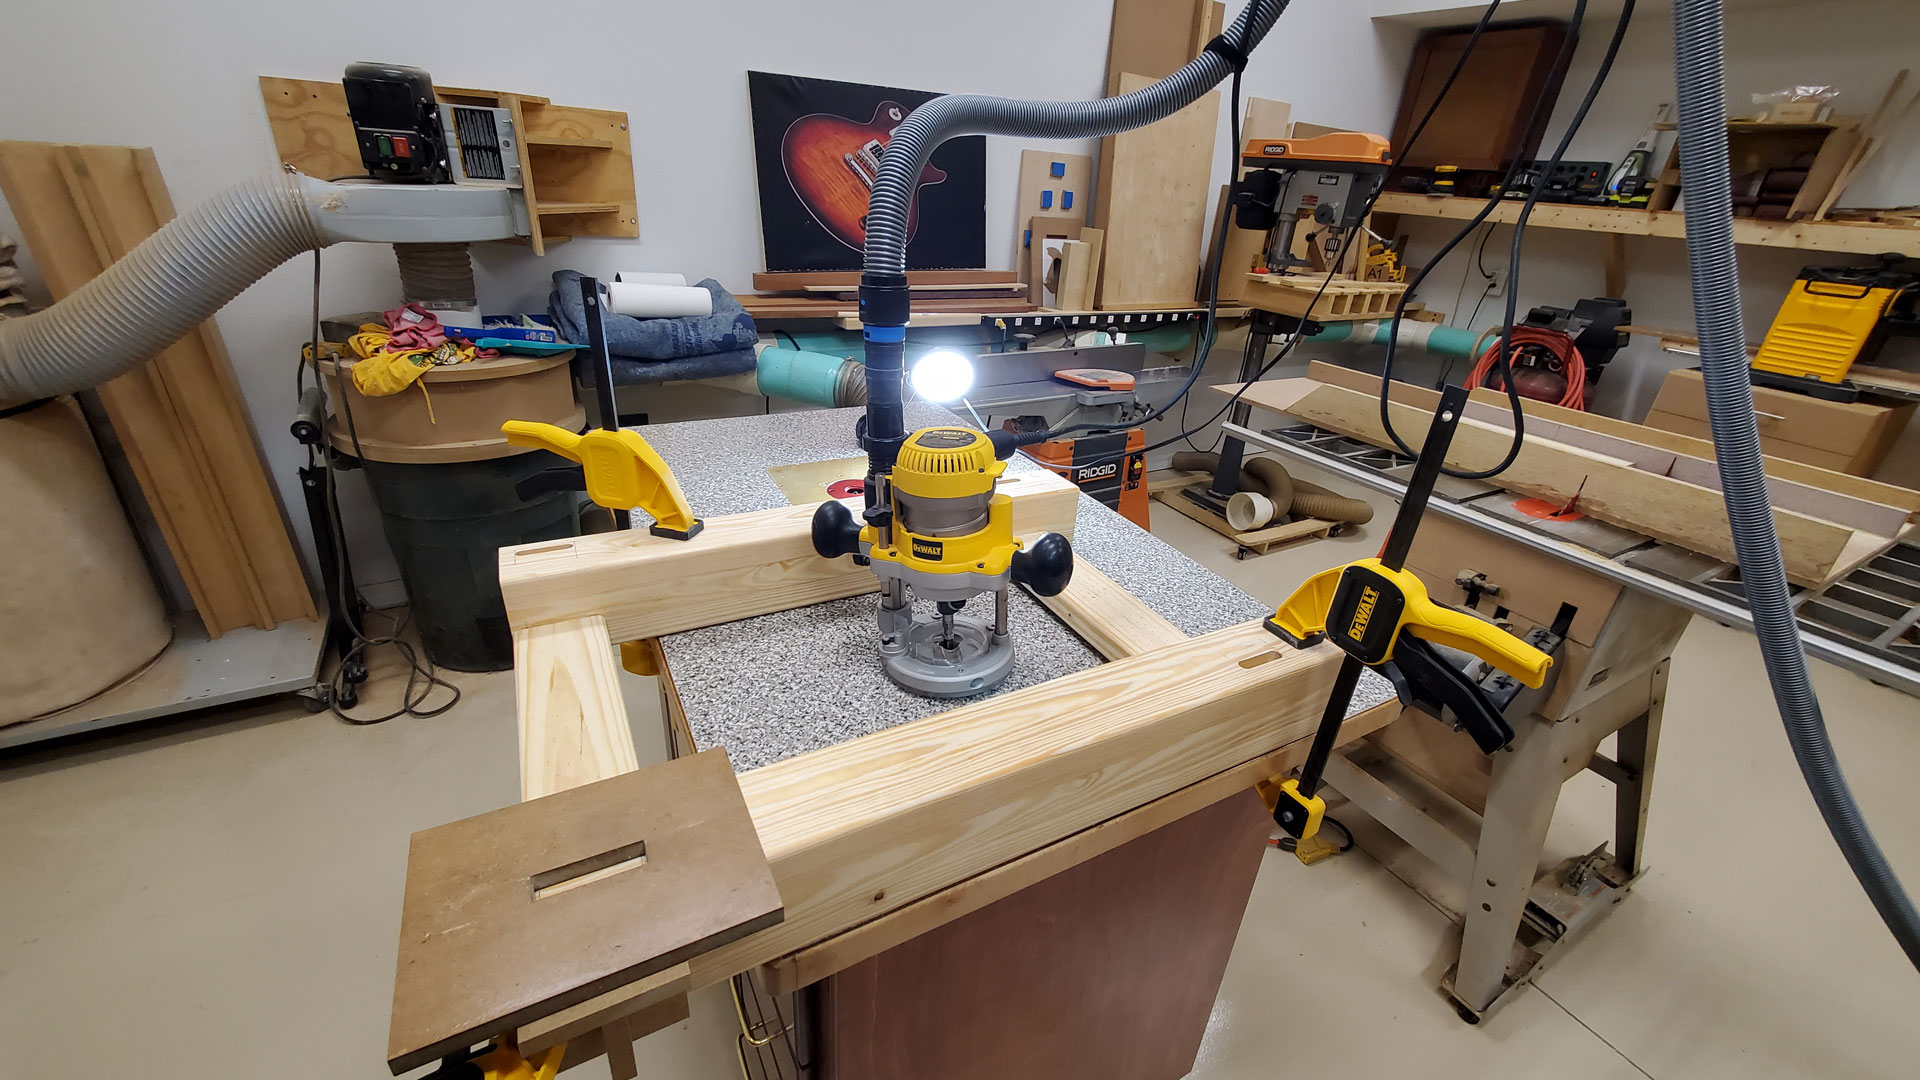
It was also my first foray into floating tenons. I made my own jig and made heavy use of the masking tape and superglue trick.
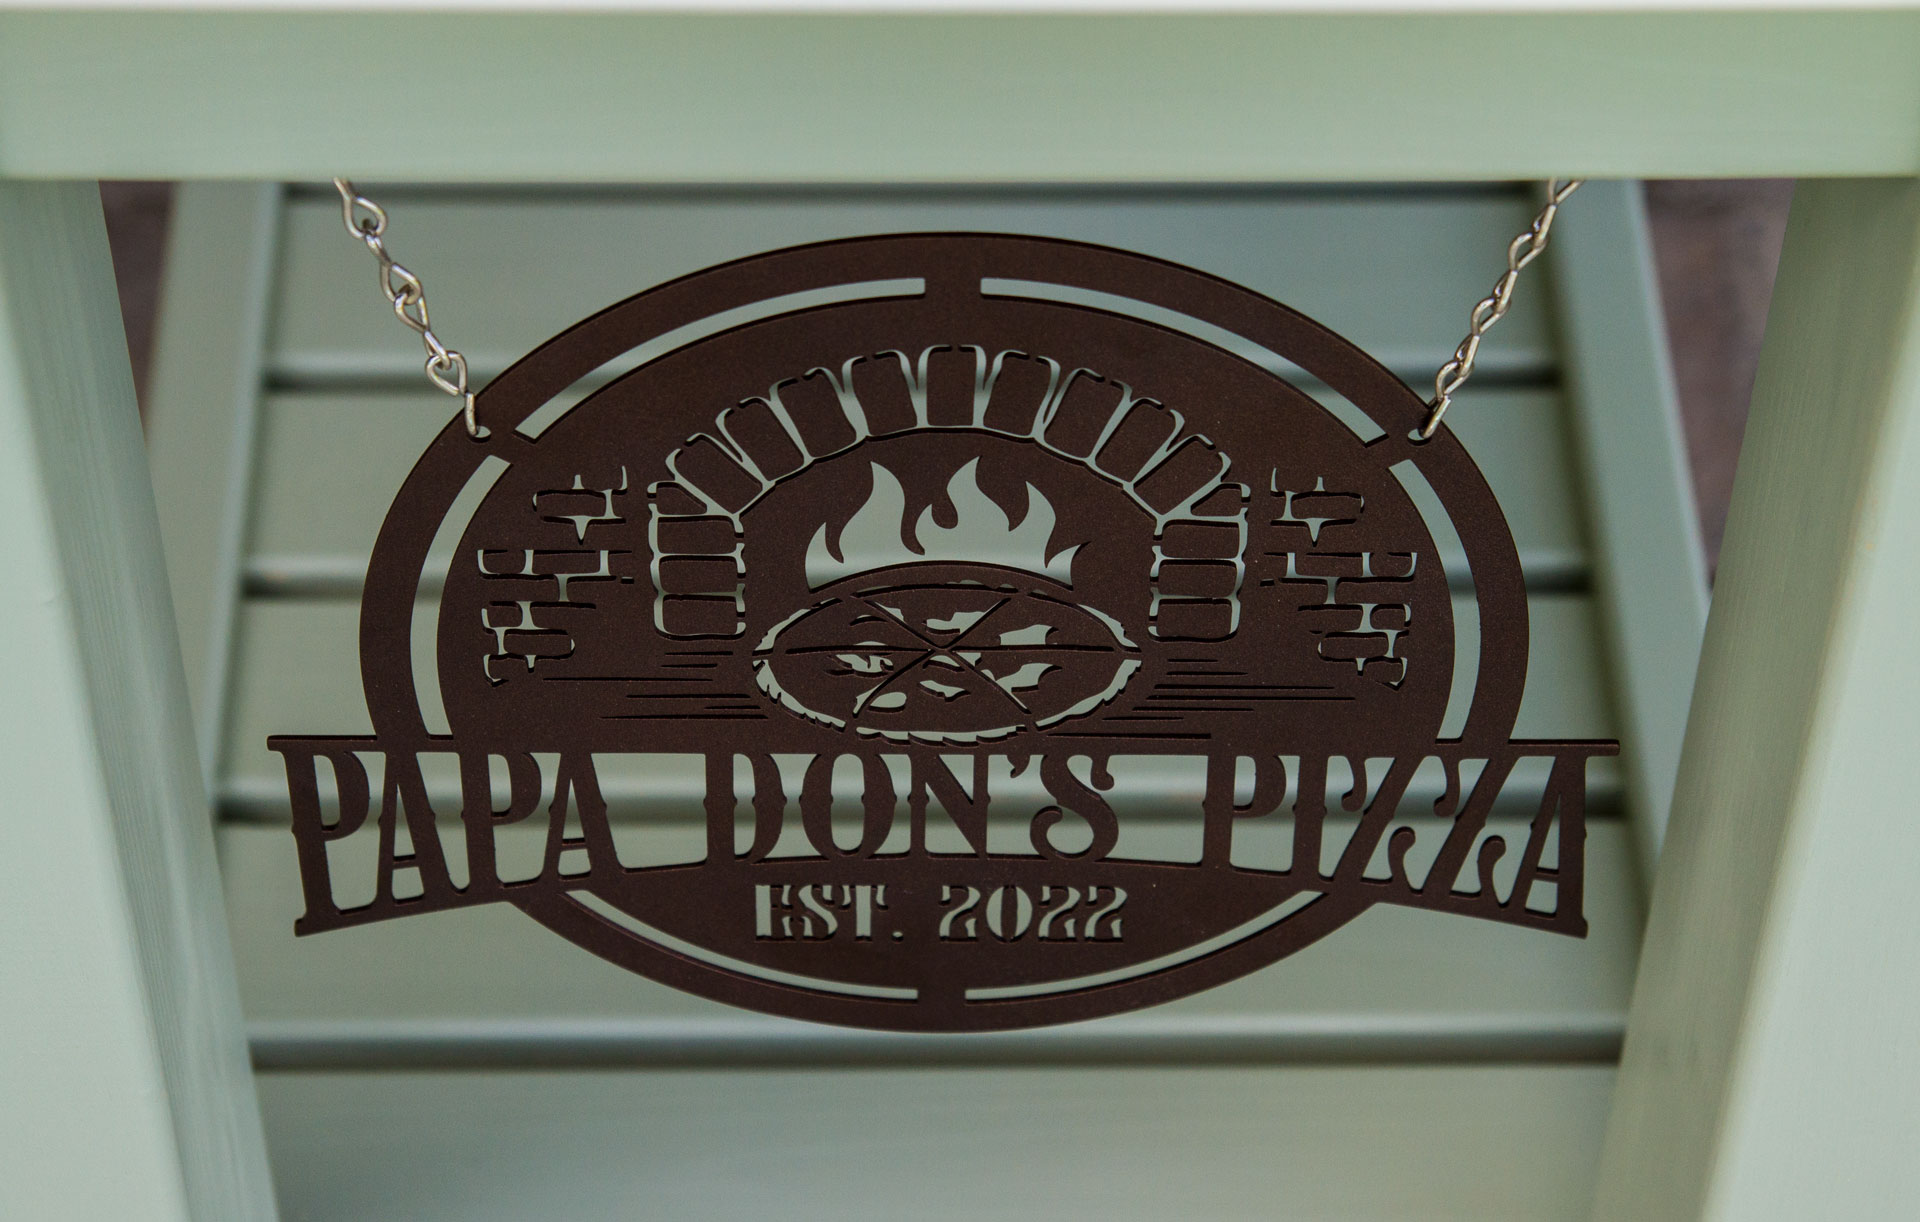
The LOML gifted me a cover and hanging plate and inspired this project.
It may be my imagination, but the pizza has been tasting better since I put this cart to use.
Posts: 3,296
Threads: 0
Joined: Oct 2007
Location: Cumming, GA.
Looks great! Now I'm craving pizza!

Posts: 12,666
Threads: 0
Joined: Aug 2003
Location: Wapakoneta, OH
I like it as well, nicely done. I need to do something like that for my smoker. What impresses me is how the paint covered the construction grade lumber, what did you prime it with?
I started with absolutely nothing. Now, thanks to years of hard work, careful planning, and perseverance, I find I still have most of it left.
Posts: 1,614
Threads: 0
Joined: Jan 2014
Really nice, but your shop is waaaay too clean...I had to look away...
Posts: 66
Threads: 0
Joined: May 2021
Nice !
Now I want a slice too..
Posts: 1,624
Threads: 0
Joined: Feb 2010
Location: Coast of Maine
Nice design, great looking build. BTW. What is the masking tape and superglue trick??
Thanks, Gary
I've only had one...in dog beers.
"You can see the stars and still not see the light"
The Eagles: Already Gone
Posts: 892
Threads: 0
Joined: Apr 2006
Location: Trout Creek, Montana
Nicely done. Another thing to put on my to-make list.
Treat others as you want to be treated.
“You only live once, but if you do it right, once is enough.” — Mae West.
25- year cancer survivor
Posts: 24
Threads: 0
Joined: May 2017
(12-07-2022, 02:49 PM)fredhargis Wrote: I like it as well, nicely done. I need to do something like that for my smoker. What impresses me is how the paint covered the construction grade lumber, what did you prime it with?
I used Behr semi-gloss exterior - two coats.
Posts: 24
Threads: 0
Joined: May 2017
12-18-2022, 04:13 PM
(This post was last modified: 12-18-2022, 04:19 PM by FLWoodworker84.)
(12-15-2022, 07:53 PM)shoottmx Wrote: Nice design, great looking build. BTW. What is the masking tape and superglue trick??
Thanks, Gary
The masking tape and superglue trick is something I found when researching guitar construction - truly a game changer for me and so simple I can't believe it took this long to find it. For me, it really simplifies building router templates because you can create them without having to worry about how you are going to clamp them to your work-piece. Think of it as double-stick tape. You put masking tape on the two surfaces that you would like to temporarily adhere and then add a few dots of CA glue to the tape. It holds very firmly but is fairly easy to disassemble.
Here is an example video...
I have used for lots of stuff. Here is what I recall.
1) Flattening twisted boards in planer (temp glued shims between the twisted board and the carrier board)
2) Sanding shop-made veneers with my drum sander (temp glued veneer to carrier board)
In my 5th photo in the original post, the template for routing the mortises is two pieces - the actual template and "spacer" piece underneath that aligned to the leg. These two pieces were taped/superglued together - kinda my my lazy way of making it adjustable.
Posts: 1,624
Threads: 0
Joined: Feb 2010
Location: Coast of Maine
Super explanation, Thanks FLW
Gary
I've only had one...in dog beers.
"You can see the stars and still not see the light"
The Eagles: Already Gone
