07-15-2019, 08:25 PM
(This post was last modified: 07-15-2019, 08:25 PM by BrokenOlMarine.)
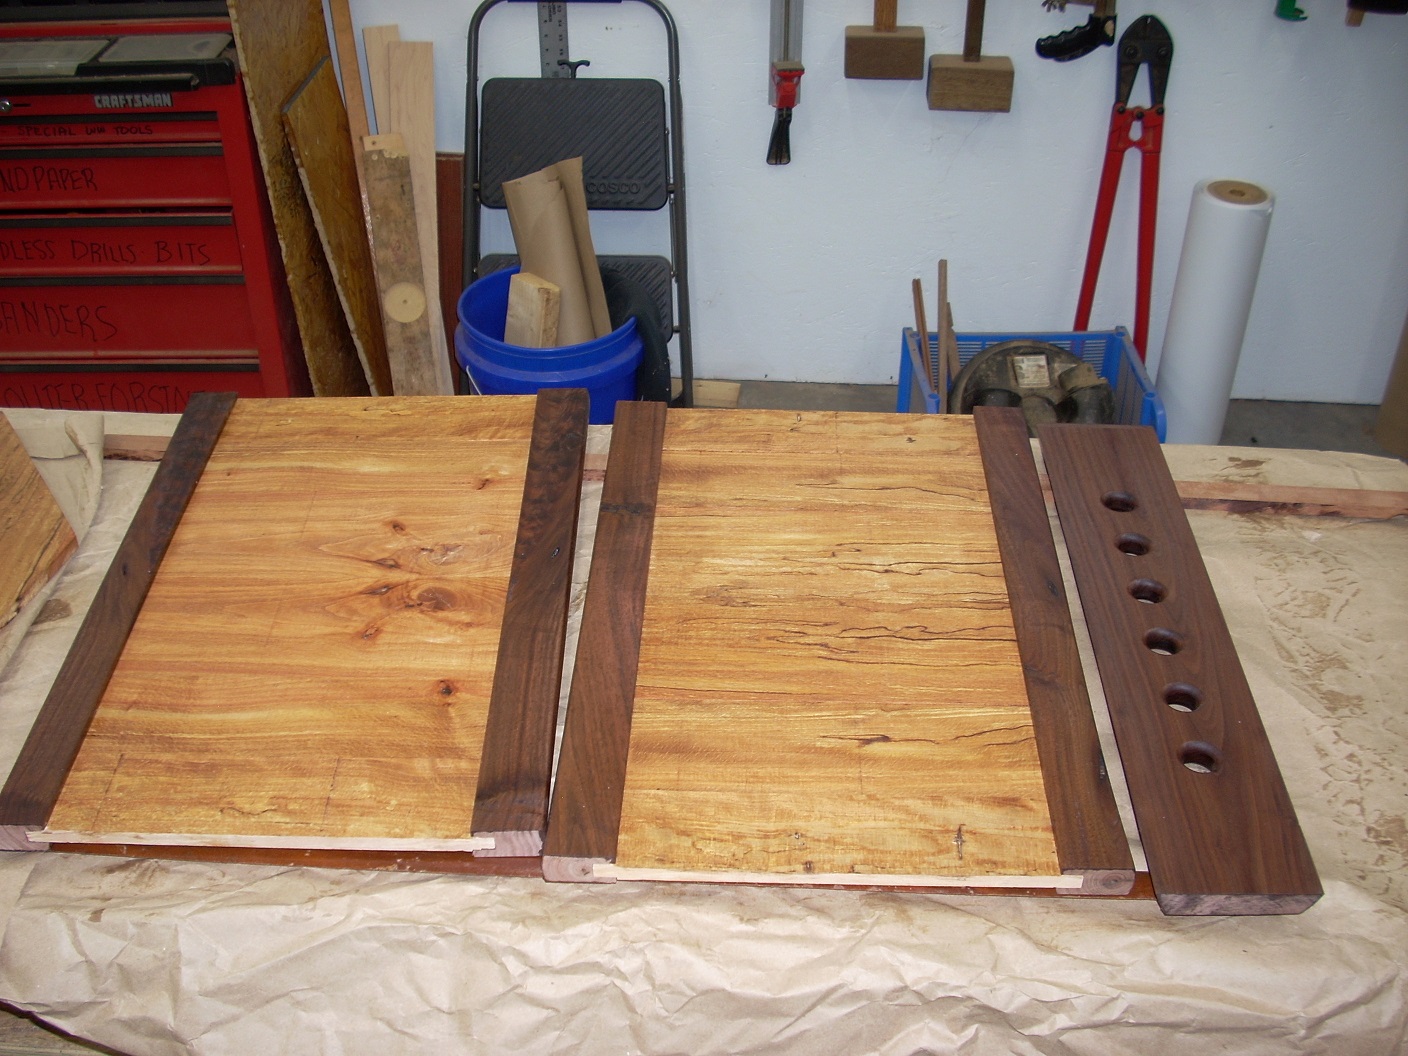
There was a lot more work between but we got to the point where the sides, ends and the top rail got stained.
They are beautiful at this point, and things are progressing rapidly. The design had undergone a number of changes on the fly,
brought on by various things encountered along the way.
Flexibility is the buzzword.


After the Watco Oil was applied and dried, the assembly was test fitted and marked, and pilot holes were drilled into the end panels. Then the
chest was reassembled, and the holes were redrilled thru into the side panels using the end panel holes as guides. I used a drill bit the size of
finishing nails. (There was a rhyme to this thinking.)


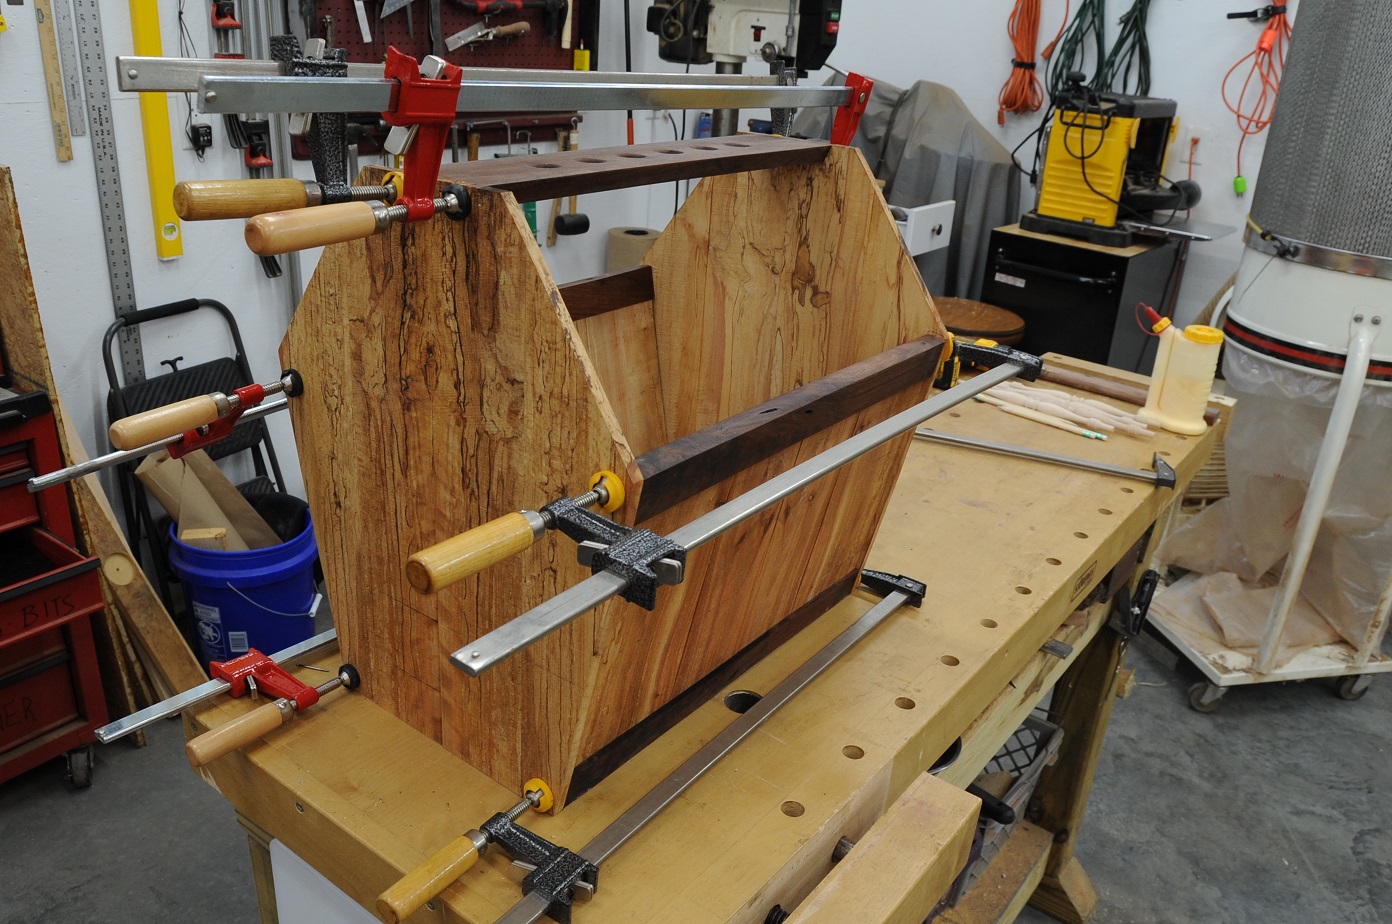
I disassembled the chest one last time, applied glue to the rails and then inserting finishing nails thru the end panel holes as guides,
I reassembled the chest. As soon as the clamps were in place and alignment was verified the nails were removed to prevent them
from becoming glued into place.

After 24 hours, I used a 1/4" forstner bit to counter sink the holes, dipped screws into a touch of glue and secured the assembly. With a 1/4" plug
cutter, black walnut plugs were cut for accents, and they were glued into place. Left overnight they were trimmed flush and treated with watco oil the
next morning. BAM, they popped just as I had hoped.
They are beautiful at this point, and things are progressing rapidly. The design had undergone a number of changes on the fly,
brought on by various things encountered along the way.
Flexibility is the buzzword.


After the Watco Oil was applied and dried, the assembly was test fitted and marked, and pilot holes were drilled into the end panels. Then the
chest was reassembled, and the holes were redrilled thru into the side panels using the end panel holes as guides. I used a drill bit the size of
finishing nails. (There was a rhyme to this thinking.)


I disassembled the chest one last time, applied glue to the rails and then inserting finishing nails thru the end panel holes as guides,
I reassembled the chest. As soon as the clamps were in place and alignment was verified the nails were removed to prevent them
from becoming glued into place.

After 24 hours, I used a 1/4" forstner bit to counter sink the holes, dipped screws into a touch of glue and secured the assembly. With a 1/4" plug
cutter, black walnut plugs were cut for accents, and they were glued into place. Left overnight they were trimmed flush and treated with watco oil the
next morning. BAM, they popped just as I had hoped.
Jim in Okie
You can tell a lot about the character of a man -
By the way he treats those who can do nothing for him.
You can tell a lot about the character of a man -
By the way he treats those who can do nothing for him.


 The Wow factor was achieved.

 You know, for stability.
 Tape measure in hand, I checked. Twenty two - ish. "Anywhere around there would be perfect."
 I put the 12 inch turnings back in the drawer, and ... wait. Maple ends for those 2" curtain rods... the big wooden ones. Perfect. I set up the forstner bit, cut a matching hole in the fancy end for the wooden curtain rod, and we had feet to mate to the hole already drilled in the special bases mounted on the chest. All I needed was a 1- 1/2 length of the proper sized dowel. Luckily I keep a couple dowels of the various sizes on hand. I was golden.
