Posts: 4,048
Threads: 0
Joined: Nov 2010
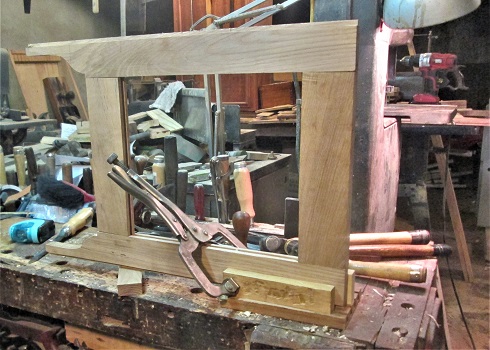
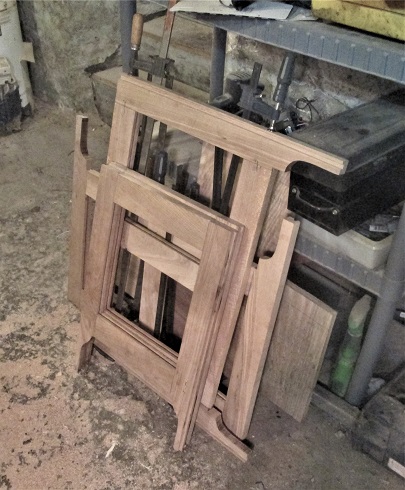
Last frame is completed..

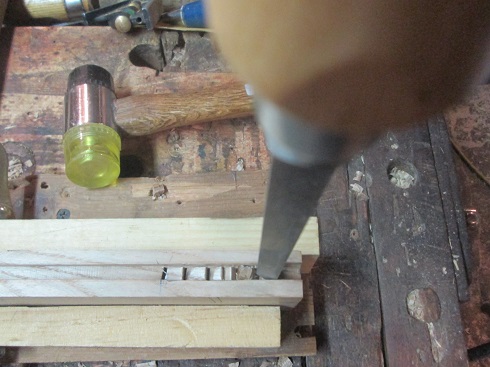
had to sharpen the Mortise chisel first, so it could chop, instead of bounce off, or get stuck..
Old bandsaw blade tossed out, new blade installed...no longer burning the wood...

Stashed the frame over with the others...
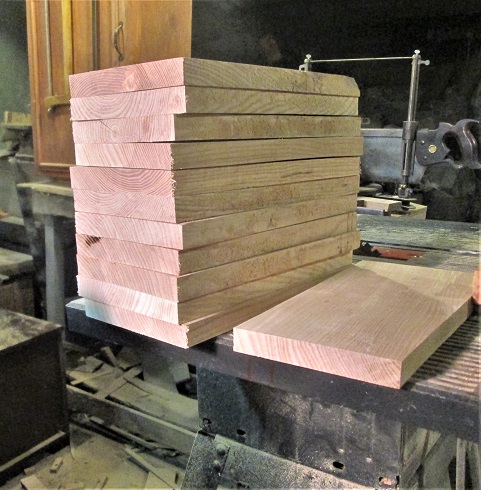
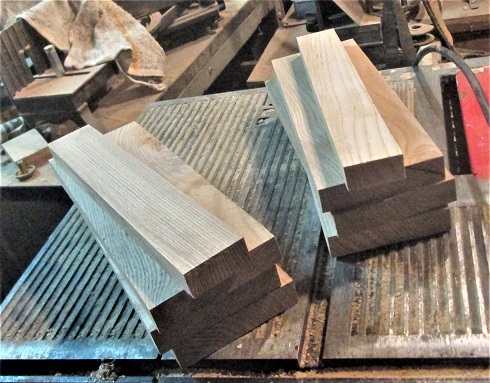
then cross cut 3 planks down into 12 blanks ~ 11" long...
Then rip to get one straight edge removed the waves and tapers....use that edge against the fence, and rip again to 3-5/8" width...removing big knots and other stuff..
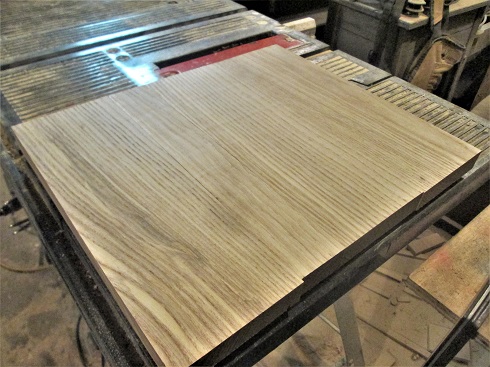
Lay out 3 pieces, plus a 1 x 2 filler...arrange for best grain match..
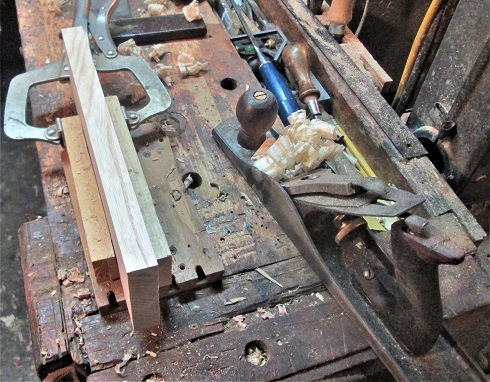
Couple edges needed jointing, for a better fit...
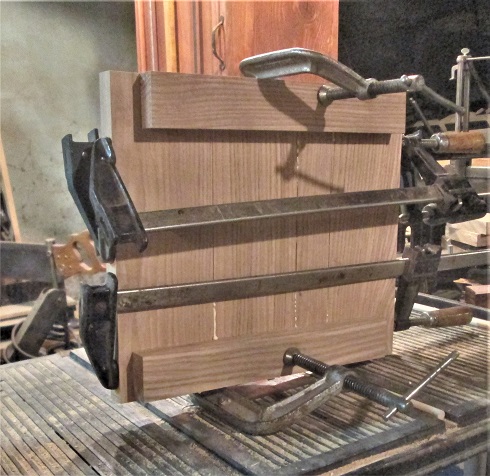
Remove clamps from the 2 completed glued up panels...glue, clamps and cauls to make Panel #3
Repeat for Panel #4......ran out of clamps to also do these last ( #5 and #6) panels

Not a biggie...when the clamps come off #3 and #4 today...I can glue these last 2 panels up
Stay tuned

Show me a picture, I'll build a project from that
Posts: 4,048
Threads: 0
Joined: Nov 2010
Well, day #5....wasn't exactly a good day....started out fine enough...ended with items getting flung against the nearest wall,,,more cussing than Boot Camp Day 1....

First item....have those 2 panels to glue up.....had to keep jointing a few edges...to get a gap-free joint...Ash does not like to do "spring" joints...finally got #5 into some clamps...and doubled up the cauls..
Clamps coming off of Panel #3 and #4 wanted to do their own thing.
 ..but...

Eventually, the saw the light. next, wanted to square the other 4 panels up...
And, with the way the day was shaping up, decided check the mitre gauge, as well..
Sawing these panels required the mitre gauge to be in the front, to start,,halfway through, shut the saw down, bring the mitre gauge to the rear, and finish the cut....then, cleaned off the saw. Laid a front/back frame on the saw...and mark out where the bottom of the grooves are...
And grabbed two panels for a test fit, according to those marks..
To see IF they needed trimmed a bit...so far, so good...
Stay tuned...
Show me a picture, I'll build a project from that
Posts: 4,048
Threads: 0
Joined: Nov 2010
11-07-2020, 09:37 PM
(This post was last modified: 11-07-2020, 11:22 PM by bandit571.)
Ok...raising a panel...sounds easy enough...Paul Sellers just uses a Stanley #4 to do his, right....just about like this one?

This one is a Type 10....with a brand new tote,BTW....first, I don;t stand panels up in a vise,,,i usually jig them flat on the bench...first, I needed to flatten the panel a bit..
Then add some lines to plane to..."Stop Lines", as that is where I am supposed to stop making a bevel...

1" in from the edge...and a 1/4" down (plan is to leave a 1/4" "tongue") so that when I plane...
I am going at a diagonal across the grain, working back from the edge, until the 1" line is cut..
Except, I take that jack plane, and finish the bevel...

Being nice and long, it flattens out the waves going on...nice smooth bevel right to the 1/4" stop line....I do both end grain ends first,,,,any blowouts will be cleaned up when the long grain edges are done...same layout lines...trying for a sharp 45 degree corner..
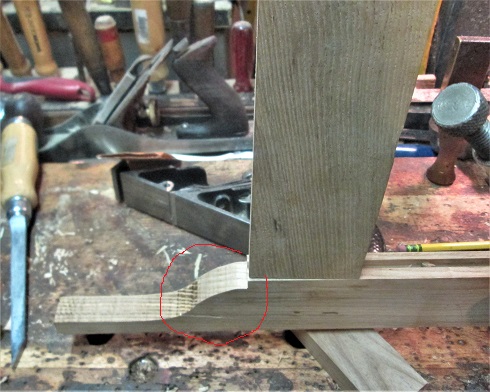
That circled area is where the trouble started, later....
Trying to get a corner looking like this..
do both long grain edges. I also brought over a rail from the frame...and kept checking for the fit...for when I get the back rebate done..
Wards/Stanley No.78...set for a 1/4" x 1/4" rebate..
.
Stay tuned

Show me a picture, I'll build a project from that
Posts: 4,048
Threads: 0
Joined: Nov 2010
Rebates...3 out of 4 done...went with the grain first...for some odd reason...maybe I needed to then set the spur for the cross grain ones..

I also used that block plane...to add a small bevel where the panel meets the rail/stile...
It also fine tuned the fit as there were still a few high spots on the beveled face....got both long grain rebates done...had to search for a small screwdriver, to rotate the 78's spur to where it will cut..
Started by dragging the 78 backwards across the grain...
Ok, so far...then start to plane away..until I hit the depth stop....
Had one more rebate to make ( been hearing a cracking sound...?)
pulled the panel out of the jig...turned it end for end..and started to re-clamp it down....I guess a bit too snug...as part of the panel broke away from the rest...grrrr

had to take the two parts out of the jig..plane both to get a new surface for the glue...found it was trying to be a "Spring Joint" got rid of tha "feature" another bead of glue mooshed around, while sliding the parts into the jig...then the real fight began,....

Trying to clamp this together...while getting the clamps to stay put
 Panel still wanted to get squirrelly on me...more clamps...
Now, I have to let this mess sit a day....before I can finish this panel, and do the next one...and MAYBE glue up one completed frame? Front? Back? not sure yet, depends on how well it looks...
Stay tuned...

Show me a picture, I'll build a project from that
Posts: 4,048
Threads: 0
Joined: Nov 2010
Alrighty, then...Day #6....with a 2 hour time limit....see how much can get done..
broken panel is fixed, rebate done....some clean up around the edges, and try a dry fit in the frame..
Decided to speed things up a bit...after trying to flatten Panel #2...Set the tablesaw to 15 degrees, add a zero clearance overlay and thew rip fence...distance between the fence and the blade....1/2"..run all 4 edges through, making sure the panel is standing vertical......those done, reset to do the rebates all around...then back to the bench, planes to clean and smooth the saw marks out..and fine tune the rebates..
A few test fits, a few more adjustments, was finally able to get the second panel to fit...

getting there...foot details needed done...would be hard to make that curved cut, once things are glued up..
Groove is for the tongue on the end frames to get glued into. Then the fun can begin..

Frame is laying outside face down...pipe clamps under the frame..plus another on the "top"
And a few F clamps to assist the rails fitting together.....couple spots needed a hammer-assist....mid-stile needed slid to the left a bit at the bottom rail...block of wood, and the hammer to guide it into place...

getting this big clamp under all the f clamps was a "joy"

So...tablesaw is "spoken for" for the next day, or so....just have to move it back out of the way...

Yeah...right..

Stay tuned....May been closed on Monday....will see what Tuesday brings in

Show me a picture, I'll build a project from that
Posts: 9,583
Threads: 0
Joined: Jan 2005
Location: Orlando FL
That is an amazing amount of progress for such a short time. You'll probably be done before I get there again.
Posts: 4,048
Threads: 0
Joined: Nov 2010
A second long side is now sitting in the clamps...

May get to work on the two end frames later today.....once their panels have been flattened, beveled, and rebates made...
Stay tuned...

Show me a picture, I'll build a project from that
Posts: 4,048
Threads: 0
Joined: Nov 2010
In order to get caught up with this post ( today was Day #9, BTW)....panels for the two ends were done..

Rebates fitted to the frames grooves..
Dry fits were done...

then both end frames were glued up...
Made sure to center the panels in the frame..
And let them sit overnight
Today? Removed all the clamps, cleaned off the top of the tablesaw...and then did a dry run....
1st corner, held with just that small c clamp...framer square to make sure I had a square corner. Tongue & Groove joints for the corners ' glue joints
2nd corner..
same as the first.....then the 4th side was fitted...

The goal being to make sure the corners all line up, and to get all the clamps ready that I'll need, to glue this thing into a box...thinking this last side will be the back of the chest?

Depends on how it looks with some finish.....we'll see...
Gluing this up promises to be an...Adventure....

Stay tuned....

Show me a picture, I'll build a project from that
Posts: 4,048
Threads: 0
Joined: Nov 2010
Those burn marks?
Are from doing the bevels on the tablesaw, using a slider jig on top of the rip fence...

Burn mark removal tool was used..

A Stanley No. 3c, Type 11....
What burn marks? That's the idea...

Show me a picture, I'll build a project from that
Posts: 9,583
Threads: 0
Joined: Jan 2005
Location: Orlando FL
This thing is coming along like you know what you are doing. Wow, I'm amazed at how fast you can turn wood bits into finished projects.
The chest is coming along great. I really like the look of it.
|













 ..but...

