Pulled the Trigger
#18
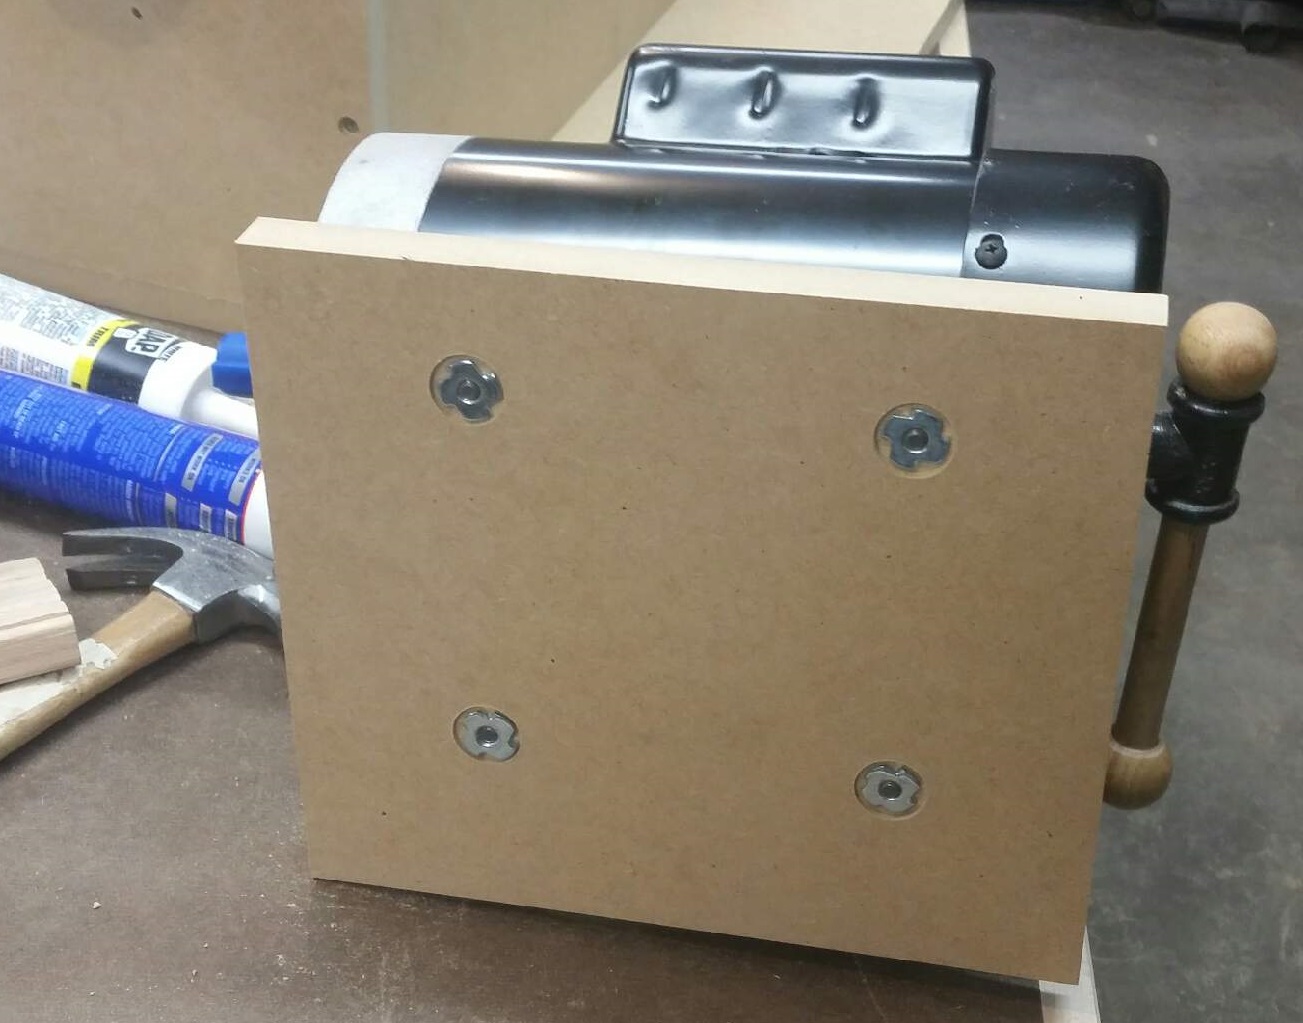
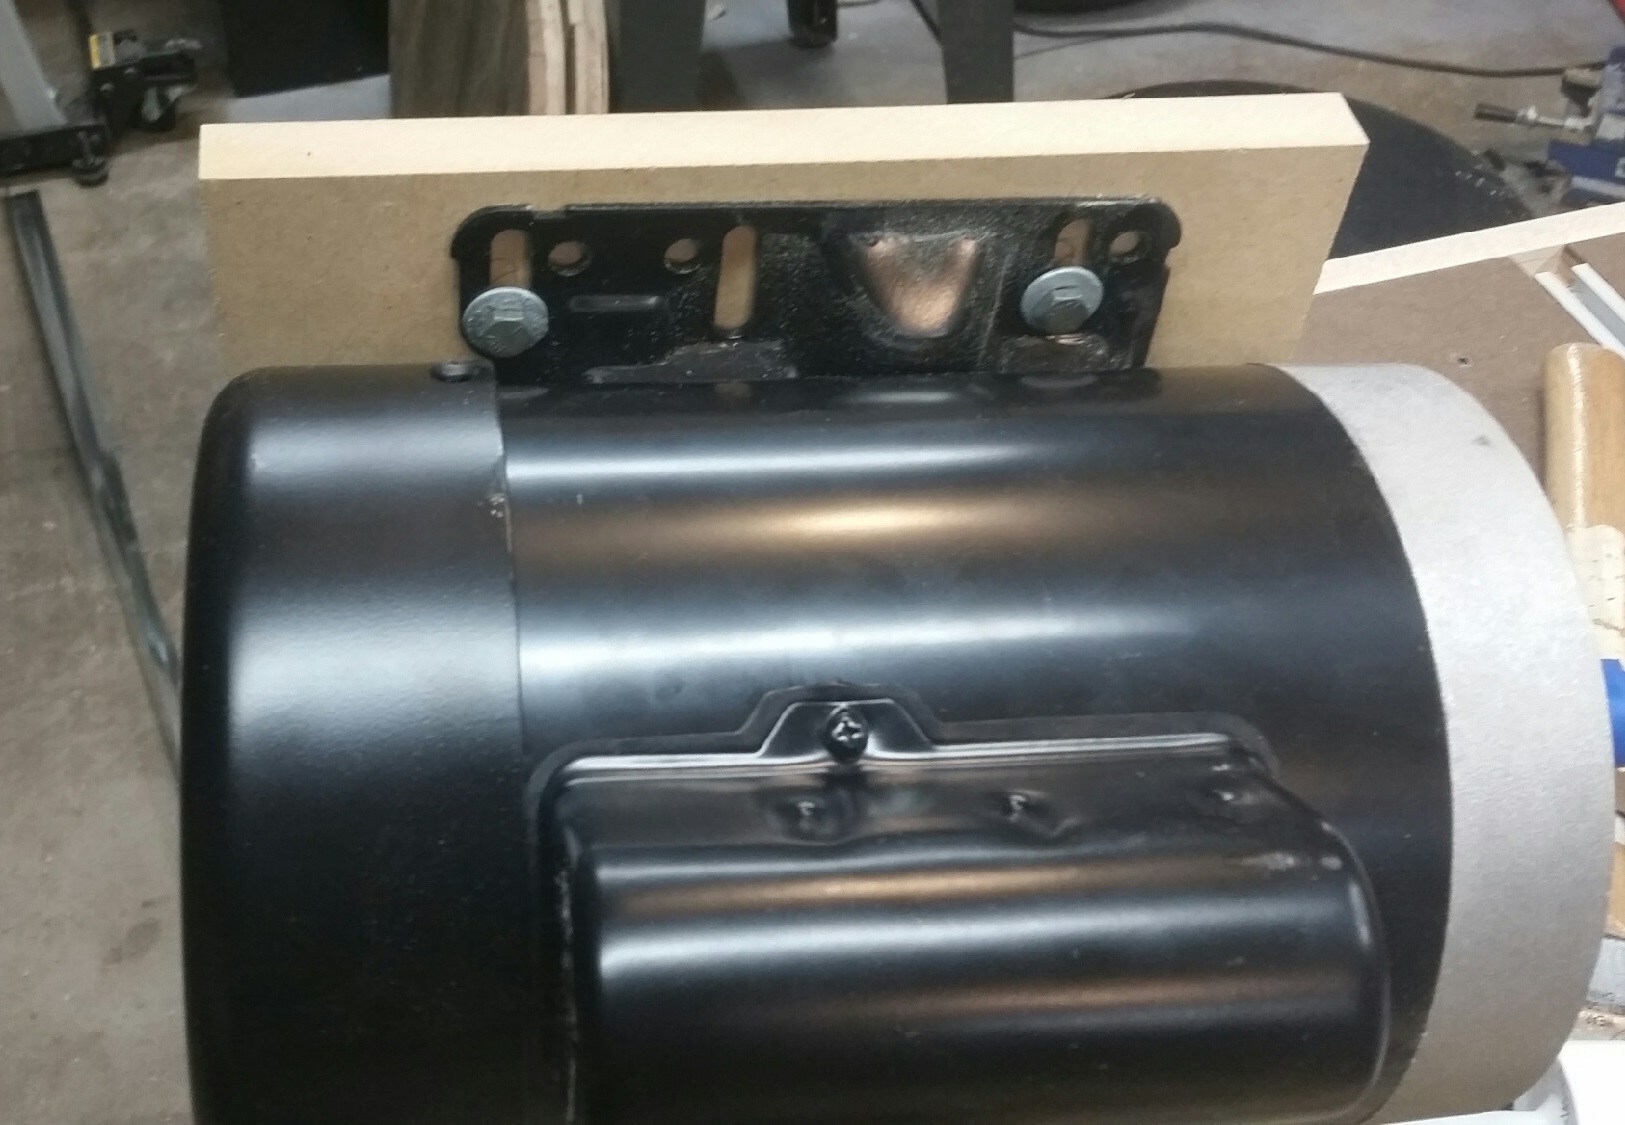
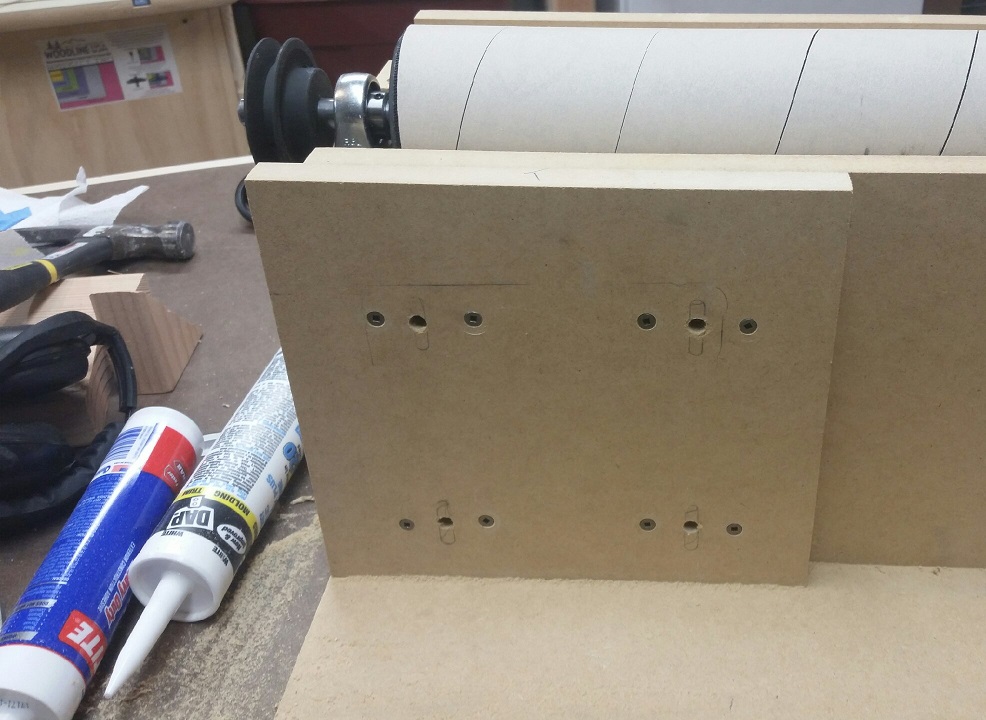
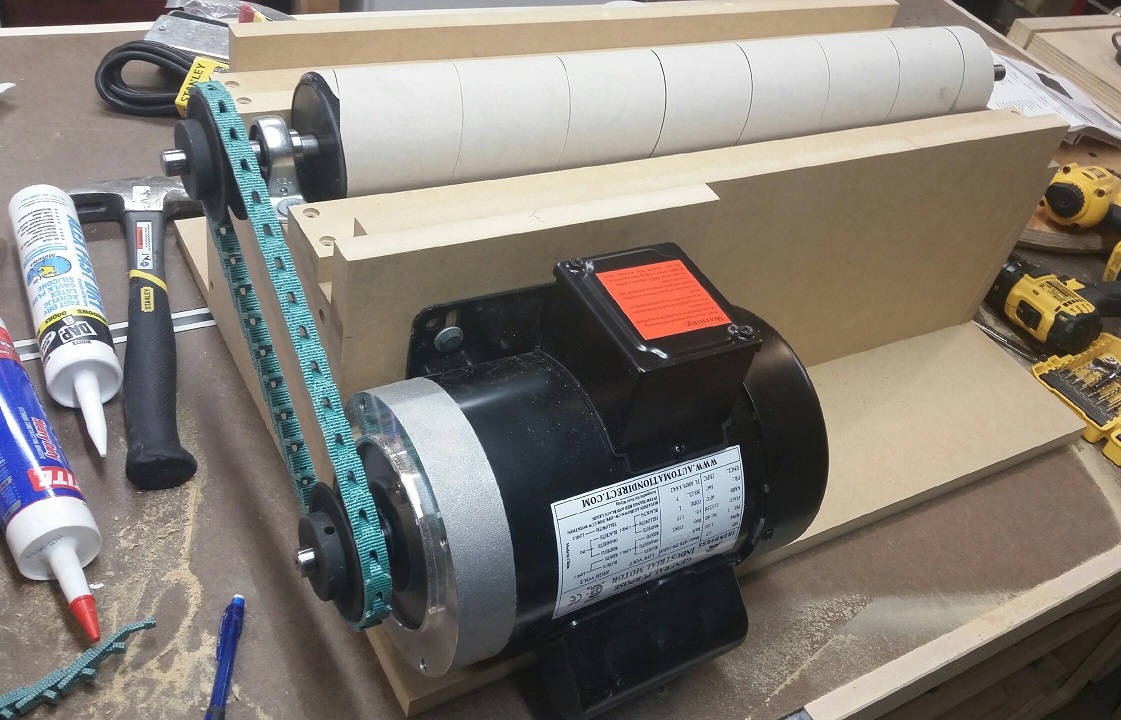
Some progress.  I pretty much followed the included plans for sizes and added a base.  I still need to work on the top and wiring.  You can see how I did the motor mounting.  The bottom bolts are a bit tricky to get to, but not impossible.


Project Website  Adding new stuff all of the time.
Reply
#19
(09-07-2017, 05:28 PM)lincmercguy Wrote: Some progress.  I pretty much followed the included plans for sizes and added a base.  I still need to work on the top and wiring.  You can see how I did the motor mounting.  The bottom bolts are a bit tricky to get to, but not impossible.

Motor spin the right direction?


Glad its my shop I am responsible for - I only have to make me happy.

Reply
#20
It's reversible. Technically I could feed from either direction, but I'll probably feed from the motor side
Project Website  Adding new stuff all of the time.
Reply
#21
It's alive!  I've only tried a few test pieces, but it works pretty well.  I still need to build a belt guard, that's an injury waiting to happen.

Here's some tips based on what I've learned.  Some of these I did and was glad I did.

-Add a base to their plans.
-Allow some adjustment for the roller.  My top was 1 1/4" thick instead of 1 1/8", so that gave me the extra adjustment.  Aluminum bar stock with drilled holes make excellent spacers.  Also get some thin aluminum or sheet metal for slight adjustments.
-Find a smaller motor than what I did.  The price was right for this one, but a 56 size motor is huge for this thing.  It's only 1/2 HP, so something smaller should be available.
-You'll need to route out relief for the pulley and bearing caps.  Plan for this when cutting the opening for the roller.  Unfortunately, I don't think the top of the pulley can be blocked off, it's too close to the same height as the roller.
-Add a belt cover, it would be way too easy to get a finger or clothing caught in it.  I thought about trying to buy one, but decided I'll just make one.  I wish I had a 3D printer, but I'll settle for making it from MDF.
-I think the dust port on the back will work well, but it remains to be seen.  My test had good dust collection.


Project Website  Adding new stuff all of the time.
Reply
#22
(09-09-2017, 08:42 PM)lincmercguy Wrote: -Find a smaller motor than what I did.  The price was right for this one, but a 56 size motor is huge for this thing.  It's only 1/2 HP, so something smaller should be available.

They're out there, but 56 frames are the most common in fractional hp designs (FHP).  A 48 frame is only 1" diameter smaller (3" mount surface to shaft center, vs 3-1/2" for the 56*), and it will have a 1/2" shaft with flat.  NEMA 42 is even smaller, with a 3/8" shaft, but they'll be very low hp, like maybe up to 1/4 hp.

You don't need capacitor-start, by the way, for a low-speed, unloaded start like that machine. A split-phase motor, which is similar to a capacitor-start design without the capacitor (centrifugal switch, but no cap, and weaker start), would be fine.

A DC motor from a treadmill might be long and skinny.  And variable speed.  But if what you have works, why mess with success?

Oh, and take a look at sheave alignment.  It may just be the photos, but it looks like they're a bit off-plane, with the motor sheave needing to move in and/or the drum sheave moving out.


*Divide FHP frame size by 16 for foot mounting surface to shaft center distance - diameter is roughly twice that, but doesn't have to be, as that's not actually specified in NEMA frame sizing  Divide first two digits of integral hp frame size by 4 to get same dimension, which is "D" in the NEMA motor frame charts.
Tom

“This place smells like that odd combination of flop sweat, hopelessness, aaaand feet"
Reply
#23
The biggest factor that led me to this motor was the price. It was the one recommended by Stockroom Supply. I think it was $110 delivered to my door. For TEFC, it was cheaper than Amazon or HF. There are some motor shops in town, but taking a day off of work to get to one is pointless.

I'll recheck the alignment. I checked it when I firat installed the pullies, but I've done a lot of stuff since then than make have thrown it off.
Project Website  Adding new stuff all of the time.
Reply
#24
Glad to see you have it up and running. Dust collection is very good on these units because it just falls into the bottom. I found my 2 1/2 inch Dust Deputy, connected to my shop vac actually, worked a little better than my big DC unit with a 4 inch port, after I hooked it up. I guess the light dust and higher velocity of the shop vac setup is the reason. I stayed with my big DC, because I had already modified the unit for a 4 inch port and there wasn't that much difference.
Earl
Reply


Forum Jump:


Users browsing this thread: 3 Guest(s)

Product Recommendations

Here are some supplies and tools we find essential in our everyday work around the shop. We may receive a commission from sales referred by our links; however, we have carefully selected these products for their usefulness and quality.